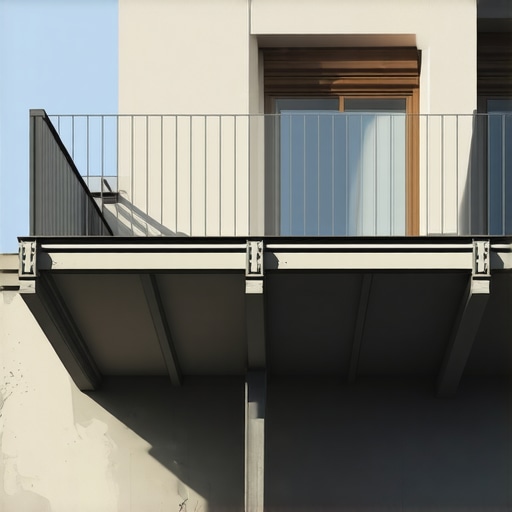
The Shear Wall Placement Rule for High-Wind Zones
It was a sobering moment during my early years in construction when I realized I had overlooked a critical detail. I was reviewing a permit application for a new home in a high-wind zone, and suddenly, the significance of shear wall placement hit me like a bolt of lightning. That oversight could have led to costly delays, structural issues, or — worse — a safety hazard for the homeowners. Have you ever experienced that sinking feeling of discovering a permit or code requirement too late? That’s exactly why understanding the shear wall placement rule is more than just building jargon; it’s a necessity for anyone working in areas prone to high winds.
Why Shear Wall Placement Matters More Than You Think
In high-wind zones, the placement of shear walls isn’t just a recommendation; it’s a vital element of structural integrity. Proper placement ensures that the building can withstand lateral forces generated during storms or high winds. Misplacing shear walls or overlooking specific rules can compromise safety and lead to expensive corrections later. When I first started, I made the mistake of assuming any wall could serve as a shear point—big mistake. It wasn’t until a seasoned engineer pointed out my oversight that I grasped the importance of precise shear wall placement. Just like with permits, these details are non-negotiable, and understanding them can save your project from unnecessary hurdles.
What’s at stake? Your reputation, your budget, and most importantly, the safety of those inside the structure. The Shear Wall Placement Rule for High-Wind Zones is designed to direct where these critical components should go, based on the building’s layout and local code requirements. Ignoring these guidelines can turn a straightforward build into a nightmare, with structural failures or permit rejections. Fortunately, there are clear strategies to get this right—and I’ll walk you through them.
Are you unsure if your current project meets the shear wall placement standards? Don’t worry, you’re not alone. Many builders initially struggle with interpreting how these rules apply to their specific designs. The good news is, with the right guidance and a keen eye for detail, navigating these regulations becomes much smoother. In fact, I recommend checking out [permitting tips for seamless home additions](https://constructionedgez.com/permit-approval-tips-for-seamless-home-additions) to help streamline your process.
Next, we’ll explore the core principles behind the shear wall placement rule, including common pitfalls and how to avoid them. By the end of this, you’ll have a solid understanding of how to incorporate these critical elements into your projects confidently, ensuring safety and compliance. Ready to dive into the practical steps? Let’s get started.
Start with a Detailed Building Plan
Before any construction begins, review your architectural drawings thoroughly. Identify potential shear wall locations based on the layout, ensuring they align with the shear wall placement rule for high-wind areas. I recall a project where I customarily marked shear walls on blueprints, but overlooked their strategic positioning. During review, I realized gaps that could compromise lateral stability, prompting a swift redesign that saved the project from future structural issues.
Consult the Local Building Code and Regulations
Your next step is to familiarize yourself with the specific high-wind zone requirements detailed in the local codes. These often specify minimum shear wall placements, distances, and types. I once worked on a coastal home where referencing the code was the difference between a permit approval and costly rework. For clear guidance, visit the comprehensive resources at Navigating Permits for Builders to understand how to interpret local regulations accurately.
Map Out Shear Wall Positions with Precision
Using your plans and code requirements, lay out the shear walls on the blueprint or digital model precisely. Think of this step like laying out a domino path; each position affects the entire structure’s stability. I once used spray chalk on-site to mark shear wall locations directly on framing members, which helped my team visualize immediate adjustments and avoid misplacements.
Validate Load Paths and Lateral Force Distribution
Ensure your shear walls are correctly positioned to handle lateral forces during high winds. This involves assessing the load paths from roof to foundation, confirming shear walls intercept these paths effectively. When I encountered a project where shear walls were improperly aligned, I engaged an engineer for a quick review, catching the issue before framing started, which kept the project on schedule and within code compliance. For detailed load path analysis, you can refer to Estimating Costs and Structural Planning guides.
Coordinate with Structural Engineers and Inspectors
Collaboration here ensures your layout adheres to safety standards. Share your shear wall placement plan early to receive feedback, avoiding surprises during inspections. I recall a builder who delayed this step, leading to inspection rejection and costly redesigns, emphasizing the importance of early communication. For tips on effective coordination, see Expert Collaboration in Construction.
Document and Adjust as Needed During Construction
As work progresses, verify shear wall placement periodically. Changes in layout or unforeseen site conditions may necessitate adjustments. I once had to revise shear wall locations mid-frame due to unforeseen obstructions, which was manageable because I maintained clear documentation and stayed in contact with the design team. This proactive approach saves time and keeps everything compliant with Permit Approval Tips.
Why Most Estimates Miss the Mark: Beyond the Surface
Many professionals and DIY enthusiasts alike rely on quick calculations or past experiences to determine project costs, but this often leads to underestimations lurking beneath the surface. Contrary to popular belief, comprehensive estimating isn’t just about summing material and labor; it’s about understanding the nuanced variables that can silently inflate expenses. For instance, overlooking permit complexities or the true scope of additions can result in costly surprises later.
Debunking the Myth of Flat-Rate Estimations
A common misconception is that fixed-rate estimates are sufficiently accurate for budgeting, especially for straightforward projects. However, this approach ignores site-specific factors like soil conditions, regulatory hurdles, or unforeseen structural challenges. An inaccurate initial estimate can derail timelines and inflate budgets. A study published in the Journal of Construction Engineering and Management emphasizes that detailed, itemized estimates significantly improve accuracy and project outcomes. Therefore, embracing detailed, nuanced estimates is essential for mastery in this field.
What’s the Biggest Duplicitous Trap in Estimating That Builders Often Overlook?
The most insidious mistake is neglecting to account for permit delays and the often unpredictable bureaucratic process. Permitting isn’t just a bureaucratic formality; it’s a critical component that can add weeks or months to your schedule if underestimated. Many underestimate permit fees or ignore the potential for additional reviews, leading to budget overruns. To navigate this, thorough research and early communication with local authorities can preempt delays. For strategic insights, check out permits for new builds.
Understanding these subtle yet impactful factors is what separates a good estimator from a great one. Remember, the goal is precision, not approximation. To improve your estimating process, consider reviewing cost-effective estimating techniques that incorporate these nuances.
Plan for the Unexpected: The Final Key
Even with meticulous planning, variables can shift unexpectedly. Building in contingency allowances—typically 10-15% of your estimate—helps cushion against unforeseen circumstances. Ignoring this common-sense practice often leads to project delays or the need for costly adjustments. If you’re looking for more detailed strategies, the comprehensive guide to estimating for home additions offers valuable insights.
In your experience, have you ever fallen into this trap? Let me know in the comments. Staying aware of these hidden pitfalls ensures your projects are not only cost-effective but also successful from start to finish.
In the world of construction and renovation, having reliable tools isn’t just about efficiency—it’s about safeguarding your reputation and ensuring long-term success. From digital software to on-site equipment, selecting the right tools allows you to monitor progress, maintain quality, and adapt swiftly to unforeseen issues. Let’s explore some of the essential tools I personally rely on to keep projects on track and how they can benefit your workflow.
Using Building Information Modeling (BIM) for Precise Planning
I’ve integrated BIM software like Revit into my processes for its remarkable ability to create detailed 3D models that visualize every component of a building. This not only helps in detecting clashes before construction begins but also facilitates easier updates and modifications. According to industry expert Mark Farmer, BIM is transforming construction management by enabling real-time collaboration and reducing waste. Investing time to master BIM tools can yield significant long-term savings and reduce errors, especially on complex projects. I recommend starting with tutorials from Autodesk’s official training resources to get up to speed quickly.
Implementing Laser Scanning for Accurate Site Measurements
On-site, I depend on a LiDAR-based laser scanner to capture precise measurements of existing structures or terrain. This tool drastically cuts down the time spent on manual measurements and minimizes human error, which is critical when working in high-wind zones where exact placement of shear walls and foundation support is vital. The future of construction points to greater reliance on such scanning technology, paving the way for more accurate planning and reduced rework. To maximize its effectiveness, I always double-check scans with traditional tape measures in tight spaces or complex geometries.
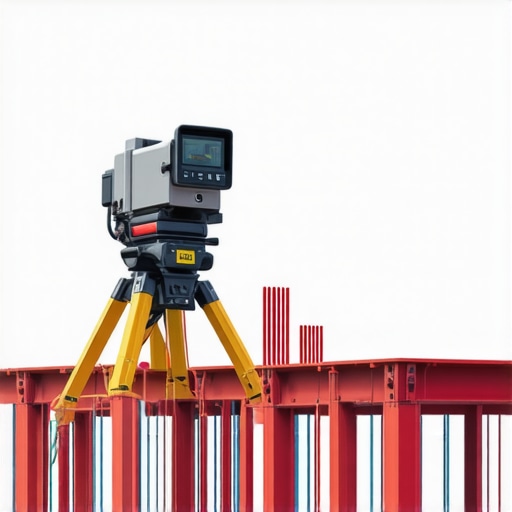
*Prompt*: Advanced laser scanner capturing detailed site topography, high precision, modern construction site.
*Alt*: Laser scanning technology used by builders for accurate site mapping.
*Title*: Laser Scanning: Precision in Action
Mobile Apps Streamlining Permit and Documentation Management
Managing permits and documenting project progress is often tedious without the right tools. I utilize apps like PlanGrid and Fieldwire, which sync seamlessly across devices, allowing me to review permit conditions or update site photos instantly. These apps promote transparency and keep everyone aligned, a vital factor when navigating complex permit requirements like those outlined [here](https://constructionedgez.com/permits-for-new-builds-essential-tips-for-your-project). Staying organized with digital documentation helps in avoiding delays due to missing paperwork or miscommunication. Make it a habit to use these apps daily, especially during critical phases like upcoming inspections or permit renewals, to prevent costly setbacks.
Incorporating advanced tools into your workflow isn’t just a luxury—it’s becoming a necessity for delivering high-quality projects on time and within budget. Don’t wait for issues to arise; try linking your BIM models with laser scans to get a comprehensive overview before breaking ground. By doing so, you’ll be better prepared to handle challenges like permit hurdles, structural adjustments, or unforeseen site conditions. Give these techniques a shot in your next project and experience firsthand how they can elevate your craftsmanship and project management skills. Ready to take your project tools to the next level? Check out these resources to deepen your understanding and find the perfect equipment for your needs.
Lessons That Changed My Approach to Shear Wall Planning
The first time I overlooked the precise placement of shear walls in a high-wind zone, I learned the hard way—permit delays and structural concerns followed. That experience drilled into me the importance of detailed planning and code compliance, shaping my subsequent projects to prioritize early alignment with shear wall regulations. I realized that overlooking small details here could compromise safety and inflate costs, which motivated me to develop checklists and close collaborations with engineers to avoid future pitfalls.
Another lightbulb moment came when I underestimated the bureaucratic hurdles in permit approval processes. I learned that proactive communication with local authorities and comprehensive documentation can cut down approval times dramatically. This insight transformed my approach into a more strategic, prepared process—saving time, money, and quite frankly, my peace of mind.
Finally, I discovered that educating myself on load path complexities and the strategic placement of shear walls enables smarter design choices. This knowledge helps ensure that lateral forces during storms are effectively managed, reinforcing building resilience. Embracing continuous learning and industry resources has been key; for instance, regularly reviewing the detailed guides and expert tips at Navigating Permits for Builders keeps my projects compliant and safe.
My Go-To Tools and Resources for Successful Construction
To excel in high-wind zone construction and permit management, I rely heavily on Building Information Modeling (BIM) software like Revit. This tool’s detailed 3D models help me visualize shear wall placements and identify potential conflicts before laying a single brick. The significant time savings and error reduction it provides make it indispensable; Autodesk offers excellent tutorials to get started.
On-site, laser scanning technology equipped with LiDAR capabilities has revolutionized measurement accuracy. I use it to verify existing structures and terrain, ensuring my shear wall placements are precise, especially in complex environments. This prevents costly rework and enhances safety. For more efficient planning, integrating these scans with your BIM models can give an all-encompassing view of your project site.
Managing permits and documentation is streamlined with apps like PlanGrid and Fieldwire. These platforms keep all project files, permit conditions, and site photos organized and accessible in real-time, which is crucial for fast-paced projects or when coordinating with inspectors. Consistently updating and reviewing documentation through these tools can prevent delays and misunderstandings—trust me, they’re game-changers.
Additionally, I recommend exploring permit approval tips for seamless home additions—a resource that offers practical insights into navigating local regulations confidently. Combining tech tools with expert knowledge creates a powerful workflow that keeps your construction on track and compliant.
Start Turning These Insights Into Action Today
In high-wind construction projects, paying close attention to shear wall placement isn’t just about following rules—it’s about safeguarding your reputation, budget, and clients’ safety. Implementing thorough planning, leveraging innovative tools, and maintaining proactive communication can elevate your project management game. The future of building resilience and efficiency relies on adopting these strategies now. So, why not start integrating BIM, laser scanning, and smart permit practices into your next project? Your next successful build is just a well-placed shear wall away.
What has been your biggest challenge when it comes to shear wall placement or permitting? Share your experiences below—your insights might help others avoid the hurdles you’ve faced!