The Insulation Rule for Unfinished Attic Spaces
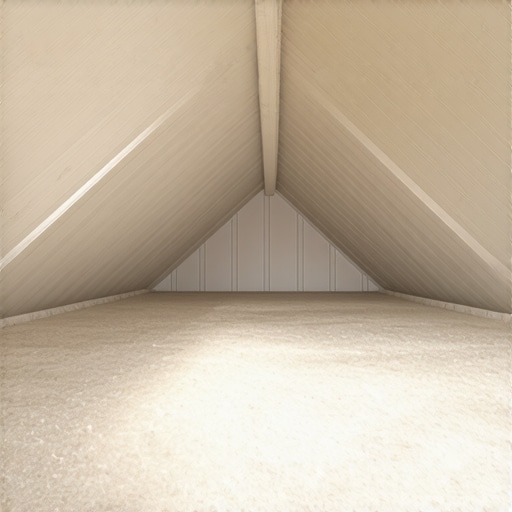
I still remember the moment I stepped into my attic on a particularly chilly winter day and realized just how much warmth was escaping through those uninsulated gaps. It was a lightbulb moment that made me rethink everything I thought I knew about attic insulation. And if you’re like me, you might have felt the same frustration, wondering if there was an easier way to get it right without upcoming surprises or costly rework.
Why understanding the Insulation Rule can save you money and stress
When I first embarked on my renovation project, I underestimated how critical proper attic insulation was—not just for comfort, but for compliance and energy efficiency. Failing to follow the insulation rule can lead to drafting, ice dams, or even failure to meet local building codes. The good news? I found that with a clear grasp of this rule, I could confidently plan my budget and avoid unnecessary delays. Today, I promise to share what I’ve learned from personal experience and authoritative sources, so you can do the same.
Will this be another costly mistake? The hesitation most DIYers face
Honestly, I made a big mistake early on by assuming I could wing it with a rough estimate. That one oversight nearly cost me double when I had to redo the insulation because I missed a key part of the code. According to a recent guide on effective project estimating, not paying attention to specific building rules is one of the top reasons for project overruns. If you’re skeptical about whether mastering this insulation rule is worth your time, I urge you to consider the cost of errors versus the value of knowledge. Plus, understanding these rules can streamline your permit process, as explained in detail here.
So, if you’ve ever faced the dilemma of insulating your attic properly or wondered whether you’re meeting code requirements, you’re not alone. Let’s delve into what this rule entails and how it can make your project smoother and more affordable.
.
Determine the Exact Area of Your Attic
Start by measuring the length and width of each section of your attic to calculate square footage, just like mapping out a floor plan. Use a tape measure for accuracy, and record your dimensions meticulously. I learned this early when I accidentally underestimated my space, which led to ordering half the insulation bags needed, causing delays and extra trips to the store. Precise measurements are your first line of defense against budget overruns.
Calculate Material Needs Intelligently
Next, factor in the type of insulation and its R-value—insulation’s thermal resistance. For example, if you’re working with fiberglass batts with an R-value of 3.7 per inch, and your local code requires R-49, you’ll need about 13 inches of insulation. This calculation is akin to stacking bricks: knowing the exact size and coverage ensures a solid estimate. I once assumed 10 inches would suffice, only to find out during installation that I was way short, leading to reordering and a frustrated weekend.
Estimate Costs and Quantities Precisely
Use the total square footage and multiplication with the depth to derive the volume of insulation required. Don’t forget to include a waste factor of around 10%, accounting for overlaps, cuts, and mistakes. For my project, this meant ordering 15% more, which saved me from multiple trips. Check out this guide for strategies on estimating home improvements accurately. This step prevents unforeseen expenses from sneaking up late in your project.
Account for Specific Code Requirements
Different regions have distinct insulation mandates—some require vapor barriers or specific installation methods. Consult your local building codes, which can be as simple as a quick permit guideline review. Failing to meet these can result in re-inspections or fines, not to mention safety issues. I once skipped verifying this, leading to a costly rework when my inspector pointed out the missing vapor barrier.
Use Visual Aids to Confirm Your Estimates
An effective tip is to create a scaled drawing or use digital modeling tools to visualize how much material covers your attic. This helps prevent overbuying or underestimating. During my project, I sketched the attic’s layout, and it made discrepancies in my measurements obvious, saving me from costly errors. For a comprehensive approach, consider reviewing expert estimation strategies, which can enhance your accuracy further.
 Many homeowners and even some contractors believe that estimating project costs is just about multiplying unit prices by quantities. However, in my experience, this oversimplification often leads to costly mistakes, especially for complex projects like new builds or major additions. A common myth is that estimates can be quick and rough—don’t fall for it. Precise estimation requires understanding subtle factors like labor variability, material lead times, and regional permitting nuances. One trap I see often is underestimating the impact of permit delays, which can extend timelines and inflate costs significantly. According to a recent study by the Construction Financial Management Association, inaccurate estimates are responsible for nearly 30% of project overruns.
For advanced homeowners or professionals aiming for accuracy, it’s crucial to incorporate contingency allowances for unforeseen issues and to recognize that prices fluctuate based on supply-demand dynamics. For example, steel prices can vary by as much as 15% over a year, affecting structural cost estimates. Moreover, regional building codes and permit complexities are frequently underestimated. Failing to verify requirements early can result in rework or permit denial, delaying your project and adding expenses. An effective approach is to consult detailed local regulations at the start—this is where expert resources like navigating permit requirements come into play.
Another nuanced aspect is understanding the difference between gross and net square footage, which significantly impacts material calculations. Many estimates neglect this and end up ordering too little or too much. Use digital modeling tools or detailed scaled drawings to visualize the actual space and accurately determine material needs—this layer of precision can save thousands.
Finally, beware of the allure of quick ‘rule-of-thumb’ estimates. While they may seem efficient, they often ignore project-specific variables like unique site conditions or custom design features. Instead, invest time in thorough quantity takeoffs and risk assessments. For further tips on masterful estimating, check out mastering new build estimating. Remember, the devil is in the details—neglecting these nuances can turn a straightforward project into a financial nightmare.
Have you ever fallen into this trap? Let me know in the comments.
Keeping Your Projects on Track with the Right Tools
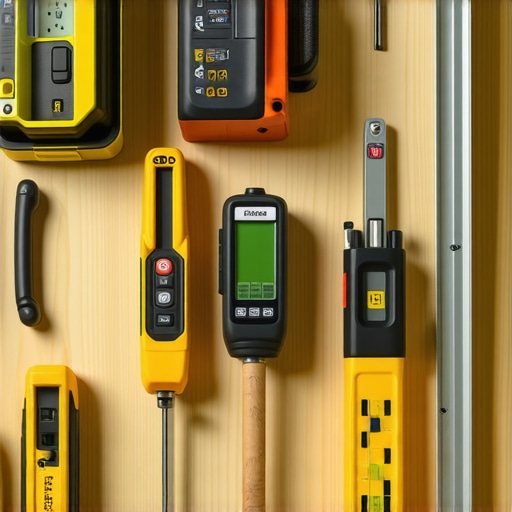
When it comes to ensuring your home additions or new builds stand the test of time, having the right equipment and software is crucial. I personally rely on a mix of digital and physical tools that streamline the process, increase accuracy, and help me avoid costly mistakes down the line. For instance, a durable laser distance measurer like the Leica Disto E7500i has become indispensable for quick, precise measurements, saving me hours compared to traditional tape measures. Additionally, software such as estimating tools adapted for 2025 allows me to create detailed budgets and visualize project scope clearly, minimizing surprises and keeping permits in check.
Beyond digital tools, I swear by a good quality construction level like the Stabila 37860 48-Inch Starrett Spirit Level. It ensures all elements are perfectly aligned, which is vital for long-term stability. For project management, I prefer Trello or Asana—they help me keep track of tasks, deadlines, and permits, integrating seamlessly with my calendar. Having a centralized overview helps me handle complex projects, from planning through to execution, with less stress.
How do I maintain tools over time?
Proper maintenance extends the lifespan of your equipment and ensures continuous accuracy. I recommend regularly calibrating digital tools according to manufacturer instructions and storing physical tools in dry, secure locations. For power tools, cleaning and sharpening blades after each use prevent damage and maintain performance. Scheduling routine checks and replacing worn-out parts proactively can save you from unexpected breakdowns during critical phases of your project.
Future of Home Building Equipment
Looking ahead, I believe automation and smart devices will become standard in home construction. Imagine laser levels that connect to your smartphone, or AI-powered estimation software that learns from your project history to suggest optimal materials and schedules. Embracing these innovations now can give you a competitive edge and ensure your projects remain compliant and efficient for years to come.
Ready to elevate your toolkit?
Try integrating a high-precision laser measurement device into your current process. It’s a small investment that can significantly improve accuracy and reduce rework—key factors for long-term success. Remember, consistent maintenance and staying updated with emerging tools will keep your home building endeavors smooth and scalable. For additional strategies on managing complex projects, check out adding value with expert home additions.
My Biggest Wake-up Call in Attic Insulation
During my first major attic project, I learned that skipping detailed measurements can turn a simple task into a financial headache. The moment I realized I ordered half the insulation I needed was a tough but valuable lesson. It showed me that investing time upfront in precise measurements saves double later on. Never underestimate the power of accurate data—it’s the foundation of smart planning.
Lessons Most DIYers Miss About Building Codes and Materials
One tricky part was understanding regional insulation requirements and how they impact my choices. I thought I could follow generic guidelines, but each region has its own code nuances that can lead to rework if overlooked. Connecting with local building offices early on, and studying permit guidelines, helped me sidestep costly delays. My tip: never assume you know the rules—verify them first.
The Hidden Costs of Rushing Your Estimate
I learned that rushing through estimation, especially without factoring in waste and regional code demands, results in surprises. I once underestimated my insulation needs, causing me to make multiple trips to the store and doubling my costs. For better accuracy, I rely on detailed calculations like those featured here. It’s about embracing precision to prevent costly rework.
My Go-To Tools for Better Estimating
Over time, I found that the right tools make a huge difference. A laser distance measurer like the Leica Disto helps me capture exact attic dimensions quickly, while digital estimating software streamlines my calculations and visualization. These tools, combined with creating scaled drawings, reduce errors and keep my project on track. If you’re serious about avoiding overspending, these investments are game changers.
Final Thoughts: Embrace the Details for Long-Term Savings
In the world of attic insulation and beyond, tiny details matter more than you think. The time spent on accurate measurements, understanding local codes, and leveraging the right tools pays off manifold. It’s about making smarter choices today to enjoy comfort, compliance, and savings tomorrow. Remember, no detail is too small when you’re building your dream home efficiently.