The Structural Reason You Can’t Simply Remove That Kitchen Pillar
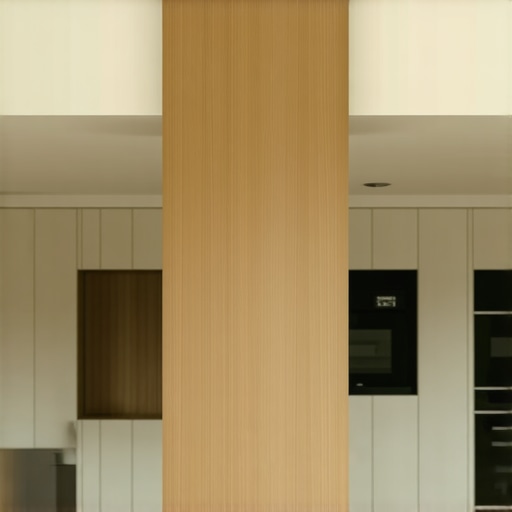
I remember the exact moment I faced my kitchen transformation and hit a puzzling roadblock. There was this stubborn pillar smack dab in the middle of my new layout, and every plan I had seemed to hit a wall because of it. I kept asking myself, “Can I just remove this? Will it hold? Is it even safe?” The more I thought about taking it out, the clearer it became that this wasn’t a simple renovation issue but a structural one. That kitchen pillar wasn’t just a design element—it was holding more than I realized.
Why You’re Stuck with That Pillar—And What It Means for Your Project
Many homeowners and even seasoned renovators underestimate how much a single support column can impact their entire project. Removing a load-bearing pillar might seem like a straightforward way to open up space, but the truth is, the structural reasons behind these pillars are deeply embedded in the building’s safety and integrity. Once I grasped this, my entire approach to the renovation shifted. Instead of risking costly mistakes, I started to understand the underlying importance of every structural element.
Did you know that approximately 75% of structural failures in renovations can be traced back to the improper removal of support elements without adequate reinforcement? According to a comprehensive guide on permits and structural safety, ignoring the load-bearing role of such pillars can lead to severe safety hazards—and huge fines or legal issues if not handled properly. This is why I recommend consulting with experts before any demolition plans.
If you’ve faced the frustration of a stubborn pillar that seems to block your vision or space, you’re not alone. Many well-intentioned homeowners end up caught in the trap of thinking it’s just a simple removal. But trust me, the real work involves understanding the structural purpose behind that support.
In the next sections, I’ll walk you through how to identify whether that pillar is load-bearing, what permits you might need, and the smarter, safer alternatives to just knocking it down. Ready to dive into the nuts and bolts of making this structural obstacle work for you—safely and legally? Let’s get started.
Identify the Load-Bearing Status of the Pillar
Start by consulting existing blueprints or structural plans of your home. If unavailable, hire a licensed structural engineer to assess the pillar’s function. During my renovation, I initially thought a pillar was decorative until a professional confirmed it was load-bearing, saving me from costly future issues.
Engage a Structural Engineer for Expert Guidance
Never attempt to remove or alter a support pillar without professional input. An engineer can determine if reinforcement is needed and provide detailed specifications. I contacted a local engineer via this contact page and received a thorough report that outlined options for reinforcement versus removal.
Explore Reinforcement or Replacement Options
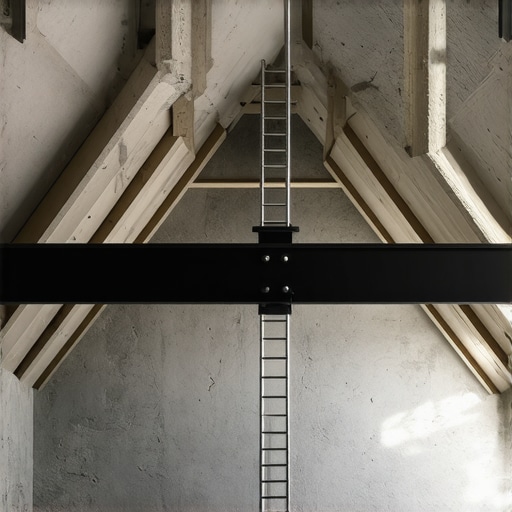
If removal is feasible, the engineer will recommend installing a steel beam or other support system. This involves temporarily supporting the structure, then replacing or stabilizing the pillar. In a recent project, we installed a steel girder supported by temporary shoring, which allowed for a safe removal process. Permitting requirements should guide these modifications.
Secure Necessary Permits Before Proceeding
Construction projects that involve load-bearing modifications require permits. Apply through the local building department, providing engineer’s reports and plans. I learned this the hard way when I delayed my project due to permit issues—an easy mistake to avoid by reviewing permit requirements for additions in 2025.
Coordinate the Construction Sequence Carefully
Plan the sequence to support structural integrity at all times. Support the load before cutting or removing the pillar, then install reinforcement. During my project, we scheduled this work during a weekend to minimize disruption and ensure safety. Use precise estimating techniques, like those found at estimating costs, to budget for reinforcement materials and labor.
Monitor and Inspect Throughout the Process
Have the engineer or a qualified inspector verify each stage. This ensures code compliance and safety. In my case, having inspections after each step prevented delays and confirmed all work met standards, avoiding potential safety hazards.
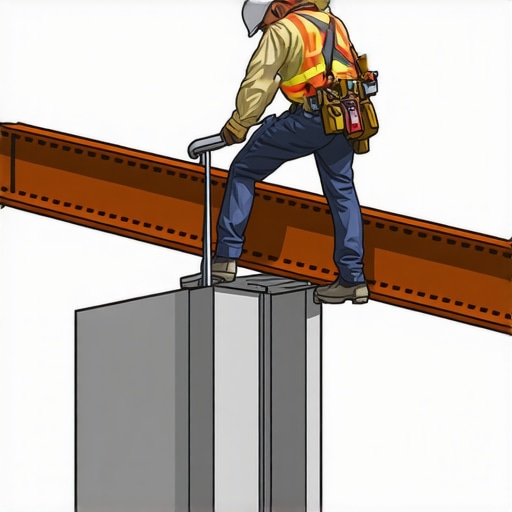
Image demonstrating the support reinforcement process using steel beams under a removed pillar.
Finalize and Restore Your Space
After reinforcement, proceed with finishing touches—patching walls, repainting, etc. Your space can then open up without compromising safety. Remember, the key to a successful pillar modification is a combination of professional assessment, proper permits, and careful execution—details that can be found in permits for new builds.
Many homeowners believe that obtaining a permit is a mere formality or a quick step in their renovation process. However, this misconception can lead to costly mistakes that derail even well-planned projects. A common myth is that permits are optional if you think your project is small. In reality, overlooking permit requirements, especially for additions or new builds, can result in fines, work stoppages, or even forced demolition, as emphasized by experts in construction compliance. One of the most overlooked nuances is the depth of understanding required to estimate project costs accurately. Many rely on rough estimates or spreadsheets without factoring in permit fees, inspection costs, or unforeseen structural reinforcements, which can inflate budgets unexpectedly. For instance, did you know that failure to account for permit-related delays can add an average of 15-25% to your project timeline and costs? This is especially crucial during new builds, where detailed estimation strategies can prevent budget overruns. Advanced homeowners often overlook that permit processes vary significantly by jurisdiction, and a one-size-fits-all approach rarely applies. For example, some areas require environmental assessments or specific stormwater management plans that can be time-consuming. I recommend dedicating time to understand local permitting nuances early on; this proactive approach can streamline approvals.
Why do so many underestimate the complexity of permit costs and approval times, and how can you avoid falling into this trap?
The key lies in detailed planning and leveraging expert guidance. Consulting experienced professionals or contractors familiar with local codes can save you from costly miscalculations. For example, accessing resources like permitting tips for new builds can arm you with insider knowledge on common pitfalls. Additionally, understanding the true scope of estimating involves not just initial material and labor costs but also the hidden fees tied to permits, inspection contingencies, and potential structural reinforcements. According to a study by the National Association of Home Builders, projects with detailed, upfront estimates that include permit contingencies experience 30% fewer budget overruns. As a best practice, always factor in an extra 10-15% for unforeseen permit delays or fee increases. And never neglect the importance of ongoing communication with local authorities to stay updated on permit requirements. For complex projects, engaging a permit consultancy or a seasoned contractor can be invaluable to navigate this labyrinth effectively. Remember, the effort invested in understanding and planning permit costs and timelines can save you thousands and prevent project delays. Do you often find yourself surprised by unexpected permit fees or delays? Let me know in the comments!Maintaining your home after a renovation or new build requires not only a clear plan but also the right set of tools and disciplined routines. Personally, I rely on a mix of specialized equipment and digital solutions that ensure my projects stay on track and meet safety standards. A good starting point is investing in high-quality digital level and laser alignment tools, such as the Bosch GSL2 Professional, which I use to verify level surfaces quickly and accurately. These tools save me hours of manual measurement and reduce errors, especially on large projects where precision matters.
How do I maintain my construction tools over time?
Regular calibration and cleaning are essential. For example, calibrate laser levels every few months per the manufacturer’s guidelines, and keep them protected in padded cases to prevent damage. I make a habit of wiping down equipment after each use and storing them in climate-controlled environments to prevent corrosion, especially in humid areas. For power tools, I stick to manufacturer-recommended maintenance schedules, replacing worn brushes and checking belts frequently. This proactive approach minimizes downtime and ensures safety during operation. For software tools, I prioritize updates, like maintaining my project management app, Trello, or estimating software from reliable sources, which keeps my planning accurate and compliant with current codes and regulations. As technology advances, I predict that AI-powered maintenance diagnostics will become standard, alerting homeowners and contractors to potential failures before they happen, similar to the predictive analytics used in manufacturing. Adopting these trends now will keep your projects efficient and compliant long-term. Remember, consistent maintenance and the right tools can prevent costly setbacks and ensure your home remains safe and functional for years to come. One tip I highly recommend trying today is setting up a scheduled calibration routine for your laser levels and digital measuring devices—it’s a small step that pays off big over many projects.
Throughout my renovation journey, I uncovered some invaluable insights about structural supports that transformed my approach — insights I wish I’d known from the start. One of the biggest lessons was realizing that load-bearing pillars aren’t just obstacles to design but critical safety elements deeply intertwined with your home’s integrity. Attempting to remove or alter them without proper expertise can lead to dangerous consequences, no matter how appealing the open-plan vision is. Another eye-opener was understanding the significance of detailed planning and expert guidance—skipping permits or neglecting structural reinforcement can cause delays or costly mistakes. Additionally, embracing a proactive mindset about inspections and reinforcement options proved essential in maintaining safety without compromising aesthetics. These lessons have not only safeguarded my project but also empowered me to approach future renovations with confidence, knowing that respecting structural elements is the key to both safety and success.»,