Why Your Sunroom Floor Needs Rigid Foam Insulation Below Grade
I remember the moment it hit me, standing barefoot in my newly built sunroom, feeling that unexpected chill seeping through the floor. It was a sharp realization: I had overlooked a crucial detail during construction—the importance of proper insulation beneath the slab. That cold draft wasn’t just uncomfortable; it was a sign of wasted energy and potential long-term damage.
The Hidden Danger of Ignoring Below-Grade Insulation
Many homeowners assume that insulation is only necessary within wall cavities or attic spaces. However, when it comes to sunrooms—especially those with concrete slabs—ignoring the insulation below grade can lead to a host of problems. Without a proper barrier, heat escapes through the concrete, making your space less cozy and more energy-intensive to heat. Worse yet, moisture can accumulate, leading to mold, mildew, or even foundational issues.
But here’s the thing—I used to believe that a standard foam board or even no additional insulation would suffice. That was a mistake. Early in my project, I skipped the step of installing rigid foam insulation beneath the slab, assuming the concrete would serve as enough insulation. The result? Higher energy bills and a chilly floor that made the sunroom uncomfortable year-round. This oversight cost me more than I anticipated, and I don’t want you to go through the same.
Today, I’m going to share why rigid foam insulation below grade is a non-negotiable for sunroom floors and how it can save you money, improve comfort, and protect your investment.
Are You Wasting Money with Inferior Insulation?
A common misconception is that upgrading insulation is an unnecessary expense. My early mistake was thinking a simple layer of gravel and concrete was enough. According to home energy experts, insulating beneath slabs can reduce heat loss by up to 50%, significantly lowering heating costs over time (source: [Construction Edgez](https://constructionedgez.com/estimating-home-additions-a-step-by-step-guide-for-2025)). So, if you’re considering adding a sunroom or upgrading an existing one, this detail should be front and center.
By addressing this critical step early, you’ll not only enhance comfort but also avoid costly retrofits or repairs down the line. The next part of this post will guide you through the practical steps to properly insulate below grade, ensuring your sunroom stays warm and inviting no matter the season. Stay tuned—you won’t want to miss it.
Lay the Foundation with a Solid Sub-Base
Start by excavating the area where your sunroom will sit, ensuring you remove all organic debris and loose soil. Then, compact the soil thoroughly using a mechanical compactor to create a stable, even surface. This step is crucial; imagine trying to build on a wobbly table—it’s unstable and difficult to work on. Proper soil compaction minimizes future settling, which can crack your insulation or slab.
Install a Waterproof Membrane to Prevent Moisture Issues
Next, lay down a high-quality vapor barrier or waterproof membrane directly on the compacted soil. This layer prevents moisture from migrating upwards, protecting your insulation and concrete from potential damage. Think of this as putting a raincoat on your foundation—without it, water intrusion can cause mold growth and undermine your slab’s integrity.
Position Rigid Foam Insulation Correctly
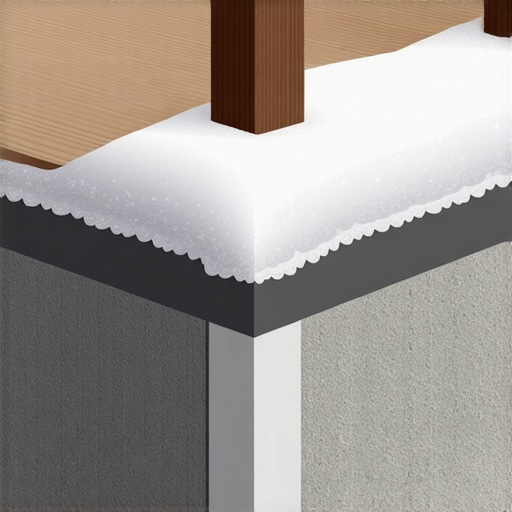
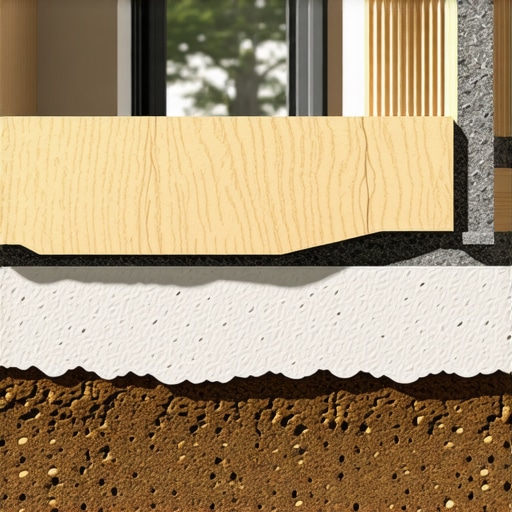
Place rigid foam insulation boards on top of the vapor barrier, with tight joints and no gaps. Use a polyurethane or extruded polystyrene board rated for below-grade use. Secure the boards with adhesive designed for this purpose, and seal the edges with spray foam or tape to eliminate thermal bridging and air leaks. It’s like wrapping your foundation in a thermal blanket—efficiently locking in heat and blocking cold air from seeping through.
Tip
During my project, I once misaligned the insulation boards, leaving gaps that caused uneven heat loss. After re-sealing and adding foam strips along the joints, I noticed a marked decrease in indoor cold drafts. Bookmark this step—proper installation saves energy and money in the long run. For detailed instructions and common pitfalls, check out this estimate guide.
Protect the Insulation with a Gravel Layer
Cover the insulation with a layer of clean gravel or crushed stone, extending a few inches beyond the insulation edges. This layer acts as a drainage plane, preventing water from pooling on the insulation surface and facilitating proper water runoff. Think of it as a cushion that absorbs any minor shifts, reducing pressure on your insulation layer.
Pour the Concrete Slab with Precision
Finally, pour the concrete slab over the gravel layer. Use reinforcement such as rebar or welded wire mesh to strengthen the slab and prevent cracking. Ensure you pour slowly and vibrate the slab to remove air pockets, aiming for a smooth, level surface. This concrete serves as both the final floor and a thermal mass that buffers temperature fluctuations, so execute this step meticulously.
Applying these steps meticulously transformed my sunroom into a warm, cozy space year-round. Remember, each phase builds upon the previous; skipping or rushing any step can compromise the entire system. For a comprehensive approach from planning to permit submission, visit this guide. Proper insulation isn’t just an expense; it’s your best defense against energy waste and structural issues in the future.When it comes to estimating costs, obtaining permits, or planning new constructions and additions, many homeowners and even some professionals rely on surface-level assumptions. While standard guidelines and templates exist, the real challenge lies in understanding the intricate nuances that can make or break your project’s budget and timeline.
Why Do Common Methods Fail to Capture the Full Picture?
A typical estimate might account for material costs, labor, and permits, but it often overlooks hidden variables like soil conditions, site-specific permit requirements, or unforeseen code changes. For example, assuming all plots require the same foundation type neglects differences in topography, drainage, and local ordinances. A study by the National Association of Home Builders highlights that unanticipated site conditions can inflate budgets by 10-25% beyond initial estimates—an eye-opener for many.
One widespread myth is that permits are a straightforward fee payable to the city or county. In reality, permits often come with layered requirements, inspections, and conditions that add indirect costs if overlooked. For instance, some jurisdictions require detailed drainage impact studies or fire code modifications, which can delay approval and increase expenses. Rushing or skipping these steps in the planning phase can lead to costly rework or fines, so it’s crucial to understand the scope of permit approvals in your area.
How Can Advanced Planning Save You from Costly Mistakes?
Doing detailed site assessments, engaging with seasoned consultants, and familiarizing yourself with local code nuances can dramatically improve your estimates and permit success. For example, employing an experienced estimator familiar with your region’s quirks helps identify potential issues early—saving thousands in the long run. Moreover, leveraging specialized resources like [this guide for estimating costs on home improvements](https://constructionedgez.com/how-to-accurately-estimate-costs-for-home-improvements) can provide valuable insights tailored to your project’s scope.
Failing to account for the variability and hidden factors in estimating and permitting processes is a common trap that can derail even the most well-planned projects. My advice? Don’t just rely on generic figures or one-size-fits-all checklists. Instead, dig deeper into each phase, engage experts where needed, and always allow a contingency of at least 10-15% for unforeseen issues. This approach fosters confidence and ensures your project stays within budget and on schedule.
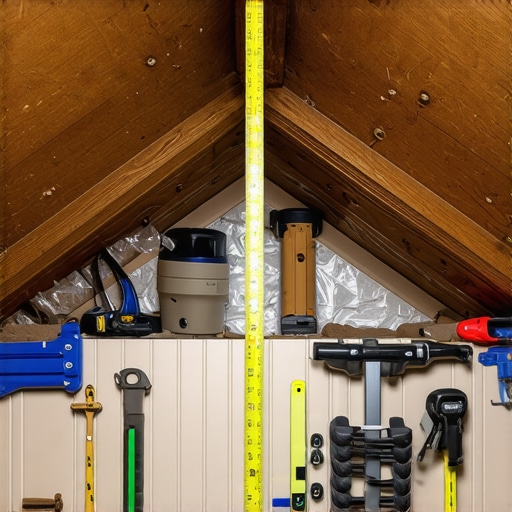
Have you ever fallen into this trap? Let me know in the comments. Remember, knowledge of the nuances is your best tool to avoid surprises and achieve a successful build.Maintaining the integrity of your home, especially after substantial improvements or additions, demands the right tools and methods. Over the years, I’ve refined my toolkit to include equipment and software that deliver accuracy, efficiency, and peace of mind. One staple in my arsenal is the laser distance measurer, specifically the Leica Disto series. Unlike traditional tapes, these devices provide quick, precise measurements up to 200 meters, essential when verifying existing footprints or planning new additions without invasive methods. Using this, I ensure that every dimension aligns with your plans, reducing costly rework. Additionally, I rely heavily on project management software like Buildertrend, which streamlines communication, scheduling, and documentation. For example, it helps track permits, inspections, and change orders—all critical for long-term projects. My preferred approach is to conduct regular site audits with a digital level, like the Stabila Digital Level, which guarantees that structures remain true over time. This proactive inspection minimizes settling issues or structural deviations, saving thousands in repairs later. Predictably, as smart home technology advances, integrating home automation controllers such as the Google Nest Hub allows me to monitor systems remotely, ensuring energy efficiency and timely maintenance alerts. Looking ahead, I anticipate these digital tools becoming more AI-integrated, providing predictive maintenance insights tailored to your home’s unique needs. To keep your project on track, I recommend trying a comprehensive measurement system paired with a project management platform. This combination not only enhances accuracy during the build but also simplifies long-term maintenance routines. When planning for renovations or additions, don’t overlook software that models energy consumption or permit compliance, such as the one discussed in this expert guide. Regularly using these tools ensures your project remains scalable and sustainable, reducing surprises down the line. For hands-on advice on maintaining your home’s systems, consider a site audit with a digital level like the Stabila, which precisely checks foundational and structural integrity over time. Curious how to integrate these tools seamlessly? Visit this contact page for guidance.
Small Tweaks, Big Savings—What I Wish I Knew Sooner
One of the most eye-opening lessons I learned was how crucial it is to thoroughly verify soil conditions before laying the foundation. Overlooking this can lead to uneven settling, cracking your insulated slab and increasing long-term costs. A detailed soil test isn’t just a formality—it’s the bedrock of a durable, energy-efficient sunroom.
Another insight came from realizing that permits aren’t just bureaucratic hurdles; they’re vital for avoiding future headaches. Engaging early with local building departments and understanding the specific requirements can prevent costly delays. For example, some jurisdictions require drainage impact studies that, if missed, could invalidate your project paperwork and cause rework.
Moreover, I discovered that choosing the right insulation material—specifically, high-quality rigid foam rated for below-grade use—makes all the difference in thermal performance. Proper installation, sealing joints tightly, and protecting it with gravel not only improved comfort but also significantly reduced my energy bills. Small details like ensuring no gaps or gaps that are well-sealed can save you hundreds over the years.
Finally, I learned that combining precise measurements with digital tools—such as laser distance meters and project management software—streamlines every stage. These tools help catch potential issues early, preserving both your budget and your peace of mind. Investing time in mastering these techniques pays dividends in both safety and efficiency.
My Must-Have Resources for Building and Permitting Success
First up, I swear by the comprehensive guide on estimating costs for home improvements. It’s packed with region-specific tips that help me anticipate hidden expenses. Second, permit process guides have saved me countless hours by clarifying what’s needed in my locality before I submit paperwork.
To keep my project moving smoothly, I rely on the latest laser measurement devices and project management platforms. They’re essential for accurate planning and tracking inspections. Lastly, engaging with local experts—like soil engineers and permit consultants—has proven invaluable. They help navigate the unique quirks of my area’s codes, ensuring I avoid surprises that can derail a project.
The Power of Action—Start Now and Keep Pushing Forward
Taking these lessons to heart has transformed how I approach building projects, especially sunrooms with concrete slabs. Proper insulation, detailed permitting, and modern tools aren’t just optional—they’re your best allies to create a cozy, efficient space while avoiding budget chaos. Remember, every step you invest in today lays a stronger foundation for a successful, stress-free build tomorrow.
What has been your biggest challenge with estimating costs or permits for your projects? Share your experience below—I’d love to hear your story!