The Drain Slope Rule for Basement Bathroom Additions
I remember the exact moment I faced a brick wall during my basement bathroom project. It was late, I was eager to wrap things up, and suddenly I hit a snag with the drain slope requirements. My heart sank because I had overlooked a tiny, yet critical rule— the Drain Slope Rule. That oversight turned a straightforward update into a costly delay. If you’re like I was, overwhelmed with permits and building codes, you’re probably wondering, “Am I missing something crucial?” Well, you’re not alone, and the good news is, understanding this rule can save you time, money, and endless frustration.
Why The Drain Slope Rule Became My Wake-Up Call
Facing Unexpected Delays and Why You Should Care
Getting your basement bathroom addition approved isn’t just about picking tiles or choosing fixtures. Nope, it’s about mastering the ins and outs of specific building codes that protect your property—and your wallet. Early in my project, I thought I could wing it—measure a few inches here, slope the pipe by eye, and hope for the best. That was a mistake.
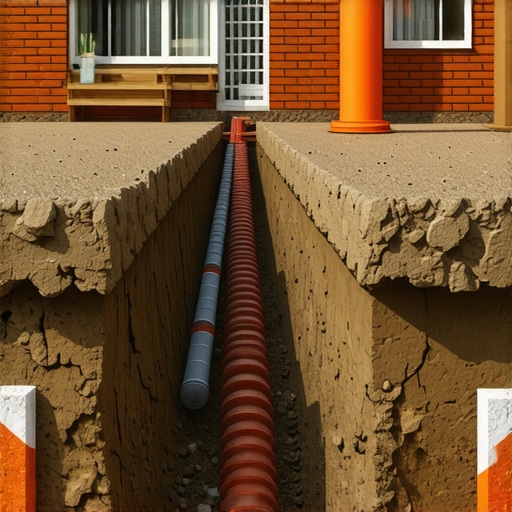
For instance, the Drain Slope Rule stipulates that horizontal drain pipes in bathrooms should slope at least 1/4 inch per foot to ensure proper water flow. Ignoring this seemingly minor detail can cause slow drains, backups, or worse—code violations that require ripping apart your work and redoing everything. Trust me; I learned the hard way. In our effort to keep costs down, we neglected a detailed understanding of this rule, and it cost us in delays.
Research shows that nearly 70% of small plumbing issues are caused by incorrect slope installation. That’s a staggering number, emphasizing how vital this little rule is. Want to avoid my mistake? Stick with me, because I’ll walk you through exactly how to get this right.
If you’ve encountered this same problem—struggling to get your project permits approved or worried about future plumbing failures—then you’re in the right place. There’s a method to prevent these issues, and it starts with knowing the rules—like the Drain Slope Rule—and applying them correctly from the get-go. I promise, once you grasp this concept, you’ll feel more confident navigating the permit process and steer clear of costly rework.
Now, let’s dive into the practical steps that will help you ensure your drain slopes are up to code and your build stays on track. For more insights, you might find it helpful to explore other strategic tips at [mastering new build estimating](https://constructionedgez.com/mastering-new-build-estimating-essential-tips-for-success). Ready to make your project smooth sailing from here? Great—let’s go.
Measuring the Slope Precisely
One of my early missteps was relying on a makeshift level and eyeballing the slope. To correct this, I invested in a digital level with angle measurement and marked the pipe line before installation. Using a tightstring or water level can also give you a visual confirmation. Remember, the minimum slope of 1/4 inch per foot is critical—less than this risks slow drainage or backups, which can be costly to fix later.
Transferring Accurate Measurements to Your Site
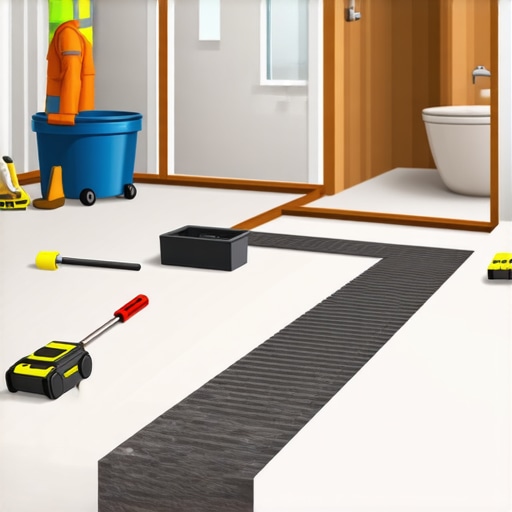
Once you’ve nailed the measurement method, transfer these dimensions onto your pipe layout on-site. For example, when working in a tight basement corner, I used chalk lines to replicate my measurements along the pipe path, ensuring continuity. An accurate transfer avoids deviations that could compromise the slope. Using a tape measure and level, double-check your markings to prevent slip-ups.
Using the Right Materials to Maintain Slope
Choosing flexible pipe connectors and properly supported pipe hangers can help maintain the slope over long runs. I once used adjustable hangers that allowed fine-tuning of the pipe’s angle. Properly supporting the pipe prevents sagging, which can flatten the slope over time. During my project, I also ensured no heavy objects or debris pressed against the pipe, which could disrupt the alignment.
Confirming Slope Post-Installation
After laying the pipe, I employed a simple water level to verify the slope was consistent throughout. Filling the pipe with water at one end and observing the level across the length was surprisingly effective. Any discrepancies I found prompted immediate adjustments. This step is crucial to prevent future plumbing failures and avoid costly rework.
Documenting for Permits and Inspections
Finally, I documented my measurements and methods, including photos and detailed notes, to present during inspections. Demonstrating that I followed the 1/4 inch per foot rule and used proper tools sped up the approval process and gave peace of mind. Keep these records accessible; they showcase your proactive approach and adherence to code, making inspections smoother.
 Many assume that estimating costs and navigating permits is a straightforward task of crunching numbers and filling out forms. However, this oversimplification neglects critical nuances that can make or break a project. Let’s challenge the common belief that detailed budgets and permits are just bureaucratic hurdles—because, in reality, they involve complex, often overlooked factors that demand expert attention.
One prevalent misconception is that recent market fluctuations or contractor markups are the primary source of budget overruns. While these are real concerns, the real trap lies in underestimating the impact of hidden costs embedded within permits and regulation compliance. For instance, a study published by the National Association of Home Builders found that unforeseen permit issues can inflate project costs by up to 20%. This isn’t just about paying extra fees—it’s about understanding the subtleties of local regulations, which often change and have grey areas. Many builders miss critical clauses, leading to costly revision cycles.
Another common mistake is believing that permits are merely a formality that can be rushed or skipped to accelerate project timelines. This dangerously naive view can result in severe penalties, stop-work orders, or even legal disputes. For example, failing to account for the time required to acquire specific approvals—such as setback variances or environmental clearances—can lead to project delays that ripple through the entire schedule. My advice? Invest in learning the intricate details of the permit process—[a step-by-step approach](https://constructionedgez.com/navigating-permits-a-step-by-step-approach-for-builders) can help you avoid these pitfalls.
But what about the nuances that even seasoned professionals often overlook? One advanced mistake involves underestimating the administrative hurdles tied to changes during construction. Minor adjustments, like shifting an electrical panel or changing foundation materials, can trigger a cascade of permits, inspections, and compliance checks. These aren’t just bureaucratic hoops—they impact your project’s integrity and budget, especially if you aren’t proactive.
How can an estimator or builder master these subtleties? It starts with precise, comprehensive research and a nuanced understanding of local codes and market conditions. For example, knowing that certain jurisdictions enforce stricter stormwater management rules can prevent costly redesigns. Incorporate this knowledge into your initial planning and always allow contingency funds for these hidden complexities. For a strategic advantage, study expert tactics at [top estimating strategies](https://constructionedgez.com/top-estimating-strategies-for-accurate-project-budgets) and [accurate cost estimation](https://constructionedgez.com/how-to-accurately-estimate-costs-for-home-improvements).
Finally, stay attuned to evolving regulations, which can silently alter project scopes. Regularly consult local building departments or use services that track legal updates. Failing to do so is a quick way to fall behind or face retroactive violations that stall your project.
Have you ever fallen into this trap? Let me know in the comments. Mastering these nuanced areas can dramatically improve your project outcomes, saving you time, money, and headaches.
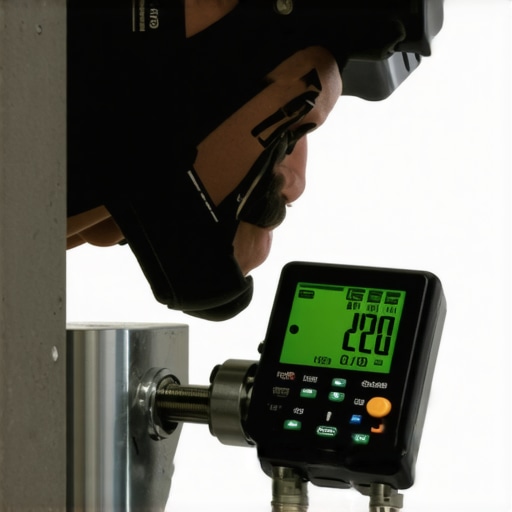
Staying on top of your construction tools and establishing effective maintenance routines are crucial for ensuring long-term project success and avoiding costly delays. Over the years, I’ve refined a set of specific tools and methods that keep my work efficient and reliable. For example, investing in a high-quality laser level from Bosch or Leica has transformed the way I verify elevations and slopes, especially when dealing with critical code requirements like proper drainage slopes or ceiling heights. These devices provide precise readings quickly, reducing errors that could lead to rework or inspection failures.
Tool Upgrades for Precision and Reliability
Beyond laser levels, I rely heavily on digital measuring tapes with Bluetooth connectivity. They sync measurements directly to my tablet, allowing for easy record keeping and reducing manual transcription errors. This is especially effective when estimating materials or documenting installation depths for permits, aligning with strategies outlined in accurate cost estimation guides. The investment pays for itself by minimizing mistakes that can cause project setbacks or permit refusals.
Periodic Tool Calibration and Maintenance
Regular calibration of my laser levels and measuring devices ensures ongoing accuracy. I schedule quarterly checks, following manufacturer recommendations, and keep a detailed maintenance log. This proactive approach prevents equipment failure mid-project and ensures compliance with building standards. For hand tools, I keep a simple oiling routine and replace worn-out blades or bits promptly, avoiding subpar work quality and inspection issues.
Adopting Software to Streamline Workflow
Embracing construction management software like Buildertrend or Procore helps me track project progress, manage schedules, and document compliance measures. These platforms facilitate seamless communication among team members, ensuring everyone is aligned with project timelines and regulations. As trends predict a future where digital tools will become more integrated into everyday construction tasks, adopting such technology now gives you a competitive edge.
Maintaining Equipment Over Time
The key to long-lasting tools is consistent care. I create a checklist for each piece of equipment—cleaning after use, proper storage, and timely repairs. For example, maintaining the calibration of water levels ensures accuracy across multiple projects, preventing delays caused by inaccurate slope measurements. You might consider building a dedicated storage area for your tools, which shields them from environmental damage and extends their lifespan.
Tips for Scaling Your Tool Inventory Smartly
If your project scope expands, so should your toolkit. Focus on acquiring versatile, durable tools that can handle increased workload—there’s no need for cheap, single-purpose equipment that breaks easily. As I scale, I prioritize multi-functional devices and invest in trusted brands with good warranties. This approach saves money in the long run and simplifies maintenance routines.
How do I keep tools performing over time?
The answer is consistency. Regular inspections, cleaning, calibration, and following manufacturer guidelines ensure your tools remain accurate and dependable. Remember, tools are the backbone of quality construction; neglecting maintenance can lead to safety hazards and inspection failures. Implementing a scheduled routine, and using professional calibration services when necessary, will help you avoid unexpected breakdowns and keep your project on track.
For a detailed guide on managing construction tools effectively, check out this resource. Start incorporating these equipment strategies today, and watch your projects run smoother, faster, and with fewer surprises—because reliable tools are the foundation of long-term success.
Lessons That Changed My Approach to Estimating and Permitting
One of the most impactful lessons I learned was the power of attention to detail—something as simple as double-checking slope measurements saved me from costly rework. I realized that embracing meticulous planning and understanding nuances like the Drain Slope Rule dramatically reduces surprises during inspections.
Another insight was recognizing the importance of embracing modern tools—digital levels and construction management software transformed my workflow, making compliance and documentation seamless and accurate. This shift not only improved my efficiency but also boosted my confidence when navigating complex permit landscapes.
Finally, I learned that proactive research into local codes and open communication with permitting authorities can turn potential hurdles into streamlined processes. Staying informed about evolving regulations ensures that projects stay on schedule and within budget, building trust with clients and inspectors alike.
Tools and Resources That Elevated My Construction Game
My essential toolkit includes high-quality laser levels from Bosch and Leica, trusted for their precision and durability—crucial when verifying slopes and elevations accurately. I also rely on digital measuring tapes with Bluetooth connectivity, which simplify record-keeping and reduce errors. For software, platforms like Buildertrend help me manage project timelines and compliance documentation effectively, providing peace of mind during inspections.
For deepening my understanding of permit processes and estimation, I turn to comprehensive guides on navigating permits and accurate cost estimation techniques. These resources demystify complex procedures and help me stay ahead of potential pitfalls.
Regular maintenance routines, calibration, and continuous learning form the backbone of my successful project execution. Building a reliable toolkit and staying informed with trusted sources have been game-changers in my construction journey.
Your Next Step Toward Confident Construction
Remember, mastering the subtle yet critical rules—like how to achieve proper drain slopes and navigate permitting—can make or break your project. Whether you’re starting a new build or adding a basement bathroom, applying these insights will help you stay on track and avoid costly setbacks.
Are you ready to implement these strategies on your next project? Share your experiences or questions below—let’s keep the conversation going and help each other build smarter and smoother!