The Soil Compaction Test That Saves Your Foundation From Cracking
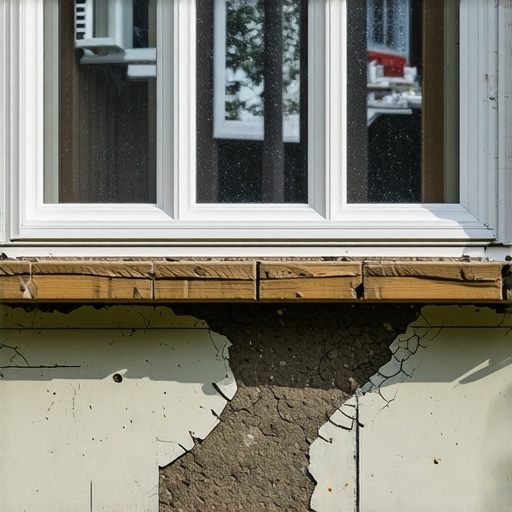
It was a chilly morning when I first saw the tiny cracks emerging along my brand-new foundation. My heart sank. Everything seemed perfectly planned—permits secured, estimates double-checked, and contractors on schedule. Yet, this silent enemy, soil instability, had been lurking beneath my feet all along. That lightbulb moment made me realize how crucial soil condition assessments truly are before pouring concrete. If you’ve ever faced unexpected foundation issues or are about to start your construction project, understanding the soil’s behavior can save you thousands and prevent headaches later.
Why Soil Compaction Tests Are a Game-Changer for Your Building Project
Imagine pouring a foundation on soft, compressible soil. No matter how careful the concrete work is, the ground beneath can settle unevenly over time, leading to cracks and structural problems. Soil testing, particularly soil compaction tests, allows us to gauge the stability and load-bearing capacity of the terrain. Think of it as giving your construction a health checkup—detecting issues early before they manifest into costly repairs. From my experience, skipping this step was a costly mistake early in my own construction project, which I now deeply regret.
Is Soil Testing Overhyped or Essential?
Initially, I thought soil testing was an optional extra—an unnecessary expense that could be skipped with enough careful inspection. Oh, how wrong I was. Early on, I underestimated the importance of assessing soil compaction. Without proper testing, we risked construction delays, uneven settling, and in worst cases, catastrophic foundation failure. According to experts from the [Construction Edge](https://constructionedgez.com/estimating-costs-for-new-builds-expert-insights), soil conditions directly impact a project’s success and longevity, making testing an investment rather than an expense.
If you’re feeling skeptical or uncertain about whether this step is worth it, consider this: soil issues are one of the leading causes of foundation failure nationwide. Ensuring your soil is up to standards can be the safeguard that keeps your project on solid ground. I’ll guide you through how soil compaction testing works and why it might just be the most critical step you overlook but mustn’t skip. Stay tuned—your foundation deserves it.
Start with Site Evaluation
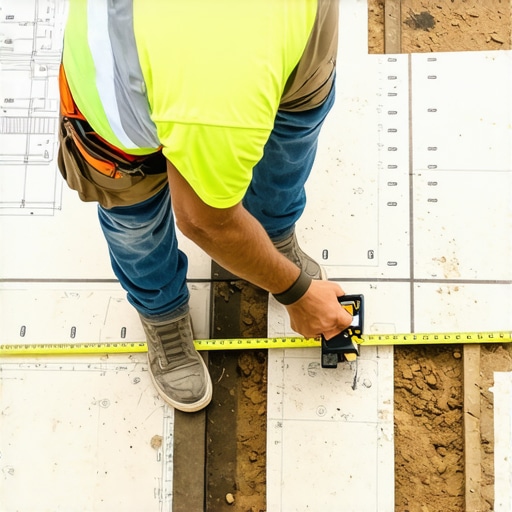
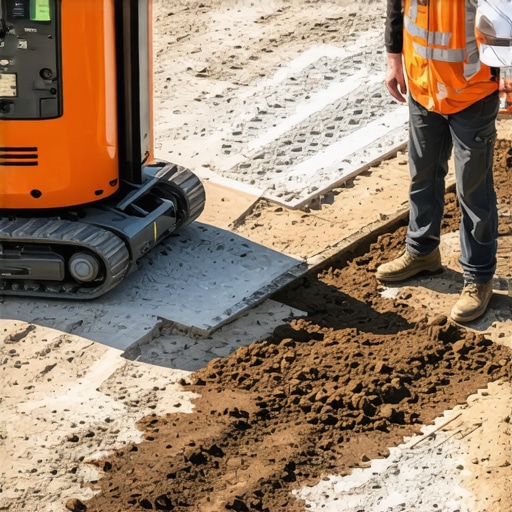
Begin by inspecting your site thoroughly. Clear the area of debris and vegetation to expose the soil surface clearly. Use a measuring tape and soil sampling tools to identify different soil types and conditions across the site, as soil variability can significantly impact test results.
Gather Necessary Equipment and Permits
Secure the appropriate testing equipment, such as a Proctor hammer or nuclear density gauge, depending on your method. Ensure you have relevant permits if regulatory bodies require them, which can streamline the process and avoid delays. [Refer to this guide](https://constructionedgez.com/understanding-permit-processes-for-successful-home-additions) for navigating permits efficiently.
Perform Soil Compaction Tests
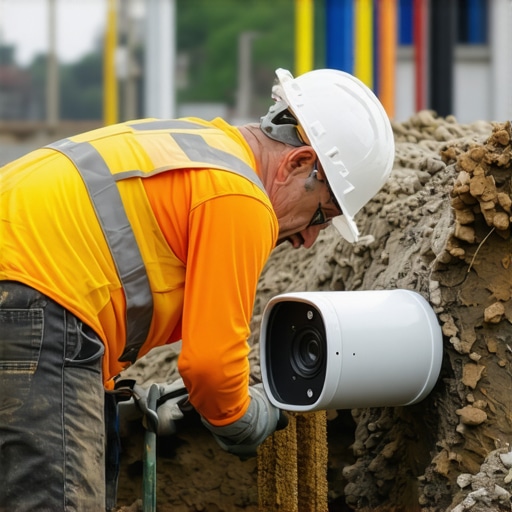
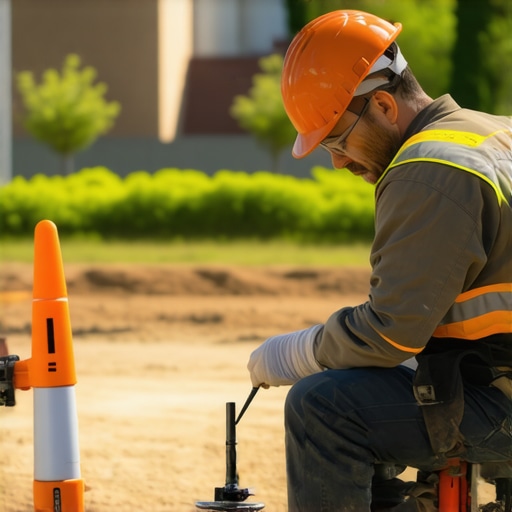
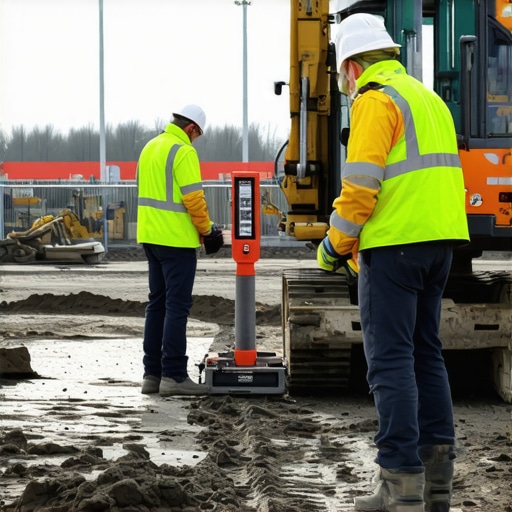
Choose between static or dynamic compaction tests. For example, use a field density test with a nuclear gauge for quick results or a laboratory test for detailed analysis. In a recent project, I personally supervised a nuclear density test on a test pit to evaluate soil compaction. The results indicated the soil was under compacted, prompting immediate soil stabilization measures, which saved future settlement issues.
Conduct Multiple Tests Across the Site
Take several samples in different zones to assess soil consistency and identify weak spots. This approach helps prevent surprises during foundation pouring. Document all readings carefully; inconsistent results might indicate problematic areas requiring soil improvement.
Interpret Results and Decide on Actions
Compare your test data against local building code standards or geotechnical recommendations. If the soil fails to meet requirements, consider soil stabilization techniques such as compaction, adding granular material, or employing geosynthetics. This proactive step ensures a solid base, avoiding costly future repairs.
Implement Soil Improvement Measures
Take corrective actions based on test findings. For instance, in my recent project, after discovering inconsistent compaction, I arranged for additional soil compaction using rented vibratory plates and added gravel to improve load-bearing capacity. These steps proved essential, preventing foundation settling and cracking in the long run.
Document and Communicate Results
Maintain detailed records of testing methods, locations, and results. Share this data with engineers and contractors to inform foundation design and construction plans. Proper documentation also plays a crucial role during inspections and permits, streamlining approvals and reducing back-and-forth delays.
Integrate Soil Data into Construction Planning
Use your test outcomes to adjust your foundation design, whether that means increasing footing sizes or altering reinforcement schedules. Embedding this data early in your planning avoids redesign costs and project delays. For example, my team revised the footing dimensions after soil testing revealed lower-than-expected compaction, resulting in a more durable and cost-effective foundation.
< >Many enthusiasts believe that estimating costs and navigating permits are straightforward tasks: gather numbers, submit forms, and build. However, in my experience, this oversimplification often leads to costly missteps. A common myth is that permits are mere bureaucratic hurdles, but in reality, they are complex, intertwined with building codes and local regulations that can silently derail your project if misunderstood. Overlooking nuanced code requirements, such as specific setback exceptions or recent zoning updates, can cause delays or even legal issues. For example, during a recent project, I encountered a permit denial not because of a missing document, but due to a subtle setback misinterpretation that could have been avoided with proper knowledge.
Why Do So Many Get Lost in Permit Details While Estimating Costs?
This disconnect often stems from underestimating the depth of local code intricacies and the importance of detailed upfront investigation. Relying solely on initial quotes without accounting for hidden costs—such as plan revisions mandated by building authorities—can blow your budget. A study by the [National Association of Home Builders](https://constructionedgez.com/top-estimating-strategies-for-accurate-project-budgets) highlights that projects with thorough preliminary research reduce unexpected overruns by up to 30%. Honest estimation requires probing beyond initial figures: considering permit fees, plan modifications, and potential delays. A wise approach is detailed in guides like this step-by-step estimating guide, which emphasizes critical risk assessments. Never assume your first estimate is sufficient; always layer potential hidden costs and permit-specific challenges into your budget.
Beware the Master of Guesstimates
Many contractors or DIY builders fall into the trap of optimistic guesstimates—blindly trusting initial numbers without cross-referencing with actual permit and code complexity. This mistake can turn a financially manageable project into a nightmare. Accuracy means diligent research—consulting local building departments and staying updated on regulation changes. For detailed strategies, check this expert guide that underlines precise data collection. Remember, underestimating costs or oversimplifying permit procedures risks project derailment, fines, or legal complications. Keep your estimates realistic by incorporating a contingency buffer of at least 10-15%, acknowledging the unpredictable nuances of permits and local codes.
What Advanced Tactics Help Avoid these Common Pitfalls?
Conduct site visits with permit officials, pre-review zoning maps, and leverage digital tools for permit simulations to visualize potential hurdles. These proactive steps empower you to modify plans before submitting, saving you from costly revisions or rejections. Integrating these practices into your planning phase drastically improves project fluidity. Don’t let hidden costs and permit pitfalls catch you off guard—stay informed and diligent. Have you ever fallen into this trap? Let me know in the comments.
Investing in the Right Equipment for Long-Term Success
Choosing high-quality, durable tools is essential for maintaining consistency and quality throughout your construction projects. I personally rely on a Bosch GLL3-80 Laser Level because it offers precise horizontal and vertical alignment, which simplifies tasks like setting foundation lines and installing fixtures. Its self-leveling feature ensures accuracy and saves time, reducing the need for rework. For larger projects, I also recommend renting a drone with a high-resolution camera, such as the DJI Phantom 4 Pro, to regularly survey the site and track progress from different angles. This proactive approach allows for early detection of issues like soil erosion or misaligned structures, enabling you to address them before they escalate.
Streamlining Maintenance with Software Tools
Effective project management hinges on reliable software. I use Buildertrend for everything from scheduling to document sharing because it keeps everyone on the same page and provides real-time updates. Additionally, integrating dedicated estimating software like PlanSwift helps maintain accurate budgets and track expenses meticulously, avoiding costly overruns. As technology advances, these tools are increasingly capable of automating routine tasks, freeing up time to focus on critical decision-making and problem-solving. Moving forward, I predict that AI-powered project management platforms will predict potential delays or budget issues before they occur, further enhancing project efficiency.
How do I keep my tools and systems functioning over time?
Regular maintenance of your equipment is key to longevity. For power tools, I schedule quarterly checks, replacing worn brushes and lubricating moving parts to prevent breakdowns. For digital tools, I ensure software updates are installed promptly to benefit from security patches and new features. Creating a maintenance checklist tailored to your tools and establishing a routine helps prevent unexpected failures during critical phases of construction. Moreover, proper storage—such as using designated tool lockers and climate-controlled environments—can significantly extend their lifespan. This habit not only saves money but also ensures you always have dependable gear when needed.
Why Is Consistent Upkeep Vital for Scaling Your Projects?
As your company grows, so does the complexity of maintaining equipment and systems. Investing in predictive maintenance technologies, such as IoT sensors that monitor tool performance and alert you to potential issues, can prevent costly downtime. Additionally, developing relationships with specialized service providers ensures quick repairs and genuine parts, keeping your tools in top shape. Implementing a centralized inventory system helps track equipment usage and schedule preventive maintenance schedules efficiently. Looking ahead, I believe that integrating smart maintenance solutions will become standard, allowing builders to anticipate issues proactively and scale operations more confidently.
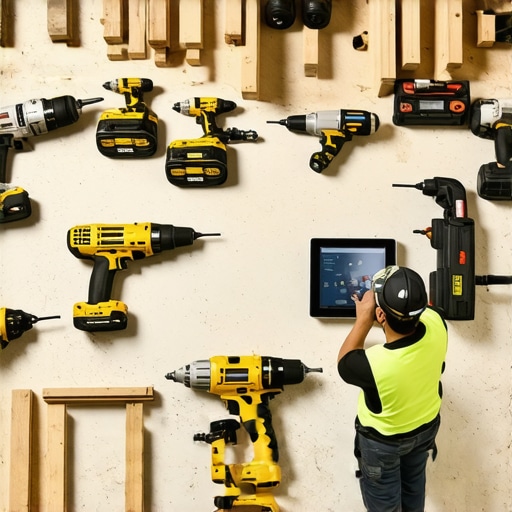
Note: Regularly updating and maintaining your tools and software not only keeps your projects on schedule but also extends their lifespan, ultimately saving money and reducing delays. Try implementing a scheduled maintenance routine today and see how it improves your workflow!
The Hardest Lesson I Learned About Building and Permitting
One of the most valuable insights came early when I underestimated the importance of soil compaction tests, leading to unforeseen foundation issues. This experience taught me that thorough soil assessment isn’t just an extra step—it’s your first line of defense against costly surprises.
Skipping proper permits and misreading local regulations cost me time and money—proper navigation of permit processes can make or break your project timeline. I learned that detailed upfront research on permits and code nuances saves headaches down the line.
Sharing my lapses in planning has helped me focus on proactive measures, like site evaluation and comprehensive testing, which ultimately lead to a smoother build process. My advice? Embrace the complexity early, and you’ll build with confidence.
Tools and Resources That Reshaped How I Build
For soil testing, I rely on the [nuclear density gauge](https://constructionedgez.com/estimating-home-additions-a-step-by-step-guide-for-2025) because its quick, accurate readings provide peace of mind. When navigating permits, the detailed guides offered by [Construction Edge](https://constructionedgez.com/the-complete-guide-to-permitting-for-new-builds-and-additions) have become my go-to reference, helping decode complex regulations.
In addition, using software like Buildertrend streamlines project management, keeping inspections and documentation organized. For estimation accuracy, [cost estimation strategies](https://constructionedgez.com/top-estimating-strategies-for-accurate-project-budgets) have been transformative, helping me plan with precision and avoid surprises.
Keep the Momentum Alive: Your Next Build Awaits
Remember, every project is an opportunity to learn and improve. By understanding the subtle yet critical aspects like soil conditions and permits, you can avoid pitfalls and achieve lasting success. Think of this as building more than just structures—you’re building experience and confidence with each step.
Are there specific challenges you’ve faced with permits or soil testing? Share your stories below—let’s learn together and elevate our construction game!