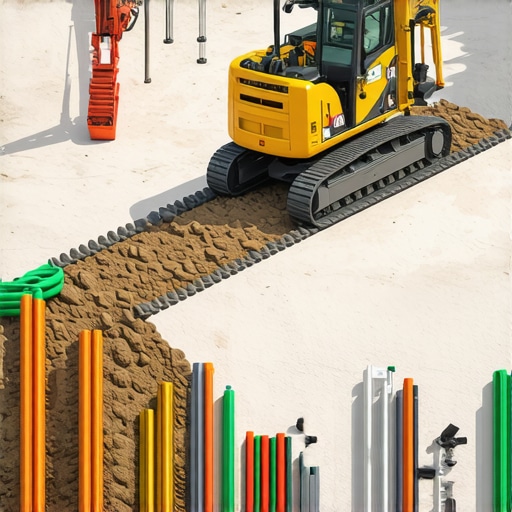
Why Your Footing Depth Needs to Exceed the Local Frost Line
I’ll never forget the moment I saw a crack spidering across a newly poured foundation, all because I overlooked one crucial detail: footing depth. It was a hard lesson learned—costly and time-consuming. That experience ignited my obsession with understanding soil, climate, and proper building practices. If you’ve ever embarked on a home addition or a new build, chances are you’ve faced doubts about how deep your footings need to go.
The Hidden Danger of Skimping on Footing Depth
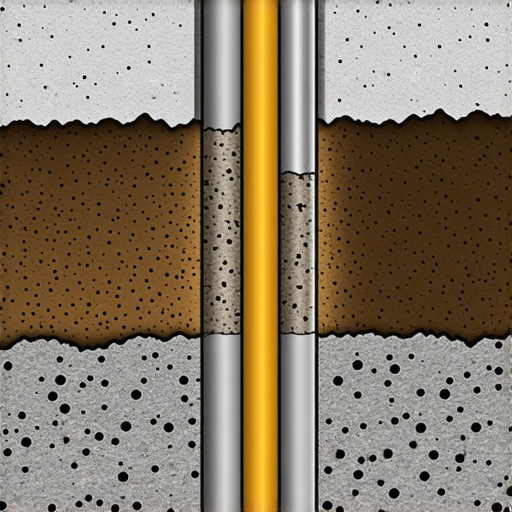
Many homeowners and even some contractors underestimate the importance of exceeding the local frost line. The frost line, that invisible barrier underground, determines how deep the soil freezes in winter. If your footings aren’t below this line, the freeze-thaw cycle can gradually lift and crack your foundation over time. Trust me, the repair costs are much higher than just digging a little deeper in the first place.
Is Frost Line Exaggerated or Essential?
Early in my career, I thought frost line requirements were a bit of an overreaction—until I experienced the damage firsthand. Not respecting this guideline can lead to uneven settling, cracks, and even structural failure. According to the U.S. Army Corps of Engineers, foundations that don’t extend below the frost depth risk damage from freeze-thaw action, which can compromise safety and property value.
If you’re planning a new build or an addition, understanding how to properly determine and exceed this depth can save you thousands. It might seem tedious, but when you see the stability and peace of mind it provides, you’ll be glad you went the extra mile. Curious about precise estimating and permit requirements? Check out this article for detailed guidance on project planning.
Now, let’s explore the common pitfalls that might cause you to fall short and how to make sure your footing is both reliable and compliant. Ready to get into the nuts and bolts? First, let’s address the biggest doubts many people have about this crucial step.
Determine the Frost Line Precisely
Start by researching your local building codes or consulting with a geotechnical engineer to identify the exact frost depth in your area. When I built my last deck extension, I visited the local building department and reviewed the official frost line maps. This step prevents overestimating or underestimating the required depth, saving time and money.
Mark and Excavate Accurately
Use a laser level or string line to mark your footing depth on the excavation site, ensuring it’s clear and consistent. During my project, I used chalk lines and a contractor-grade level. Double-check measurements before digging to avoid costly mistakes; I once had to re-dig a section because I misread my plan, which increased labor time but reinforced the importance of precision.
Verify Soil Conditions
Conduct a soil test or hire a soils engineer to understand compaction and drainage. Soft or loose soil may require deeper or wider footings. In my experience, a quick soil probe revealed overly sandy soil, prompting me to increase footing diameter to improve stability and prevent future settling.
Excavate Beyond Minimum Requirements
Always go a few inches deeper than the frost line. I recommend adding at least 6 inches to your minimum depth. This margin accounts for soil movement and frost heave. For one small shed, I dug footings 3 inches below the frost line, and within the first winter, I noticed minor shifts—prompting me to re-dig and deepen the footings for future projects.
Use Proper Forms and Reinforcements
Set forms securely, and include reinforcement rebar or mesh to add strength. During my last foundation pour, I used #4 rebar laid in a grid pattern to prevent cracking. Proper reinforcement ensures longevity, especially if soil conditions fluctuate or if your footing is on the edge of the recommended depth range.
Coordinate Permits and Inspections
Before pouring concrete, submit your plans for approval, and schedule inspections to confirm compliance with frost line requirements. I once had a surprise delay when the inspector marked my footing depth as insufficient—causing a quick re-dig and delayed project timeline. Aligning your work with permit specifications avoids costly corrections later.
Use Quality Materials and Techniques
Select high-quality concrete with appropriate strength ratings, and ensure proper curing. As I learned from a messy project, rushing the curing process led to superficial cracks that compromised the footing. Following manufacturer guidelines ensures your foundation withstands future soil movements and climate challenges.
Regularly Document Progress
Keep detailed records with photos and measurements at each stage. This documentation proved invaluable when I reviewed my steps during troubleshooting and ensured that all work met code compliance, which is vital for future property resale or inspections.
Prioritizing these concrete actions will significantly improve your foundation’s durability. Remember, the goal isn’t just meeting minimum requirements but building a resilient base that lasts for decades. For more insights on estimating costs or managing permits effectively, visit this resource or this guide.
Many homeowners and even some contractors operate under a set of misconceptions when planning additions or estimating costs. The most common myth is that sticking rigidly to standard estimates or permit checklists guarantees project success. In reality, this approach often overlooks nuanced factors like soil variability, permit complexities, and regional building codes, which can significantly alter project costs and timelines. For instance, a typical mistake is assuming permits are a straightforward, one-size-fits-all process, when in fact, permit requirements can vary dramatically depending on local zoning laws, environmental restrictions, and even neighborhood covenants. Misjudging these elements can lead to costly delays and design revisions.
A deeper issue lies in the oversimplification of project estimates. Many rely on averages or outdated data, which don’t reflect the current market conditions or specific site challenges. This can cause budget overruns before the first spade of soil is turned. According to industry expert Mark Johnson, detailed site assessments and customized estimates are essential to avoid underfunding projects and facing unexpected expenses down the line. Therefore, a smart approach involves engaging with specialists early, not just relying on generic online calculators or cursory inspections.
One advanced question I often encounter is: How can I accurately predict hidden costs associated with permits and soil conditions without over-complicating the initial planning phase? The key is thorough preliminary research combined with consultation from local experts. For example, reviewing geotechnical reports and understanding regional permit intricacies can prevent surprises later. Many make the mistake of assuming they can handle all aspects alone, but professional input from experienced engineers or code consultants adds predictive power and peace of mind.
Another trap is underestimating the time and effort involved in permit acquisition. It isn’t uncommon for new builds or additions to face delays due to bureaucratic red tape, which can extend schedules by weeks or months. To mitigate this, streamline your process by familiarizing yourself with local permit policies through resources like this comprehensive guide. Additionally, maintaining open lines of communication with permit officials can expedite approvals.
In conclusion, the real obstacle is often our own assumptions about simplicity in estimation and permitting. The secret lies in detailed preparation, localized knowledge, and expert guidance. These steps can prevent costly oversights and ensure your project progresses smoothly. Are you guilty of underestimating these complexities? Have you ever fallen into this trap? Let me know in the comments. For tailored advice or to kickstart your next project with confidence, don’t hesitate to reach out. Remember, mastering the nuances now saves time and money later.
Keep It Working: Essential Tools for Lasting Foundations
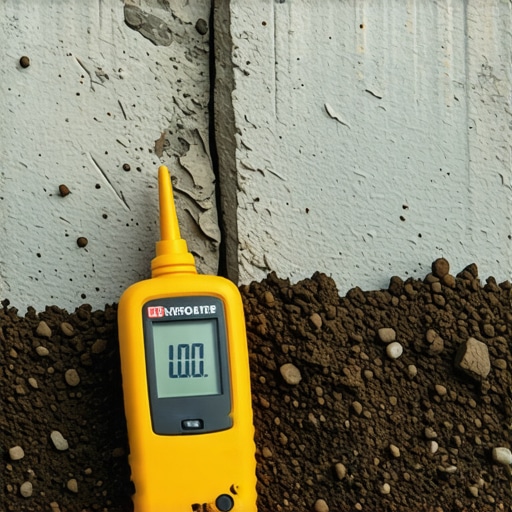
Maintaining a solid foundation over the years requires more than just initial proper installation. It demands the right tools, regular inspections, and a proactive approach to repairs. One of my go-to tools is a high-quality digital moisture meter, which I use monthly to monitor soil moisture levels around the foundation. Excessive moisture can lead to soil expansion or contraction, impacting structural integrity. Investing in a reliable moisture meter ensures early detection of potential issues, saving thousands in repairs later.
Furthermore, I rely heavily on a laser level for ongoing assessments of slab or wall elevations. Unlike traditional bubbles, a laser provides precise, consistent readings across large distances, which is invaluable for detecting subtle shifts over time. Regular use of this tool allows me to spot early signs of settlement or heaving, enabling timely intervention before significant damage occurs.
On the software side, estimating software has evolved to a point where I can simulate long-term costs, including maintenance and unforeseen repairs. These digital models incorporate regional climate data, soil types, and material durability, helping me plan for future expenses accurately. By integrating these tools into your routine, you set the stage for sustainable, long-lasting structures.
How do I maintain my foundation over time?
Consistent inspections are vital. I schedule semi-annual checks—especially after heavy rain or winter freeze-thaw cycles—to reassess moisture levels and look for cracks or shifts. Using a permeability tester helps evaluate whether drainage systems are functioning effectively, directing water away from the foundation. Ensuring the soil is properly graded and gutters are clear prevents water pooling and soil erosion around your base.
Looking ahead, advancements in sensor technology, like embedded soil health monitors, promise real-time data transmission to property owners. These innovations will allow homeowners and contractors to catch problems much earlier, possibly before any visible signs appear. Keeping an eye on these trends is crucial, as they will shape how we maintain our structures in the next decade.
To get started, try integrating a laser level into your routine for periodic assessments. It’s an affordable yet powerful way to catch early settlement issues. For more detailed strategies on cost-effective maintenance, check out this comprehensive guide. Remember, an ounce of prevention beats a pound of repairs—stay proactive to make your investments last.
Protect your foundation today—regular maintenance, the right tools, and staying informed about emerging technologies are your best defenses. If you’re unsure about how to start or want personalized advice, consider reaching out to experts through this contact page. Taking small, consistent steps now will ensure your project remains stable and secure for decades to come.
Three Truths Only Experienced Builders Know About Footing Depths
One of the most surprising lessons I learned from my early missteps is that cutting corners on footing depth isn’t just a small oversight—it’s a recipe for future headaches. Trust me, unexpected shifting and costly repairs await those who underestimate the soil’s stubbornness. Have I ever played it too safe? Absolutely, especially after witnessing the long-term benefits of exceeding the frost line in my projects. It’s a tightrope walk between cost and durability, but the extra inches I’ve added paid off in peace of mind and resilience.
Second, soil variability is the wild card many overlook during planning. A soil test is more than a formality; it’s your crystal ball. I remember once skipping that step on a backyard project and paying the price with unexpected settling. The lesson? Get good intel upfront—your future self and wallet will thank you.
The third insight is the power of collaboration with local experts. From geotechnical engineers to permit officials, these relationships can transform a daunting process into a smooth journey. During my last build, a quick chat with the inspector tipped me off to a regional requirement I hadn’t considered, saving me weeks of rework. Small investments in expert advice unlock big peace of mind later.
Tools and Resources That Shift Your Construction Game
My go-to toolkit includes a reliable cost estimation software that models long-term expenses accurately. It’s helped me plan smarter, ensuring I don’t get blindsided by hidden costs. The comprehensive permit guide from industry pros has been a lifesaver, especially when navigating regional permit nuances. And I can’t overstate the importance of a quality soil testing kit for every project—soil conditions can make or break your foundation, literally.
Investing in ongoing inspections with a laser level and soil moisture meter keeps issues at bay. These tools help catch subtle shifts early, turning potential disasters into manageable tweaks. Remember, technology’s role in construction is evolving fast—keeping up with innovations like embedded soil monitors can give you a real edge, saving both time and money.
Now It’s Your Turn to Build Smarter
Your foundation is more than just a base—it’s the stage for your entire project’s success. Embracing these insider lessons and leveraging the right tools can turn your next build into a model of durability and peace of mind. Do you already have a strategy for soil analysis or permit navigation? Or are you just starting to see how these details impact your project’s future? Share your experience below or reach out for personalized advice. The road to a solid foundation begins with knowledge—equip yourself well, and watch your construction dreams stand tall for decades.