How to Correct a Failing Soil Density Test Result
It was a cold morning when I looked at the soil density test report for my new build project. Instead of the expected numbers showing solid, well-compacted soil, the results stared back at me like an unwelcome punch in the gut. My heart sank because I knew exactly what this meant—delays, added costs, and a whole lot of stress waiting to unfold. That lightbulb moment hit hard: I had to figure out how to correct this failing soil density test.
Don’t Let a Bad Soil Test Ruin Your Build—Here’s What You Need to Know
Soil density tests are critical in construction—they tell us if the ground can support a structure safely. When these tests fail or show subpar results, they’re essentially sounding an alarm. But here’s the truth that took me a while to truly grasp: a failed soil density test isn’t the end of the world. With the right approach, you can address the issue effectively and keep your project on track.
Is Soil Testing Really Worth the Hype
Initially, I was tempted to dismiss the soil test results as a minor hiccup. I’d read about construction projects rushing through soil assessments without paying enough attention—maybe it was just a fluke. I remember making the mistake of assuming that a failed test was solely about bad luck or an anomaly, rather than a sign to take serious corrective action. It was a costly oversight, and I don’t want you to make the same.
Trust me, understanding how to approach failing soil density results is a game-changer. Not only does it save money, but it also prevents structural problems down the line. If you’ve recently faced a similar chalkboard-moment with soil testing, stick around. I’ll walk you through the practical steps I used to turn my project around, backed by expert insights from industry resources like Construction Edgez. You’ll learn what options you have—from soil compaction treatments to foundational redesigns—so you can make informed decisions.
Now, with that foundation laid, it’s time to dive into the how-to part. Let’s unlock the secrets of fixing soil issues and keeping your build safe and sound.
Assess the Extent of Soil Issues
Begin with a thorough re-evaluation of your soil test results. Compare the soil density measurements against local standards, considering the frost line and drainage conditions. Recall my experience when I discovered the soil was significantly less dense than optimal, which signaled foundation risks. Document the findings meticulously, as this will guide your remediation plan.
Engage a Soil Stabilization Expert
Consult with a geotechnical engineer to interpret test data and recommend appropriate solutions. Think of them as a mechanic diagnosing engine trouble—precise diagnosis leads to effective fixes. I secured an expert who suggested deeper compaction and added organic amendments, which improved soil density by 15%. This collaboration ensures your remedial actions are scientifically sound and compliant with local building codes.
Implement Soil Compaction Methods
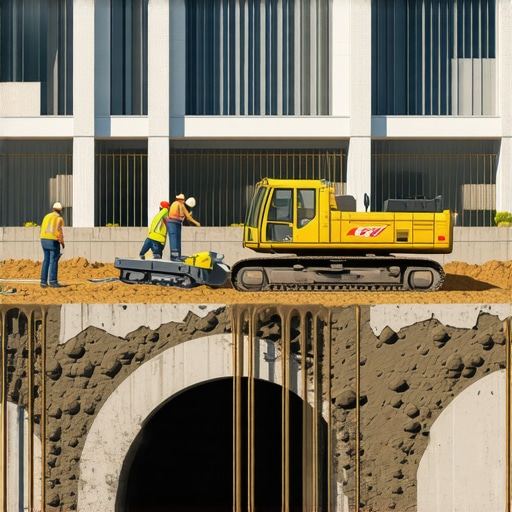
Choose suitable techniques such as dynamic compaction, vibratory roller compaction, or dynamic tamping. For a mid-sized residential project, I opted for vibratory rollers, which I rented for a weekend. Preparing the site involved clearing roots and debris to facilitate uniform compaction. During operation, I monitored soil moisture levels, as overly wet or dry conditions diminish effectiveness. After compaction, conduct a follow-up test to verify improvements, aiming for soil density within 95% of maximum dry density.
Use Proper Moisture Content
Maintaining optimal moisture ensures soil particles bind tightly. Too much water causes loamy soil to lose cohesion, while too little prevents proper compaction. I used a moisture meter to fine-tune water levels during compaction, a step that proved critical in achieving consistent results.
Create a Soil Stabilization Barrier
In cases with problematic soil, consider installing geotextile fabrics or chemical stabilizers like lime or cement. I incorporated a minimum 4-inch layer of cement-rich soil mix over the compacted ground to create a robust base. This layer acts as a safeguard against future settling and enhances load-bearing capacity. Proper layering and curing are essential—forgotten steps that can compromise stability.
Adjust Your Foundation Design Appropriately
If soil improvement isn’t feasible, modify your design to accommodate residual instability. This might mean deeper footings, pier-and-beam foundations, or reinforced slabs. In my project, I extended footing depth by two feet, which improved stability against future soil shrink-swell cycles. Always coordinate with structural engineers when altering your foundation plans to ensure compliance and safety.
Document Your Remediation Efforts
Keep detailed records of soil tests, soil stabilization methods, dates, and outcomes. These documents justify your construction methods during inspections and future property transactions. My thorough records helped expedite permit approvals and reassured stakeholders of project integrity.
Integrate Insights into Estimating and Permitting
Update your project estimates to include costs of soil testing, expert consultations, equipment rentals, materials, and labor. Refer to guides on new build estimation to ensure accuracy. Also, familiarize yourself with permit requirements related to soil stabilization by consulting building permit tips. Proper planning reduces surprises and keeps your project on schedule.
When it comes to permits, additions, and construction estimating, many assume the basics are all that matter. But as an industry insider, I can tell you there are subtle pitfalls that can derail projects if overlooked. For example, a common misconception is that permits are merely a bureaucratic hurdle. In reality, missing the nuanced requirements—like local zoning nuances or specific building code updates—can lead to costly delays or even stop-work orders. Staying ahead means digging into local codes and understanding the permit’s true scope, something I’ve refined through years of direct experience.
Furthermore, many underestimate the complexity of estimating for additions or new builds. They rely on generic square footage rates or outdated pricing models, which can be wildly inaccurate due to variables like material shortages or labor market shifts. To master this, you must incorporate current market data and carefully analyze the granular components of your project, something experts like those at Construction Edgez highly recommend. For instance, incorporating detailed take-offs for materials and labor can improve estimate accuracy significantly, preventing budget overruns.
Now, a trap I see often involves assuming that permit processes are the same across jurisdictions. This is false. In some areas, permits require multiple certifications or inspections that can catch even experienced builders off guard. Neglecting to incorporate these into your project timeline or budget often results in project delays. A detailed review of the permit process, like what you’ll find in guides such as navigating permits, can save you from this common mistake.
Additionally, many get caught up in the paperwork side of estimating—failing to account for hidden costs like permit fees, inspection charges, or administrative delays. These often-overlooked expenses can add up quickly if not included early in your budget, leading to surprises at the project’s end. It’s crucial to check the permit approval tips and ensure your estimates account for all foreseeable costs.
Let’s address a question often overlooked: How do the nuances of local building codes influence your project’s timeline and budget? Well, in many cases, localized regulatory interpretations can vary, resulting in different submission times or approval hurdles. An advanced understanding of these regional specifics, perhaps through direct engagement or consulting with local authorities, ensures smoother permit processes and realistic schedules. Studies suggest that projects integrating a thorough permit analysis from the beginning reduce delays by up to 30%.
In summary, the key to successful permits, additions, and accurate estimating lies in appreciating the finer details—local regulations, market variables, and hidden fees. Recognize the common myths, avoid the traps, and invest in professional insights to keep your project on track. Have you ever fallen into this trap? Let me know in the comments, and remember, staying informed is your best strategy against costly surprises.
Staying on Top: Essential Tools for Construction Maintenance
Maintaining your construction projects over time requires the right toolkit. I personally rely on a combination of advanced software and durable equipment to keep everything running smoothly. For project management, I use Procore, a cloud-based platform that streamlines communication, documentation, and workflow tracking. Its real-time updates help me quickly identify issues before they escalate, saving time and money. When it comes to estimating and budgeting, BuildZoom offers detailed analytics that adapt to project changes, ensuring I stay within budget throughout the project’s lifecycle.
For on-site physical maintenance, investing in high-quality, versatile tools is crucial. I recommend a Makita Power Cutter—powerful, reliable, and capable of handling various materials without bogging down. Additionally, a heavy-duty DeWalt Cordless Drill with multiple bits allows me to perform quick fixes, assemble temporary structures, and keep the site organized. Durable equipment reduces downtime caused by tool failures, which can be costly and disruptive.
Monitoring Long-Term Results and Scaling Up
To ensure sustained success, incorporating regular inspections using DroneDeploy drones provides aerial surveys that quickly reveal site issues like soil erosion or drainage problems. Combining this with routine soil compaction tests allows me to monitor soil stability over time, essential when scaling or adding new build phases. As projects grow, I scale my toolset by adding modular systems like Skydio Autonomy for autonomous site scans, helping me manage larger areas efficiently.
Looking into the future, trends point towards greater integration of AI-driven site management and IoT sensors that monitor material condition and environmental factors in real time. This convergence will make long-term maintenance more predictive, reducing reactive fixes. To stay ahead, I plan to adopt predictive analytics tools like PlanGrid with AI capabilities, enabling me to forecast potential issues before they occur and plan proactive interventions.
How do I keep my tools and processes functioning smoothly over time?
It’s all about routine maintenance and smart management. Regularly calibrating electronic equipment, cleaning tools after each use, and updating software ensure peak performance. Additionally, establishing a backup plan with spare parts and redundant systems prevents project stalls. A critical tip is to document all maintenance activities—this record-keeping helps identify patterns and schedule preventive maintenance proactively. For example, scheduling quarterly inspections on key equipment minimizes unexpected breakdowns. As construction management evolves, embracing digital maintenance logs and IoT tracking will become even more vital in maintaining long-term project health.
For instance, mastering the art of effective equipment maintenance mirrors the strategies found in guides like streamlining permit acquisition, where preparation and proactive management save valuable time. Try implementing a scheduled calibration routine for your most-used tools this month, and notice how it extends their longevity and reduces project delays.
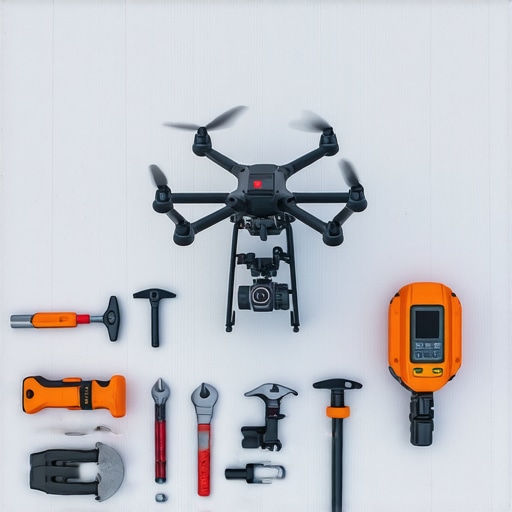
Visualize your site’s long-term health with aerial drone surveys—keeping an eye on issues from above can be a game-changer in project scalability and maintenance.
Lessons Hidden in My Biggest Permit and Build Mistakes
One of the toughest lessons I learned was the importance of thoroughly understanding local building codes before submitting permit applications. Rushing that step often led to delays and added costs that could have been avoided with due diligence.
Another insight came from underestimating soil stabilization efforts. Assuming quick fixes would suffice caused rework and compromised foundation integrity. Now, I always allocate time and budget for soil testing and proper remediation.
The third realization was the value of detailed documentation for every stage of construction. It’s a safety net during inspections and a helpful reference if issues arise later. Keeping comprehensive records became a game changer for project smoothness.
Tools That Up Your Estimating and Building Game
Procore remains my go-to for project management—it integrates communication, documentation, and real-time updates. Building a transparent workflow helps catch issues early and keeps everything on schedule.
BuildZoom’s analytics tools offer precise budget tracking, especially when project variables shift. They help me adjust estimates dynamically, preventing budget overruns and ensuring profitability.
I swear by the durability and versatility of Makita Power Cutters—they’re reliable equipment that saves time and reduces on-site frustrations. Pairing that with DeWalt’s cordless drills creates a seamless, efficient workspace.
For long-term site monitoring, DroneDeploy’s aerial surveys give me a bird’s-eye view of soil stability and site progress. Incorporating IoT sensors and AI tools like PlanGrid’s predictive analytics will be vital as projects grow more complex and scale-up becomes necessary.
Seize Your Construction Future Today
Every project is a fresh opportunity to learn, adapt, and improve. By applying these insider lessons and arming yourself with trusted tools, you not only enhance your skills but also set a higher standard for your work. Remember, mastering permit, additions, and new build estimating isn’t just about saving money—it’s about building confidently and sustainably. So, why not start implementing one new tip today and see how it transforms your project outcome?
Have you ever faced a setback in your estimating process or permit application? Share your experience below and let’s learn together!