Why Your Foundation Depth Depends on This Soil Test
I remember the day I almost blew my entire new build project because I overlooked an essential soil test. It wasn’t a massive disaster, but it was close enough to make me realize that I’d been trusting assumptions instead of facts. Standing at the edge of my soggy, questionable lot, I saw my project nearly sinking before it even started. That was my lightbulb moment: understanding why foundation depth relies heavily on soil testing. If you’re about to embark on a new build or addition, ignoring this step could cost you dearly – in money, time, and headache.
The Foundation for Success Begins Beneath Your Feet
Before you start pouring concrete or placing those first beams, the ground beneath your home holds secrets that are vital to its stability. Soil isn’t just dirt; it’s a dynamic, layered system that behaves differently based on moisture, compaction, and composition. A soil test reveals critical details—like soil bearing capacity—that help determine the correct foundation depth. Skipping or misunderstanding this step might seem like a small detail initially, but it can lead to cracks, settling, or worse—structural failures down the line.
Is Soil Testing Really That Crucial?
I used to think that a standard inspection would suffice, especially for smaller additions. My early mistake was assuming soil conditions were uniform—an easy misconception. Turns out, soil varies vastly even within a few yards, influenced by weather, previous land use, and natural deposits. Rushing through or skipping soil testing is like building a house on shifting sands—sure to lead to problems. According to the US Geological Survey, proper soil assessment is one of the most overlooked but critical steps in construction planning. Ignoring it could cost you a rebuild—or at least a hefty repair bill.
If you’ve faced uncertainty or unexpected cost overruns related to unstable ground or cracking foundations, you’re not alone. I’ve been there, and I learned the hard way that understanding soil conditions isn’t just good practice—it’s essential. Now, I want to guide you through the why and how of soil testing, so your build is as solid as it should be from the ground up. Ready to dive into the specifics that can save your project from the pitfalls of uneven, poorly understood soil? Let’s get to it and bridge the gap between assumptions and reality.
Start with a Professional Soil Assessment
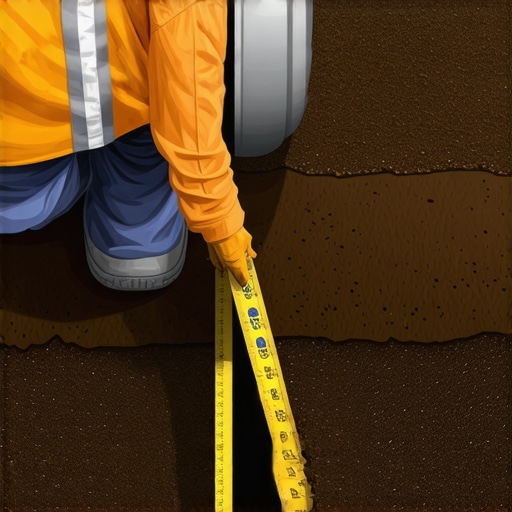
My first step was hiring a qualified geotechnical engineer to perform a comprehensive soil test on my lot. This involved boring deep into the ground at multiple points to analyze soil layers, moisture content, and bearing capacity. Think of it as a doctor taking vital signs before prescribing a treatment—critical for understanding what the ground can support. When I scheduled this service, I provided my lot’s GPS coordinates and detailed site plans through the engineer’s online portal, ensuring accurate sampling locations. This initial test revealed unexpected clay layers that would require deeper footings, saving me from future cracks and settlement issues.
Select the Right Testing Method
There are several test types, but for new builds, Standard Penetration Tests (SPT) and Cone Penetration Tests (CPT) are most common. I opted for SPT due to its cost-effectiveness and detailed soil profile. This involves driving a hollow tube into the ground with a split spoon sampler, recording resistance at various depths. The results inform my foundation depth calculations and allow the structural engineer to design appropriately. If you’re unfamiliar with these procedures, consult your local geotechnical firms or get recommendations from experienced builders.
Interpreting Test Results Correctly
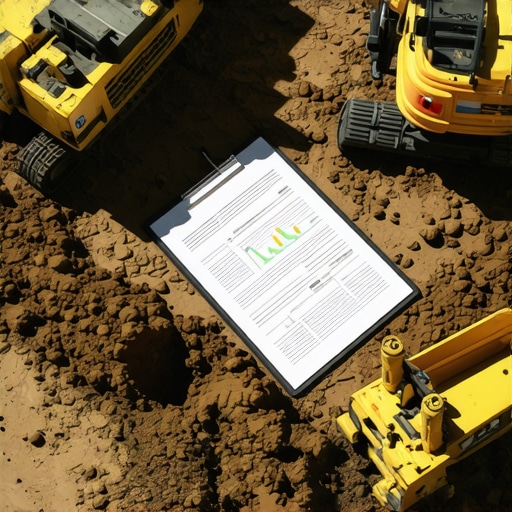
After receiving the lab reports and field data, I worked closely with my foundation specialist to interpret the findings. They explained that low bearing capacity could mean deeper, more reinforced footings. This step is crucial; misinterpreting soil data might lead to underestimating foundation depth, risking future settlement. I cross-referenced the results with technical standards outlined in the Estimating Costs for New Builds guide to ensure accuracy. Remember, soil conditions can vary even within your property, so avoid relying on neighboring lot data or assumptions alone. If your initial test shows problematic soil, soil stabilization techniques such as grouting or replacing the poor soil with better material might be necessary.
Integrate Soil Data into Your Foundation Plan
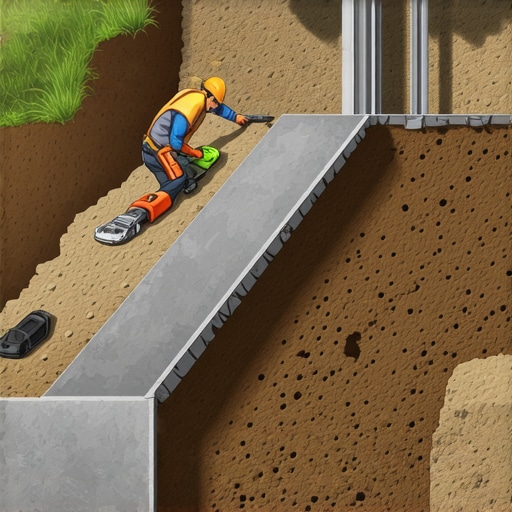
Once you understand the soil’s properties, you can work with your structural engineer to determine the appropriate foundation type—be it slab, pier, or deep piling. My concrete footings were extended deeper into stable soils identified through testing, leading to a more durable foundation. This professional insight ensures your build stands strong against future challenges like floods or expansive soils. For detailed guidance on handling permits and other pre-construction steps, visit this comprehensive permitting guide. Remember, documenting your soil test results and foundation specifications is vital for permit approval and insurance purposes.
Keep Routine Checks During Construction
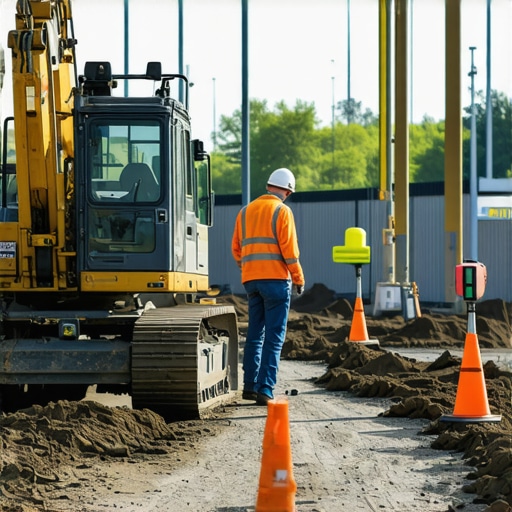
Soil can change with weather and during excavation. I scheduled periodic inspections to verify that excavation and compaction matched the soil report’s specifications. These routine checks prevent surprises—like soil collapsing or uneven support—that could compromise your foundation. Think of it as ongoing health monitoring for your project’s bedrock. If you encounter unexpected soil conditions, don’t hesitate to consult your geotechnical engineer again—the cost of a re-test can prevent costly repairs later. Always maintain detailed records of your test results, foundation plans, and inspections to streamline permit renewals and future expansion plans.
By approaching soil testing methodically and integrating its results into your design process, you lay the groundwork—literally—for a successful build. For more insights on estimating and planning your entire project, explore our estimation strategies to ensure your project stays on track and within budget.
Many homeowners and even some builders operate under misconceptions that can lead to costly mistakes. One prevalent myth is that permits are merely bureaucratic hurdles; in reality, they are essential safeguards ensuring your project meets safety and code standards. Ignoring permit requirements can result in fines, delays, or even the need to tear down work that doesn’t comply—costing you time and money. Understanding the permitting process thoroughly, as outlined in our comprehensive guide, can save you from these pitfalls.
Keep Your Tools in Top Shape for Lasting Results
As homeowners and builders, we often focus on the initial phases of construction—permits, estimating, and foundation work. However, maintaining your tools and equipment over time is equally crucial to ensure consistent quality and efficiency. Regular upkeep prevents costly breakdowns and prolongs the lifespan of your investments, ultimately saving you time and money on future projects.
One of my personal favorites is a high-quality cordless drill, like the Milwaukee M18 FUEL. Its brushless motor, combined with a robust battery management system, ensures reliable performance even after thousands of holes. I make it a point to keep it clean, charge the batteries after each use, and replace worn brushes or bits promptly. This simple routine avoids unexpected failures during critical moments, especially when working on tight schedules.
Beyond handheld tools, software plays a pivotal role in project management. I personally rely on estimating software that helps me track costs and schedule milestones accurately. Regular updates and data backups prevent accidental loss of crucial information, keeping my projects on track.
Where are the Trends Heading?
Looking ahead, I believe the integration of IoT (Internet of Things) devices in construction will become commonplace. Imagine sensors embedded in your equipment that monitor usage and performance, alerting you proactively to maintenance needs before breakdowns occur. This predictive approach will revolutionize how we approach maintenance, shifting from reactive to proactive care, and ensuring tools perform optimally over decades.
How do I maintain my equipment over time?
Consistency is key. I recommend scheduling routine inspections every few months, cleaning tools meticulously, lubricating moving parts, and updating software regularly. Also, keeping an organized storage system—like wall-mounted tool racks or dedicated bins—reduces wear and tear caused by improper handling. Manufacturers often provide detailed maintenance guides; following these ensures warranty compliance and maximizes lifespan. For example, manufacturers suggest annual rewiring or part replacement for power tools subjected to heavy use—details found in their manuals or industry standards.
Investing in higher-quality tools might seem costly initially but pays dividends over time. The durability and efficiency gains mean fewer replacements and less downtime. As technology continues to advance, keeping abreast of new maintenance techniques—like using microbial cleaners to remove rust or corrosion—can give you an edge in sustaining your equipment’s performance. Keep an eye on emerging trends, and don’t hesitate to try innovative methods to streamline your maintenance routine.
Remember, well-maintained tools are the backbone of reliable and safe construction. Don’t overlook their importance, especially as your projects scale or grow in complexity. Want to implement a more proactive approach? Start by scheduling monthly check-ins for your most-used equipment, and consider investing in digital maintenance logs. Small steps now can lead to big savings and smoother builds in the long run.