The HVAC Ducting Error That Kills Attic Conversions
I remember the moment clearly — hammer in hand, plans laid out, and excitement bubbling as I envisioned transforming my attic into a cozy, functional space. But within days, that excitement turned into frustration. The culprit? A seemingly tiny mistake in how I handled the HVAC ducting upfront. What I didn’t realize then was how one overlooked detail could sabotage my entire project.
The Hidden Danger Lurking in Your Attic Conversion: Ducting Errors
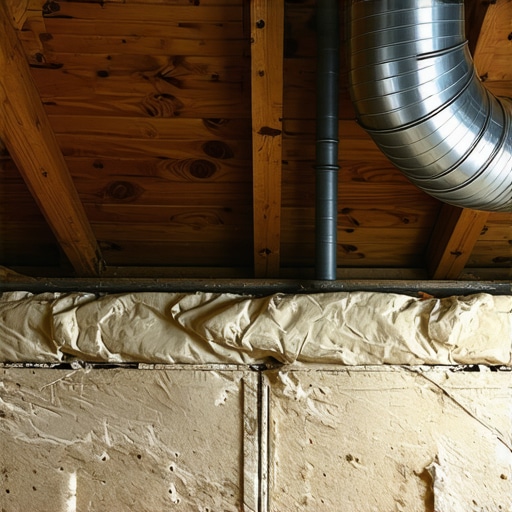
Many homeowners and even some contractors underestimate the importance of proper HVAC duct planning during attic conversions. An improper duct setup not only hampers energy efficiency but also leads to costly rework or, worse, project failure. The mistake I made early on was assuming that duct placement was a mere afterthought, which is a trap that can kill your attic remodel before it even begins.
Did you know that poor duct insulation or improper routing can increase energy costs by up to 30%? According to the U.S. Department of Energy, efficient ductwork is crucial to minimize energy waste and ensure a comfortable living environment — especially in transformed spaces like attics.
If you’re considering an attic addition, it’s vital to get this aspect right from the start. In my experience, neglecting proper planning here can lead to delays, increased expenses, and serious headaches down the line. But don’t worry—I’ll walk you through how to avoid these pitfalls and get your project moving smoothly.
Is It Really Worth the Extra Effort? The Skeptic’s Perspective
I admit, it’s tempting to cut corners, especially when you’re eager to see results. Early in my project, I thought I could handle duct routing on the fly, trusting my contractor to fix any issues later. That approach backfired, costing me additional labor and materials.
The key is understanding that the right initial investment in duct planning pays off in the form of lower energy bills and a headache-free process. For detailed guidance on permit processes and how to streamline approvals, check out [permitting tips for home additions](https://constructionedgez.com/adding-value-with-expert-home-additions-a-construction-guide).
Now, let’s delve deeper into the common ducting errors and how you can prevent them before they derail your attic conversion. By addressing these issues early, you’ll save time, money, and frustration — and make the entire renovation a success.
Start with Precise Planning and Layout
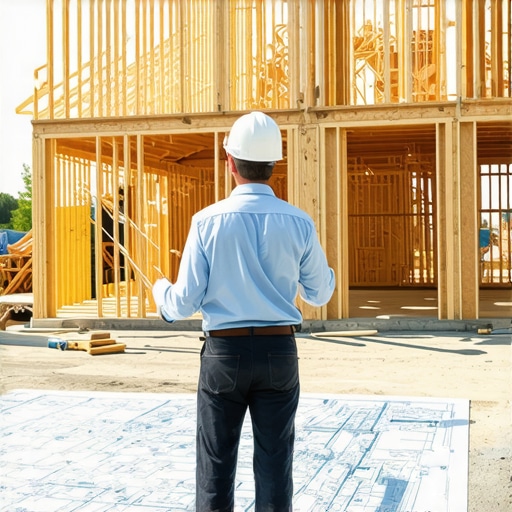
My first step was creating a detailed duct plan using a digital CAD program, just like drafting a blueprint for a new house. I measured the attic dimensions, noting obstructions like joists and beams. This minimized surprises during installation and ensured optimal airflow. When I realized my duct routes intersected with insulation spaces, I corrected the paths early, preventing future inefficiencies.
Map Out the Duct Pathways
Visualize the airflow from the HVAC unit to every outlet. Use flexible ducting for tight spaces but keep routes straight whenever possible. Avoid sharp bends—these increase resistance, leading to higher energy consumption. Remember, duct routing is like water pipes: smooth, direct flows reduce pressure loss.
Implement Proper Insulation and Sealant
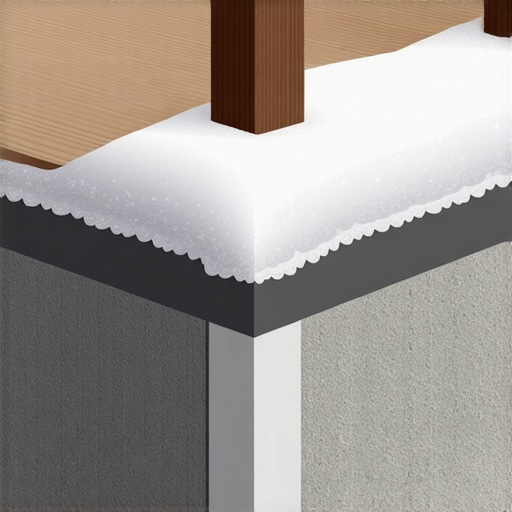
Insulation is critical for energy efficiency. I used R-6 foil-faced insulation on all duct sections, sealing joints with mastic tape. This prevents heat loss and condensation. I also tested for leaks with a smoke pencil—any drafts alerted me to seal gaps, maximizing system performance.
Coordinate with Building Codes and Permits
Before installation, I researched local code requirements—like the 3-foot clearance around vents—and obtained necessary permits through the permitting process. Correct documentation avoided delays, and I scheduled inspections at key milestones to ensure compliance.
Gather Accurate Material Estimates
I used cost-effective estimating techniques to determine the amount of ducting, insulation, seals, and supports needed. Accurate estimates prevented over-ordering or shortages, keeping the project within budget.
Secure Quality Components
Quality matters. I avoided cheap materials that might fail prematurely—sacrificing comfort and increasing costs later. Instead, I selected UL-listed duct seams, high-R insulation, and robust fasteners, ensuring durability and compliance.
Execute with Precision and Flexibility
During installation, I used a flexible duct snips for clean cuts, and support straps every 4 feet to prevent sagging. I avoided over-tightening connections to prevent damage. Staying adaptable, I prepared for adjustments—you never know when a joist might be in the way, requiring rerouting.
Test and Balance the System
After assembly, I turned on the HVAC and used a flow meter to measure air output at each register. Adjustments to dampers ensured balanced airflow, maintaining comfort and saving energy. This step is critical—think of it as tuning a musical instrument for harmony.
Final Inspection and Documentation
Once satisfied, I registered the work with the local building department, referencing adding value guide. Proper documentation simplifies future maintenance and potential resale, while inspections confirm everything meets the approved plan.
Many homeowners assume that permits, add-ons, and estimating are straightforward processes—simply submit forms, get approvals, and calculate costs. However, this oversimplification can lead to costly mistakes and delays. In my experience, one common misconception is that permits are a mere administrative step rather than a vital safety and compliance measure that influences project scope and design. Overlooking this can cause significant rework if plans don’t meet local requirements, as detailed in adding value with expert home additions.
Another misconception is that estimating is purely about counting materials and labor hours. In reality, accurate estimation demands understanding hidden costs, permits, inspections, and unforeseen issues. Many underestimate these factors, leading to budget overruns. Using cost-effective estimating techniques can dramatically improve accuracy, especially when factoring in local permit fees and potential delays.
A frequent trap is equating the permit process with just paperwork. In actuality, permits often dictate specific design constraints, build methods, and inspection points, effectively shaping the entire project timeline. For instance, failure to secure necessary permits before construction can halt progress and incur fines or penalties, as discussed in understanding permit processes for successful home additions.
Advanced project planners recognize that permits and estimates are intertwined—permit requirements influence cost estimates and vice versa. Misjudging this relationship can cause project scopes to balloon or face rejection during inspections. For example, some underestimate the importance of early permit application preparation, which can streamline approvals and prevent costly redesigns. As noted by industry experts, mastering these nuanced relationships ensures smoother project execution.
In my practice, I’ve seen that neglecting these subtleties often results in last-minute surprises that derail timelines and blow budgets. The key is proactive planning: engaging with local authorities early, understanding their expectations, and integrating permit-related considerations into your estimating process. This foresight can save you time, money, and stress.
Have you ever fallen into this trap? Let me know in the comments. Being aware of these often-overlooked nuances will empower you to approach your next project with confidence and precision.
Tools I Recommend for Long-Term Success
Managing a construction or remodeling project requires more than just good intentions; it demands precise tools that help you monitor progress, stay organized, and ensure quality over time. Personally, I rely on a combination of software and physical equipment designed for durability and accuracy. One of my go-to digital tools is Buildertrend, which streamlines communication, scheduling, and document management. Its cloud-based interface means I can access project info anywhere, ensuring consistent oversight—a critical factor as projects grow in complexity.
Additionally, I swear by Laser Distance Measurers like the Leica DISTO D2. This compact device allows me to take quick, accurate measurements on-site without the need for cumbersome tapes. Its Bluetooth capability means I can sync measurements directly to my CAD or estimating software, reducing errors and saving time—key benefits when managing permits and ensuring that your build adheres to code specifications.
Why Invest in Quality Equipment
The long-term payoff of high-quality tools is undeniable. They not only improve accuracy but also extend their lifespan, reducing replacement costs and downtime. For example, durable laser tools with waterproof and dustproof features withstand the harsh conditions of ongoing construction, maintaining reliability throughout the project lifecycle. This consistency keeps your permit applications, inspections, and ongoing maintenance smooth and predictable.
Future Trends in Construction Management Tools
Looking ahead, advancements in AR (Augmented Reality) are set to revolutionize job site planning and inspection processes. Imagine overlaying digital blueprints directly onto physical spaces to catch issues before they become costly problems. As this technology becomes more accessible, I predict an increased emphasis on real-time, collaborative supervision—making projects more efficient and reducing rework related to permit or design misalignments.
How do I keep equipment and techniques effective over time?
Regular maintenance is key. For digital tools, this means updating software, calibrating measurement devices annually, and backing up project data. Physical tools should be cleaned after every use and stored in moisture-controlled environments. Establishing routine inspections and calibrations—like checking laser levels and distance meters quarterly—ensures ongoing accuracy. Additionally, training is essential; staying current with new versions of your software or equipment can prevent obsolescence and keep your workflow smooth.
To improve your project management, try integrating permit tracking systems with your estimating or scheduling tools. This integration minimizes the risk of delays caused by overlooked permit requirements, especially when scaling up or handling complex add-ons.
Don’t forget: the right tools and consistent maintenance build a foundation for long-term success. For example, if you’re considering a new build, invest in sophisticated estimating software to account for all hidden costs and permit fees, reducing surprises during inspections. Explore adding value through meticulous planning, which is essential as projects expand in scope.
Now, challenge yourself: pick one tool or maintenance routine from this list and commit to implementing it in your next project. The payoff will be a smoother process, fewer permit headaches, and a reliable construction environment.
What I Wish I Knew Before Starting My Attic Remodel
The biggest lesson I learned was the importance of proactive duct planning. Assuming duct placement was a minor detail almost doubled my costs and delayed my project. From user experience, I realized that early, detailed layout design can prevent headaches down the line.
Fighting for permits and understanding local code nuances often feels like an obstacle course. Engaging with local authorities early saved me from red flags and unnecessary redesigns. This taught me that building a solid relationship with permit offices accelerates approval and keeps your project on track.
Overestimating my expertise in estimating costs initially led to budget overruns. Learning to incorporate hidden expenses like permit fees and inspections changed my approach, emphasizing comprehensive, realistic estimates that safeguard your finances.
Tools and Resources That Made a Difference
High-quality digital planning tools like Construction Edgez’s comprehensive guides helped me visualize duct routes and plan permits effectively. Their step-by-step strategies boosted my confidence and technical accuracy.
The Leica DISTO D2 Bluetooth laser measure became an indispensable on-site asset, providing quick, precise measurements that integrated seamlessly into my planning software. It reduced errors and saved time during critical phases.
Staying current with evolving codes and permit processes through platforms like Construction Edgez’s permit navigation guides kept my project compliant and streamlined.
Your Next Step Starts Today
Embarking on an attic conversion or any home addition is a journey—one that rewards meticulous planning and continuous learning. Trust yourself to apply these lessons, utilize the best tools, and enjoy the transformation process. Remember, the key to success lies in your hands—ready to take that first step?
Have you ever faced unexpected delays or costs in your permit or estimating process? Share your experiences below, and let’s learn together to build smarter and smoother projects.