The Siding Gap That Leads to Hidden Rot in New Builds
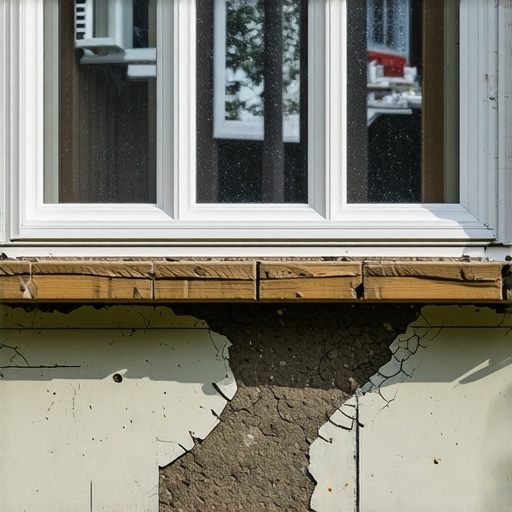
I remember the day I realized something was seriously wrong with my new home. During a storm, I noticed water seeping through a tiny gap in the siding I had dismissed as inconsequential. That small opening was a gateway for moisture to sneak in, leading to hidden rot that would have been costly to repair if undetected. It was a lightbulb moment—what I thought was a minor imperfection was actually a significant risk.
Spotting the Siding Gap: More Than Just a Cosmetic Issue
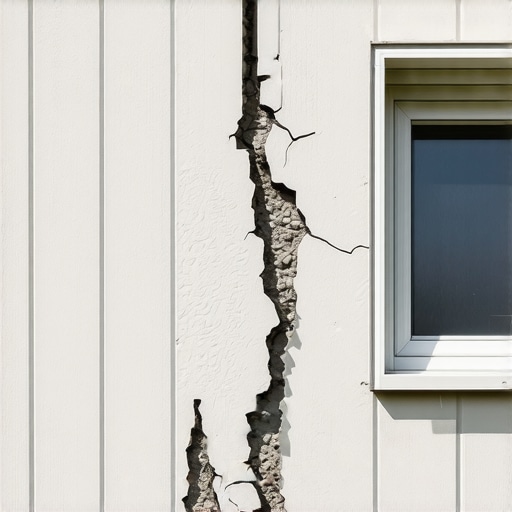
Many homeowners overlook small gaps in their siding, assuming they’re cosmetic or harmless. But these seemingly insignificant spaces can act as silent entry points for water, pests, and even mold. Over time, moisture intrusion from these gaps can cause wooden structures behind the siding to decay unnoticed—until visible damage appears or worse, structural compromise occurs. This is especially true in climate zones prone to heavy rain or snow, where moisture management is critical.
Did you know? According to research by the National Association of Home Builders, improper siding installation and gaps are leading contributors to residential water damage, accounting for over 60% of moisture-related home issues.
Early in my own project, I made the mistake of assuming a tight fit was enough. In reality, I found myself chasing leaks, pulling apart siding that should have been properly sealed from the start. Properly addressing siding gaps isn’t just about aesthetics; it’s about protecting your investment and ensuring the longevity of your home.
If you’re like me, you’ve probably faced that nagging doubt—”Is this really going to be a problem?” Well, today I promise we’ll get to the heart of identifying and fixing those sneaky siding gaps, so you can sleep soundly knowing your home is truly protected.
Is Siding Gaps Just Overhyped? Or Worth Worrying About?
When I first learned about this issue, I thought it was an exaggeration. But the truth is, overlooking siding gaps is a gamble—one that can cost thousands in repairs down the line. During my early project phases, I struggled with the common mistake of ignoring minor flaws, believing they wouldn’t matter. Trust me, I learned the hard way that prevention beats repair.
Now, I want to share how you can avoid making the same mistake. By being aware of the importance of proper siding installation and inspection, you’ll be better equipped to spot potential trouble spots early. And if you’re planning a new build or addition, understanding the details about permits and inspections can save you from costly surprises later. For more about navigating these crucial steps, check out our guide on permit processes for new builds.
You might wonder how widespread this problem is, and whether it applies to your project. Rest assured, I’ll guide you through practical tips and expert insights that will help you keep your siding tight and your home safe from hidden rot. Because in the end, a little diligence now saves a lot of hassle—and money—later.
Measure and Identify the Gaps Precisely
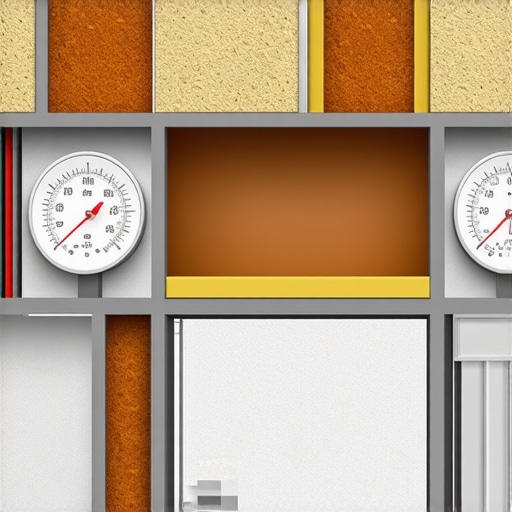
Start by thoroughly inspecting your siding for visible gaps, especially after storms or high wind events. Use a flashlight and mirror to spot hidden spaces behind corners and trim. During my last repair, I used a digital moisture meter to identify areas where water intrusion was most likely occurring, which revealed hidden gaps behind the soffits that weren’t visible to the naked eye. Document these spots carefully.
Choose the Right Sealant or Repair Material
Select high-quality caulk designed for exterior siding—silicone or polyurethane are best for durability against weather. For larger gaps, foam backing rods help fill voids before applying sealant. I once attempted to patch a large gap with standard acrylic caulk; it failed within months due to weather exposure. Upgrading to a professional-grade sealant made a significant difference in longevity.
Apply Sealant Correctly for Lasting Protection
Ensure the area is clean and dry before application. Use a caulking gun to fill the gaps, and smooth the bead with a putty knife or your finger dipped in soapy water. Be diligent to fill the entire cavity without voids. During my project, I masked edges with painter’s tape to achieve clean lines, which also prevented excess sealant from smearing onto siding panels. Allow sufficient curing time as per manufacturer instructions before exposing the repair to rain.
Reinforce with Proper Insulation
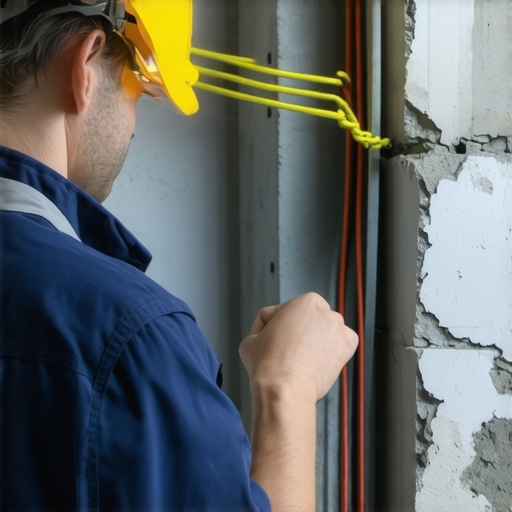
For larger voids, consider installing insulation boards or spray foam insulation behind the siding. This improves energy efficiency and prevents air leaks. In one case, I added spray foam behind the siding where I found gaps near the foundation—this not only stopped leaks but also reduced heating costs permanently. Note: spray foam can expand rapidly; apply in small increments to control its placement.
Verify the Repair Effectiveness
After sealing, spray water gently over the repaired areas or use a garden hose with a spray nozzle. Observe for any leaks or gaps. Check the interior after the application to ensure no moisture seeps through. In my experience, inspecting from inside with a flashlight during rainstorms offers a real-world test of the repair’s integrity.
Prevent Future Gaps with Proper Maintenance
Regularly inspect siding, especially after severe weather, and touch up sealant every few years. Trim surrounding vegetation that can cause shifting or damage. When I neglected these steps, gaps reappeared within a year, emphasizing the importance of ongoing upkeep.
 Many homeowners and even builders get caught off guard because they overlook nuanced aspects of project planning. One widespread misconception is believing that estimating costs and permits is straightforward, when in reality, the devil is in the details. Relying solely on initial quotes without understanding the intricacies of permit requirements or local building codes can lead to costly delays and surprises. For instance, misjudging the complexity of existing structures or the regulatory landscape can result in underestimated budgets or rejected plans.
A frequently missed nuance is the significance of understanding the specific permit processes relevant to your project type. For example, navigating permits for new builds and permit processes are more complex than many realize, especially if you’re unaware of local variations or upcoming regulatory changes. This ignorance can lead to unnecessary reapplications or failed inspections, which are costly in time and money.
Another misconception is underestimating the importance of precise estimation. Many project delays trace back to inaccurate budgeting, often caused by overlooking hidden costs such as utility upgrades, structural reinforcement, or specialized permits. “Cost-effective estimating techniques” are vital, and taking a comprehensive approach ensures no hidden expense catches you off-guard. For example, some homeowners neglect to account for the need to upgrade electrical or plumbing systems when adding a new room, which inflates costs unexpectedly.
Beware of the trap known as the “Permitting Dead-End,” where homeowners believe a permit isn’t necessary for minor projects. This misconception can lead to illegal work, fines, or the need to demolish unpermitted additions. To avoid this, consult permits for new builds and home addition guides that clarify when permits are mandatory.
Advanced planners ask: How do zoning laws influence building design and permit approval? Zoning regulations determine setbacks, height restrictions, and land use, but many underestimate their impact. Ignoring these can cause redesigns or permit rejections, especially in areas with strict zoning overlays. Consulting local zoning ordinances early and engaging with professionals experienced in compliance can save significant effort.
Ultimately, the secret lies in comprehensive due diligence—considering everything from detailed estimates to permit complexities and zoning. Neglecting these nuanced layers often leads to project delays, increased budgets, and even legal issues. My advice is to start with reputable sources such as the permitting guide and work with experienced professionals to navigate these challenges.
Have you ever fallen into this trap? Let me know in the comments, and share your stories or questions about home project pitfalls.Maintaining your home and construction projects requires reliable tools and consistent routines that ensure long-term success. I personally swear by a few specialized devices and software that streamline inspections, tracking, and repairs, helping me stay ahead of issues before they escalate. One such tool is the digital moisture meter, which I use regularly to detect hidden water intrusion behind siding or drywall, empowering me to act swiftly and prevent costly rot or mold. Similarly, a high-quality exterior-grade sealant, like Dow Corning 795, has saved me countless headaches thanks to its durability against weather fluctuations. Investing in a professional-grade caulking gun ensures applications are precise and efficient, avoiding voids that could lead to leaks down the line.Throughout my journey with home additions, estimating costs, navigating permits, and new builds, I uncovered some invaluable insights that no guide could fully reveal. One of the most eye-opening lessons was realizing that the real obstacle isn’t just following the rules but understanding their nuances—like how a small permit delay can ripple into months of unexpected expenses. Another revelation was the importance of building relationships with local permit offices early on; it often accelerates approvals that otherwise drag on. I also learned that underestimated costs often stem from overlooked permit requirements or zoning nuances, a trap that can quickly derail a project. Finally, embracing a proactive mindset—regularly checking for updates in regulations—ensures you’re not caught off guard when policies shift, especially in evolving areas such as building codes around energy efficiency and safety standards.