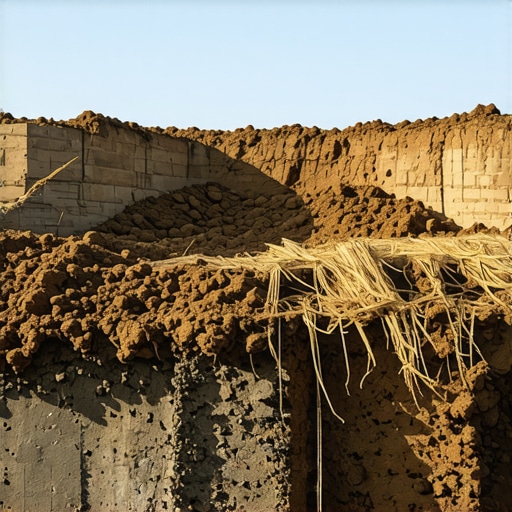
Why your new build needs a permanent erosion control plan
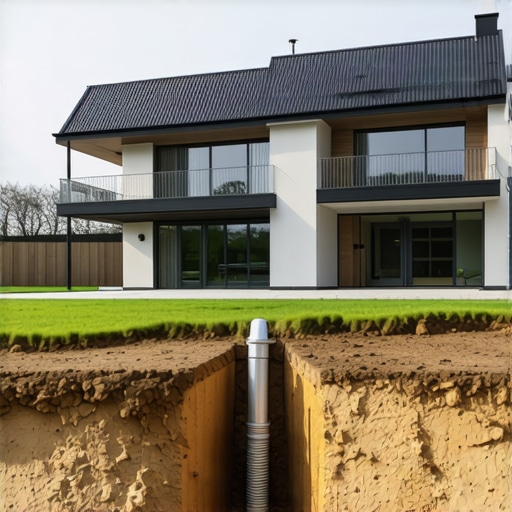
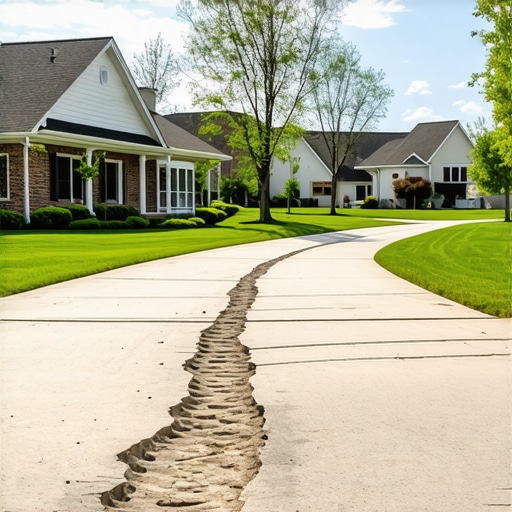
I vividly remember the moment I overlooked creating a permanent erosion control plan for my new build. It was a sunny spring morning when I stepped onto my freshly landscaped yard and watched in dismay as dirt and small debris started washing down the driveway during a sudden rainstorm. That sinking feeling of realizing I had skipped a crucial safety measure hit me hard. It wasn’t just about the mess; it was about the oversight that could have led to more serious problems, like soil instability and potential regulatory issues.
The Hidden Cost of Ignoring Erosion Control
This experience taught me a valuable lesson—**a proper, permanent erosion control plan isn’t just a recommendation; it’s an essential part of responsible construction**. Without it, you risk significant damage long-term and face costly fixes down the line. Trust me, I learned that the hard way, and I want to save you from the same mistake. From soil erosion to property damage, neglecting this step can undermine the integrity of your entire project.
Are You Wasting Time and Money by Skipping the Erosion Plan?
Many new builders and homeowners underestimate how quickly erosion can become a problem, especially in areas prone to heavy rainfall or wind. Early on, I thought I could handle erosion control with temporary barriers, but I underestimated how vital a comprehensive, permanent solution truly is. In fact, the Environmental Protection Agency notes that inadequate erosion controls can lead to increased sedimentation in local waterways, which harms ecosystems and results in regulatory penalties (source).
If you’re currently navigating your build permits and planning, have you faced the dilemma of whether to prioritize erosion controls? Trust me, integrating a well-thought-out plan early saves you from headaches—and expenses—later. In the sections ahead, I’ll guide you through crafting a permanent erosion control plan that protects your property and keeps your project compliant with local regulations.
Establish Clear Goals for Erosion Control
Begin by defining the specific erosion risks on your site, considering sloped terrains, soil type, and rainfall patterns. Like planning a road trip, knowing your starting point and destination helps determine the best route. When I built my new backyard, I assessed the slope and soil instability to choose appropriate techniques—this preparation saved me from future headaches.
Design the Erosion Control Strategy
Assess Site Strengths and Weaknesses
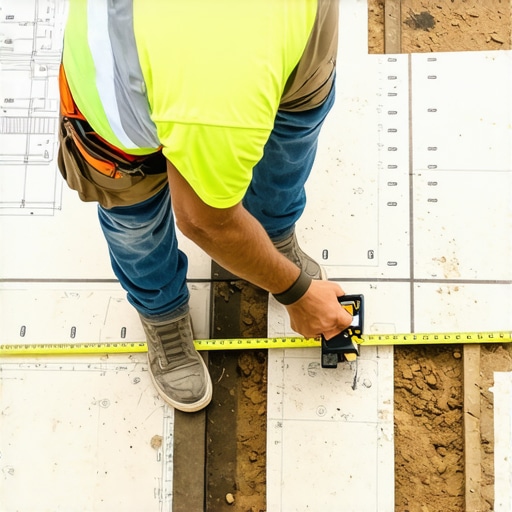
Conduct a detailed survey to identify vulnerable areas, noting features such as creek crossings or steep gradients. Use visual aids like site maps to visualize erosion hotspots. This step resembles drawing a blueprint for a building—precise planning avoids waste and rework.
Select Appropriate Materials and Techniques
Choose materials like native vegetation, geotextiles, or stone check dams suited to your site’s requirements. For my project, I embedded erosion control blankets and installed silt fences around the perimeter—these permanent fixtures kept soil in place during heavy rains.
Implement Erosion Control Structures
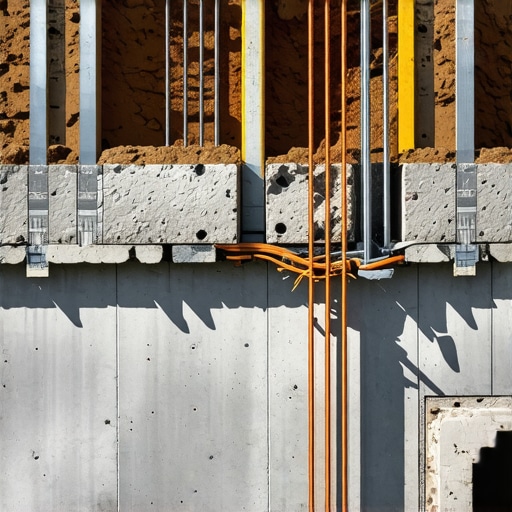
Start with the installation of structural measures in critical zones, ensuring they are anchored effectively. Like building a dam, these barriers must withstand flow pressure. I laid fabric rolls along slopes and placed stone barriers at drainage points, which collectively reduced runoff velocity and soil displacement.
Develop a Maintenance Schedule
Schedule regular inspections, especially after storms, to identify and repair damage promptly. I set reminders to check silt fences and vegetation growth regularly; neglecting maintenance can turn a good plan into a failed one. Consistent care ensures long-term stability.
Coordinate with Permitting and Regulations
Research local regulations by consulting resources like permitting guides and ensure your plan complies. When I submitted my erosion control plan, I included detailed drawings and maintenance protocols, which facilitated approval and minimized delays.
Document Your Plan and Actions
Create comprehensive records of your design, installations, and inspections. Photos, diagrams, and maintenance logs serve as proof of compliance and can be useful during inspections or future upgrades. This documentation proved invaluable when I needed to demonstrate ongoing compliance during a routine review.
Many assume that the process of planning a new build or addition is straightforward, but the reality is far more nuanced. A top mistake I see is oversimplifying the permitting process, which often leads to costly delays. While some believe permits are mere formalities, in fact, understanding the permitting landscape can make or break your timeline. Many project planners underestimate the complexity, especially when local regulations require detailed site plans and multiple approvals. This oversight can result in rework, fines, or even halt-work orders, which are preventable with proper preparation.
A common myth about estimating is that accurate budgets can be achieved through rough calculations alone. In my experience, precision in estimating requires a detailed, line-item approach, accounting for variables like material costs, labor rates, and contingency funds. Relying on averages or outdated data often leads to budget overruns. For example, neglecting to account for recent increases in material prices can inflate costs significantly.
Advanced builders know that one of the most overlooked aspects is the hidden impact of site-specific factors on costs and schedules. Site access, soil conditions, and existing infrastructure can add unexpected complexity. A good rule of thumb is to conduct thorough site assessments and incorporate buffer costs into estimates from the start. Doing so avoids the trap of underestimating and facing mid-project financial strain.
**What lies beneath these misconceptions?** It’s that many assume the permit and estimate processes are one-time tasks—once submitted or calculated, they’re done. However, both require ongoing communication and adjustments. For instance, permit applications often go through multiple revisions, especially in complex projects or densely built environments. Likewise, estimates should be viewed as living documents, updated regularly with real-time data.
Building expertise in these nuances can save you thousands of dollars and countless hours. It’s worth investing the effort to understand the intricacies beyond the basic checklists. For a deeper dive, check out top estimating strategies and learn how to refine your budgeting skills.
Keep in mind the importance of anticipating these advanced pitfalls early. Don’t wait until delays or budget blowouts occur — proactive planning makes all the difference. Have you ever fallen into this trap? Let me know in the comments.
Once your building project is underway, maintaining its systems and structure becomes an ongoing priority. Using the right tools and routines ensures that your investment stands the test of time and adapts to future needs. I personally rely on a combination of precision measurement devices and software solutions to keep everything on track.
Invest in High-Quality Inspection Tools
For routine maintenance, I swear by a digital moisture meter and thermal imaging camera. The moisture meter helps me identify leaks or dampness early, preventing costly damage like mold or rot. The thermal camera reveals hidden heat leaks or electrical issues that can escalate if unnoticed. These tools have saved me from surprise failures by allowing proactive interventions.
Leverage Construction Management Software
In my experience, project management software such as Buildertrend or CoConstruct streamlines maintenance tracking and future planning. These platforms allow you to log inspections, record repairs, and plan upgrades. This data becomes invaluable for long-term budgeting and maintenance scheduling. As construction technology advances, I predict AI-powered systems will offer predictive maintenance insights, foreseeing issues before they occur.
Establish Routine Maintenance Checks
Creating a regular schedule—say, quarterly inspections—for your erosion control measures, drainage systems, and structural elements keeps your site in prime condition. During these visits, I check silt fences for tears, inspect drainage pipes for blockages, and verify the stability of retaining walls. Consistency is key; neglecting these checks can quickly reverse your hard-earned progress.
Harness the Power of Digital Documentation
Maintaining detailed records of all inspections, repairs, and modifications helps in troubleshooting and future planning. I keep digital logs supplemented by photographs and diagrams, making it easier to track wear and tear. This documentation has proved useful not only for ensuring compliance but also when considering future additions or upgrades.
Plan for System Upgrades and Scaling
Considering long-term growth, I advocate for designing with flexibility. For example, installing conduit pathways during initial construction can save time when adding electrical systems later. Similarly, selecting adaptable landscaping materials makes future changes smoother. Thinking ahead reduces costs and downtime when your project scales or requires renovations.
How do I maintain building systems over time?
Key to sustaining this approach is adopting a mindset of continuous improvement. Regularly updating your maintenance checklist based on system performance ensures you stay ahead of potential failures. I recommend reviewing your systems at least annually, consulting with specialists when needed, and staying informed about new tools or methods. For instance, exploring expert insights on home additions can inspire efficient upgrades that maximize your property’s value.
Starting with a dedicated maintenance plan and using precise tools can dramatically extend the lifespan of your build. A good place to begin is trying out a thermal imaging camera during your next inspection—it’s a game-changer for early problem detection.