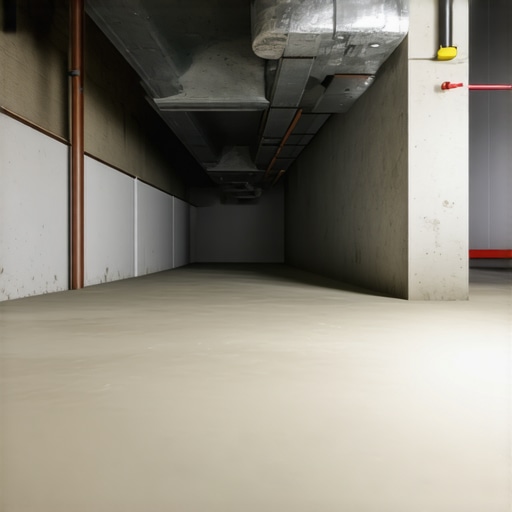
Why Your Walk-out Basement Needs a Dedicated Drainage Plan
It was a cold, rainy evening when I stepped into my basement and noticed a small puddle creeping across the floor. At first, I brushed it off as minor—after all, waterproofing was supposed to handle this, right? But as the days went on, that tiny leak turned into a persistent problem, a constant reminder that I had overlooked a crucial detail: a proper drainage plan for my walk-out basement. That lightbulb moment made me realize how many homeowners underestimate the importance of a dedicated drainage system, especially when it comes to basements susceptible to moisture issues.
Why Neglecting Drainage Can Cost You Big Time
A walk-out basement offers incredible value—additional living space, storage, or even rental units. But without a well-thought-out drainage plan, those benefits can quickly turn sour. Excess water from rain or snowmelt can seep in, causing damage to your foundation, fostering mold growth, and degrading your property’s value. It’s not just about keeping your basement dry; it’s about safeguarding your entire home
adding value with expert home additions. I learned this lesson early on after making the mistake of assuming that standard drainage measures would suffice. The result? Costly repairs and a lot of sleepless nights.
If you’ve ever faced persistent dampness, musty odors, or seepage after heavy rain, you already understand why a tailored drainage approach is essential. Today, I’ll walk you through how to develop a drainage system that actually works—saving you money, time, and stress in the long run.
Is a Drainage Plan Really Worth the Hassle?
Honestly, I questioned whether all the effort was necessary at first. But skipping this step can lead to foundation problems—problems that can cost thousands to fix. For example, improper grading or overlooked underground utilities can create flooding channels right where you least want them. According to a report from the
American Society of Civil Engineers, effective drainage is a critical component of sustainable building design, especially for basements vulnerable to water intrusion.
Early in my project, I made the mistake of assuming existing gutters and downspouts were enough. They weren’t. A simple yet overlooked detail—connecting downspouts to proper underground drains—made all the difference and prevented future headaches.
Now, I want to help you avoid that costly lesson. Whether you’re planning a new build, finishing your basement, or upgrading an existing one, establishing a dedicated drainage system is the best investment you can make. Ready for step-by-step guidance? Let’s dive into how you can plan, design, and implement a drainage system that truly protects your home.
Assess Your Site and Outline Your Drainage Needs
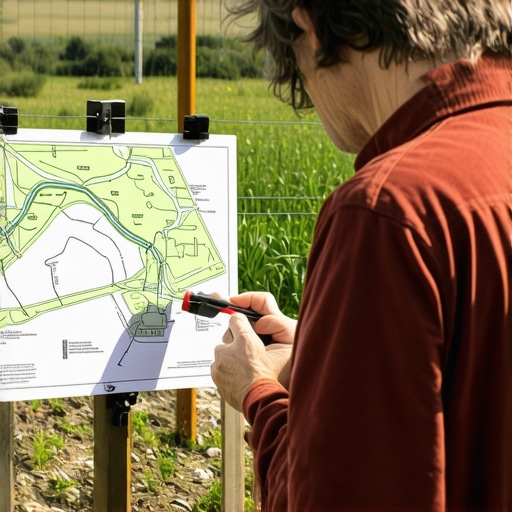
Before diving into installation, thoroughly evaluate your property’s terrain, existing grading, and water flow patterns. Conduct a site survey to identify low spots where water tends to pool and analyze how rainwater naturally moves across your property. During my own project, I spent a weekend mapping out the land, marking high and low points with spray paint—this visual helped pinpoint critical drainage zones and prevent future flooding issues. Use this information to plan where to direct runoff away from your foundation and basement entries.
Create a Proper Grading Plan
Proper grading directs water away from your foundation, reducing basement moisture problems. Aim for a slope of at least 6 inches over the first 10 feet away from the house. When I built a new approach to my walk-out, I used a laser level and a survey-grade long board to ensure a consistent slope. Maintaining this slope during excavation is vital; I double-checked repeatedly as I worked, and adjusting the grade saved me from costly rework later. This step ensures water doesn’t stagnate near the foundation.
Design and Install Drainage Features
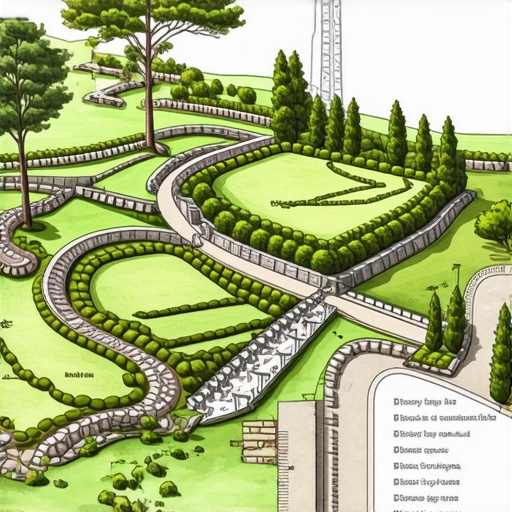
Implement a combination of drainage solutions tailored to your site. Install French drains alongside foundation walls, with perforated pipes wrapped in filter fabric to prevent clogging. Connect downspouts to underground pipes that lead water away from the basement. I installed a series of underground pipes that channeled water to a dry well, significantly reducing surface runoff near my basement. When laying pipes, ensure they have a continuous slope—about 1%—is crucial for proper flow. Remember, integrating these features early prevents water infiltration.
Set Up Proper Downspout Connections
Direct gutters to underground pipes instead of letting water fall next to the foundation. Use flexible sleeves or adapters to connect downspouts securely to the piping system. A mistake I made was neglecting to extend my downspouts far enough from the foundation; once I added extensions and cleaned my gutters regularly, basement dampness decreased dramatically.
Implement Waterproofing and Sealants
Complement your drainage system with basement waterproofing measures. Seal cracks and add a waterproof membrane to vulnerable areas. During my renovation, I applied a high-quality sealant along the interior walls and installed a drainage mat system to facilitate water movement and absorption. Periodic inspection and maintenance are necessary to sustain effectiveness.
Maintenance and Continuous Monitoring
Establish a routine to clear gutters, inspect drains, and ensure slopes remain correct after heavy rains or soil shifts. I scheduled biannual inspections and kept a checklist to promptly address any issues. This proactive approach prevented minor issues from becoming major headaches and kept my basement dry year-round.
Developing a tailored drainage system involves precise planning, quality installation, and ongoing maintenance. By systematically evaluating your site, designing effective features, and regularly monitoring them, you can protect your basement from moisture intrusion and preserve your property’s value.Many homeowners and even seasoned contractors operate under a set of common myths when it comes to permits, new builds, additions, and estimating costs. Let’s dig deeper beyond the surface and identify the nuanced mistakes that can derail your project or lead to unexpected expenses.
Myth: Permits Are Just a Formality
Everyone says permits are merely bureaucratic hurdles, but in reality, they serve crucial safety and compliance functions. Skipping or shortcutting permit requirements can result in costly fines or mandated demolition—a trap many overlook. For example, failing to secure the correct permits for a foundation extension might seem minor initially, but makes your entire project vulnerable to legal issues and insurance disputes down the line.
The Oops Factor: Misjudging Scope and Cost Buffers
One of the sneakiest errors is underestimating project complexity or not factoring in permit delays and unforeseen conditions into your budget. A common mistake is assuming that because a building code isn’t explicitly detailed, it’s not a risk. In fact, silent code updates and local amendments often catch builders off guard, leading to costly rework. Reliable sources like expert estimating guides emphasize the importance of contingency planning—something many overlook, resulting in what’s known as ‘cost creep’.
How Can Advanced Planning Minimize Hidden Costs?
Smart project management involves understanding that permits and estimates are interconnected. For example, hiring a permit specialist or reading through comprehensive permitting guides helps set realistic timelines and budgets. Additionally, employing detailed estimating techniques—like reviewing local utility fees, soil testing costs, or special inspections—can prevent surprises later.
Many assume that initial estimates are sufficient, but as studies from top-estimating strategies suggest, adapting estimates throughout the project lifecycle is an advanced skill that keeps the project financially healthy. It’s essential to recognize that costs like permit fees, engineer reviews, and impact fees can add up quickly, especially in complex jurisdictions. Be proactive—consult local building departments early, and incorporate their feedback into your budget and timeline.
To avoid costly mistakes, consider establishing a process of periodic review with your contractor or project manager, focusing specifically on hidden costs and permit compliance. Remember, every overlooked detail can translate into delays, fines, or irreversible project issues. If you’re planning a significant addition or new build, explore detailed guides like Navigating Permits: A Step-by-Step Approach to ensure compliance and efficiency.
Have you ever fallen into this trap? Let me know in the comments. Awareness and proactive planning are your best tools against hidden pitfalls.Maintaining your construction projects over time is essential to ensure durability, safety, and value retention. I rely on a combination of advanced tools and methodical approaches to keep everything functioning smoothly, whether it’s a new build, an addition, or routine maintenance. One hardware necessity I recommend is a high-quality digital moisture meter, such as the Tramex CME4, which provides instant, accurate readings of moisture levels in walls, floors, and foundations. This device helps me detect early signs of water intrusion or mold, allowing for timely intervention before costly damage occurs.
How do I maintain my drainage and waterproofing systems over time?
Regular inspections are key. I schedule biannual reviews to check gutters, downspouts, and drainage pipes for blockages or shifting. For example, during fall clean-up, I remove debris from gutters and confirm that downspouts extend at least five feet away from the foundation, as suggested by industry standards. Additionally, applying waterproof sealants on vulnerable surfaces every few years helps preserve their integrity. I prefer using a silane-siloxane penetrating sealer, which provides long-lasting protection without altering the surface appearance.
Leveraging software for estimating and planning scalability
As projects grow in complexity, I increasingly depend on software solutions with robust estimating capabilities. Tools like PlanSwift or Buildertrend enable me to create detailed, customizable estimates that consider fluctuating material costs and labor rates. For instance, I input current prices from suppliers into these platforms, allowing me to generate more accurate budgets and avoid surprises. With real-time updates, adjusting project scope becomes more manageable, especially when planning expansions or multiple phases.
The future of maintenance and scaling in construction
Trends point toward integrating IoT (Internet of Things) sensors and AI-driven analytics for ongoing monitoring. Imagine a future where your foundation and framing have embedded sensors that send health reports directly to your smartphone or contractor’s dashboard, alerting you to shifts or stress points instantly. Emphasizing preventive measures now ensures long-term success and prepares your projects to scale effectively as demands increase, saving both time and money.
Consistent upkeep with dedicated tools
For those managing multiple properties or large projects, I suggest investing in a portable, rugged inspection camera like the FLIR C3. It facilitates quick visual assessments in hard-to-reach areas, identifying issues like hidden leaks or insulation gaps. Combining this with digital record-keeping helps track repairs over years, ensuring ongoing functionality. Remember, proactive maintenance with the right tools can extend your project’s lifespan and reduce operational costs.
Final tips to stay ahead
Make routines and checklists a habit. Periodic reviews—say, every six months—covering drainage, sealants, and structural components, keep problems from escalating. Incorporate the use of software estimations to plan for scaled projects, ensuring budget flexibility. And stay informed by following industry updates and emerging tech trends to adapt your maintenance strategies accordingly. By integrating these tools and practices, you’ll build more resilient, scalable projects that stand the test of time.
If you’re ready to streamline your estimate preparation, I recommend trying advanced estimating software like PlanSwift or engaging with comprehensive guides on cost estimation best practices. These resources can make a significant difference in managing long-term costs and project scaling—don’t overlook their potential!Embarking on construction projects like permits, new builds, or home additions can be both exciting and daunting. Over time, I realized that some of the most impactful lessons come from unexpected setbacks—like underestimating permit complexities or overlooking crucial site details. One lightbulb moment was recognizing that every project benefits from anticipating hidden costs and understanding the nuances of local regulations, rather than relying solely on generic estimates. My advice? Embrace a mindset of continuous learning and stay proactive by consulting industry resources and experts. This approach ensures your projects are not only successful but also fulfilling, transforming potential pitfalls into valuable growth opportunities.