Why Your Driveway Pitch Needs a Drainage Review
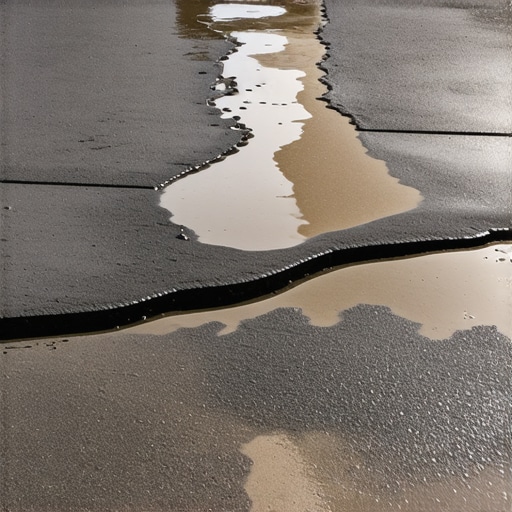
I’ll never forget the moment I realized our new driveway was a sinking liability. After a heavy rain, I stepped out, expecting a smooth entry, only to find puddles pooling where my concrete was supposed to be solid. It was a lightbulb moment—turns out, that unassumed slope and poor drainage weren’t just minor flaws, but ticking time bombs for my entire project. I learned the hard way how crucial a proper driveway pitch and drainage review are for long-term durability and peace of mind.
The Hidden Danger in a Sloped Driveway
If you’ve recently built or plan to improve your driveway, there’s a good chance you’ve focused on the aesthetic or material costs. But often overlooked is the foundation beneath—specifically, the pitch that guides water away effectively. Poor drainage can lead to soil erosion, cracks, and even water seepage into your garage or basement, causing costly repairs down the line. Early on, I didn’t realize that simply misjudging the slope could jeopardize the entire structure. Don’t make the same mistake I did.
Is Drainage Just an Overhyped Concern?
Many homeowners dismiss driveway drainage as a minor detail. I used to be among them, assuming that a slight slope was enough, especially if the plan looked good on paper. But I learned that even a small miscalculation can have big consequences. Recent studies indicate that poorly designed drainage elevates the risk of foundation damage by up to 70% over five years. That’s not just opinion—it’s supported by engineers and building codes. For instance, you can refer to this detailed article to see how water runoff rules influence new builds and driveway grading.
My early mistake? I focused too much on finishing details and not enough on the nuances of slope and drainage. Think about it—how often do we truly consider how water moves around our property during the planning phase? Understanding this might be the difference between a driveway that lasts decades and one that needs frequent repairs.
In the sections ahead, I’ll show you simple steps to review your driveway pitch and drainage, ensuring your investment stands the test of time. Stay tuned—this is one aspect you shouldn’t overlook, regardless of whether you’re starting fresh or renovating an existing driveway. Have you faced water pooling or shifting pavement after heavy rains? Share your experiences below; I’d love to hear and help troubleshoot!
Assess Your Current Driveway Pitch and Drainage
Start by examining your driveway after heavy rains. Look for pooling water or soggy areas, which indicate drainage issues. Use a level or a transit to check the slope; ideally, your driveway should slope away from your garage or house at a rate of about 1 inch per 10 feet. I recall months ago, I used a carpenter’s level and a tape measure to gauge my driveway slope, which revealed it was almost flat, contributing to water puddling. Correcting this early prevents future deterioration.
Mark and Measure Critical Slope Areas
Identify the high and low points of your driveway. Use spray paint or chalk to mark existing slopes. Measure the gradient to see if it aligns with local codes; many jurisdictions require a minimum slope for effective runoff. For example, my driveway was too flat near the garage, causing water to flow back instead of away. Recognizing this allowed me to plan a proper regrading.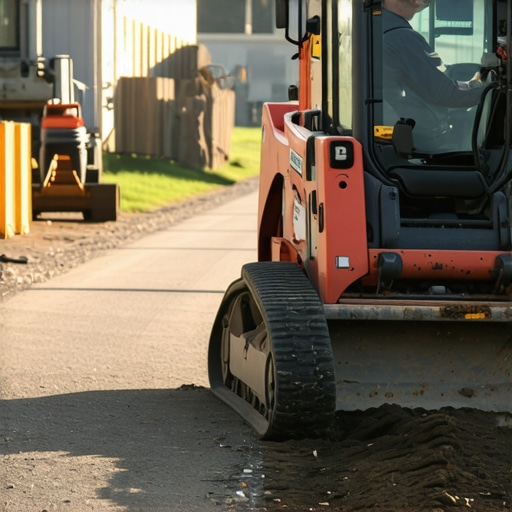
Plan for Regrading or Resloping
Determine the Needed Slope
Calculate the amount of slope needed using simple measurements. A common method is marking a 10-foot stretch and ensuring a 1-inch drop. This ensures water flows away efficiently. If your slope is insufficient, plan for grading adjustments. I opted for slight regrading using a rented skid steer, which proved effective in redirecting runoff.
Consult a Drainage or Grading Expert
For complex cases or significant slope adjustments, hire a professional. They can ensure grades meet local standards and won’t cause unintended issues, like directing water toward neighboring properties. I engaged a local landscaper who specialized in grading; their expertise saved me from costly mistakes.
Implement Effective Drainage Solutions
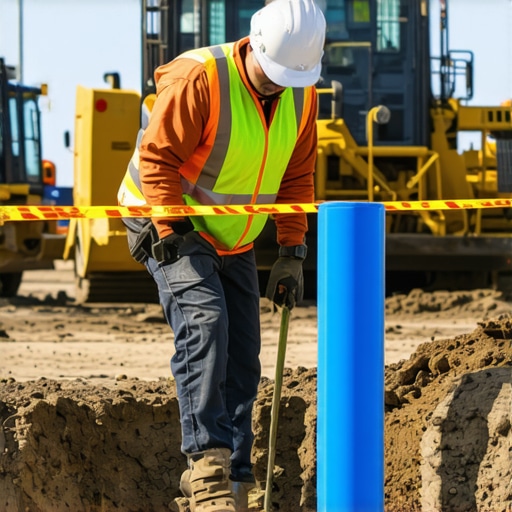
Options include adding swales, installing drain pipes, or adjusting the driveway’s base. For instance, I installed a French drain along the driveway edge to intercept water pooling. Proper installation ensures durability. Remember, these solutions should direct water into appropriate drainage systems or storm sewers.
Ensure Proper Drainage During Construction
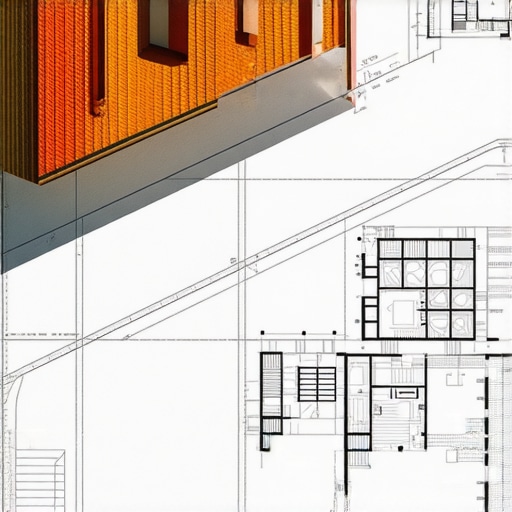
If building a new driveway, incorporate grading plans into the project scope. Communicate clearly with contractors about the needed slope and drainage features. I used detailed plans referencing this guide to ensure accurate execution. A well-designed drainage system enhances longevity and saves future repair costs.
Regularly Maintain Your Drainage System
Inspect and clean drains, swales, and gutters periodically, especially after storms. Blockages can cause water to back up and undermine the driveway. I learned to clear debris regularly, which prevented water pooling and preserved the driveway’s integrity over years.
Applying these strategies, backed by practical experience, transforms your driveway into a resilient feature. Ensuring proper pitch and drainage isn’t just about compliance; it protects your investment from premature failure and costly repairs.
When it comes to new construction projects, most homeowners and even professionals often rely on common wisdom that can be misleading. The widespread belief that permits are a straightforward bureaucratic hurdle or that estimating costs is simply about multiplying square footage by a fixed rate is overly simplistic—and risky. Let’s dig deeper into some nuances that can significantly impact your project’s success.
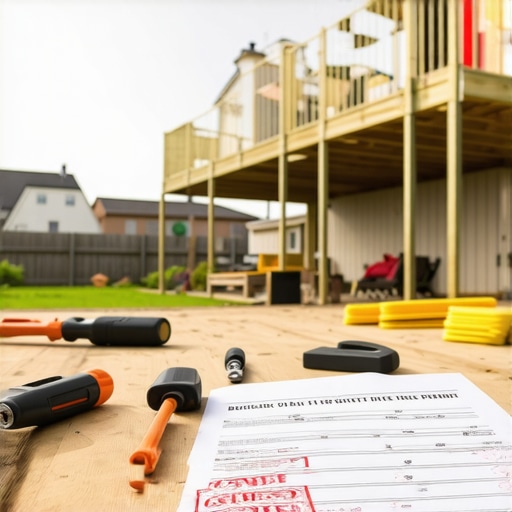
One prevalent myth is that permit acquisition is purely a paperwork challenge with predictable timelines. In reality, permits are deeply intertwined with local zoning laws, environmental regulations, and recent building codes. Missing a subtle requirement, such as setbacks or specific environmental protections, can cause delays or force costly redesigns. For example, failing to account for tree preservation ordinances can halt a project during the permit review process. A strategic approach is to thoroughly review your local regulations—use resources like this guide on streamlining permit acquisition for practical tips.
Similarly, many underestimate the intricacies involved in estimating costs for home additions or new builds. Relying solely on per-square-foot estimates leads to underestimating unseen expenses such as foundation reinforcements, unforeseen soil conditions, or utility upgrades. An advanced mistake I see often is neglecting to include contingency allocations or factoring in regional labor and material price fluctuations. Experts recommend detailed, itemized estimates that consider these factors—see mastering estimating techniques for an in-depth approach.
A common trap is assuming that all permits and estimates remain static once approved. However, project scope changes or unforeseen issues often develop mid-construction—leading to additional permits or scope revisions. Ignoring this dynamic aspect can cause delays and budget blowouts. Advanced planners create flexible schedules and design scopes that accommodate potential modifications.
From my experience, the most sophisticated builders actively communicate with permit offices, utilize digital tracking tools, and keep thorough documentation. This proactive stance helps avoid costly rejections and keeps projects on track.
Finally, an advanced question often overlooked by newcomers is: how does local zoning evolve, and what hidden restrictions might catch you off guard? Studies have shown that zoning laws are increasingly restrictive, especially regarding setbacks and environmental buffers, which can unexpectedly constrain lot usage (see here for water runoff rules impacting design). Staying informed about local legislative trends is crucial.
Have you ever fallen into this trap? Let me know in the comments. Remember, mastering these nuances can save you time, money, and headaches—so don’t overlook the hidden details in your next project!Maintaining your construction projects efficiently requires the right tools and systems to keep everything on track over time. Personally, I rely heavily on a combination of software and hardware that streamlines communication, scheduling, and quality assurance. One indispensable tool is **Procore**, a project management platform I use daily to track milestones, manage documentation, and ensure accountability among subcontractors. Its real-time updates and centralized hub make it easier to catch potential issues early, saving both time and money. Additionally, I utilize **Bluebeam Revu** for PDF markup and document reviews, which has significantly improved my ability to verify plans and change orders quickly. These tools keep my projects moving smoothly and help maintain high standards throughout the construction process.
For on-site tracking, I recommend **Laser Distance Measurers** like the Leica DISTO D2. This compact device allows me to quickly measure distances without cumbersome tapes, ensuring precise measurements for regrading or component placement. Accurate measurements are crucial for long-term durability, especially when addressing issues like drainage or foundation alignment.
Looking ahead, I predict that integrated cloud-based platforms with AI-driven analytics will become standard, providing predictive maintenance insights before problems occur. This shift will empower builders and homeowners to proactively address potential failures, extending the lifespan of their projects.
How do I maintain the tools and systems I rely on over time? Regular updates and routine calibration are key. For software, I schedule quarterly reviews to update licenses and incorporate new features tailored to my workflow. For hardware like laser measurers, I follow manufacturer guidelines for calibration and battery replacement to ensure accurate readings. Documenting maintenance activities within my project management system also helps me track when equipment is due for servicing. This disciplined approach prolongs the life of my tools and keeps my projects running smoothly, day after day. Want to enhance your maintenance routine? Try setting a quarterly review schedule for your key tools and systems, and mark it on your calendar to stay disciplined. For more detailed strategies, explore this guide on maintaining construction tools and systems. Keeping your tools in top shape is an investment that pays dividends in project success.
Lessons That Took Me Off Guard
- Never underestimate the importance of water flow—small miscalculations in slope can lead to costly erosion or water damage. After my experience, I realized that even a slight misalignment in grading could turn a beautiful driveway into a perpetual puddle zone.
- Consulting experts saved me from repeating the same mistakes. Whether it’s a drainage specialist or a qualified landscaper, their insights helped me understand nuances about grading rules that I overlooked initially.
- Designing for the future is vital. I learned that planning drainage that accounts for heavy rains and potential landscaping changes can protect your investment long-term, avoiding callbacks and repairs.
- Documentation and measurements are your best allies. Using simple tools like a level and measuring tape, I was able to verify slopes accurately—an inexpensive step that made all the difference.
- Prioritize drainage in your project scope. I now see that addressing it early—before pouring concrete—prevents headaches and additional expenses down the line.
Tools and Resources I Trust for Building Durability
- Procore: This project management platform keeps my construction schedule and documentation organized, ensuring all drainage features are correctly implemented. I rely on it daily for oversight.
- Bluebeam Revu: For reviewing and marking plans, helping me communicate changes accurately to contractors, especially regarding grading details.
- Leica DISTO D2: A compact laser measure that guarantees precise slope measurements on-site, reducing guesswork and rework costs.
- ConstructionEdge Guides: Their detailed articles, like this guide on performing effective additions, helped me understand how drainage considerations fit into overall project planning.
Your Next Step Toward Lasting Durability
Taking action today on driveway drainage can save you from future headaches, costly repairs, and peace of mind. Remember, a well-graded driveway with proper drainage isn’t just about aesthetic appeal—it’s a foundational element that protects your entire property. Don’t wait until pooling water becomes a problem; assess, plan, and execute with confidence. Have you encountered unexpected drainage issues during a renovation or new build? Share your experiences below and let’s learn together!