The Staircase Width Error That Fails Basement Suite Inspections
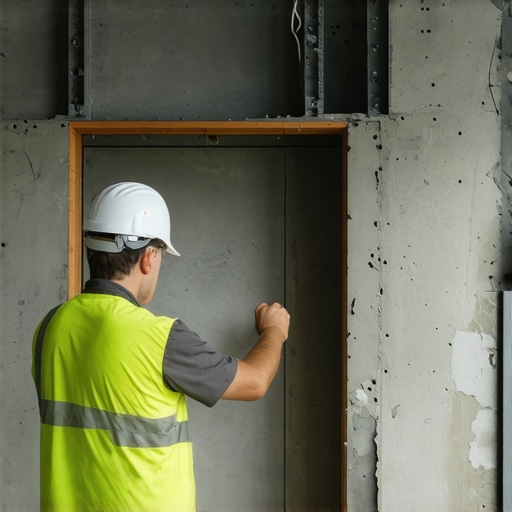
It was a cold, rainy morning when I realized I had overlooked a critical detail in my basement renovation plans. The inspector’s face was a mix of confusion and disappointment because of one simple mistake: the staircase width. Despite having everything else in order, that narrow staircase caused my entire permit to get rejected. That lightbulb moment taught me a tough but valuable lesson—small oversights can derail an entire project.
Why a Tiny Mistake Can Lead to Big Inspection Failures
In my early days of estimating and planning home additions, I thought I knew all the ins and outs. Unfortunately, I made the mistake of assuming that standard staircase dimensions would automatically suffice for my basement suite project. I didn’t realize that local building codes have strict rules about staircase width, and falling short can cause your project to face rejection or costly revisions. According to a study by the National Association of Home Builders, such oversights are among the top reasons permitted projects fail inspection, leading to delays and increased costs.
That experience made me realize how crucial it is to understand the specific requirements that pertain to your project. If I had known about the importance of precise measurements and adherence to local codes, I could have avoided all that stress.
Have you ever faced a similar problem where a seemingly minor detail caused a major setback? If so, you’re not alone. Many homeowners and DIY enthusiasts underestimate the importance of adhering to exact specifications, especially when it comes to staircase dimensions.
Will Getting This Wrong Really Cost Me The Project?
Early on, I believed that small measurement errors wouldn’t matter much. That was a costly misconception. Not only did I face a rejected permit, but I also had to redo part of the framing and resubmit the paperwork—adding months of delays and extra expenses. This experience taught me the value of diligent research and consulting resources like [mastering new build estimating](https://constructionedgez.com/mastering-new-build-estimating-essential-tips-for-success) to ensure every detail aligns with code.
So, your first step? Don’t shrug off the details. It’s better to be overly cautious than face the frustration and financial hit of failed inspections. Next, I’ll guide you through the key aspects of measuring and planning your stairs to stay compliant and avoid the trap I fell into. Are you ready to learn how to master your project’s staircase requirements? Let’s dive into the specifics.
Measure Every Dimension Carefully from the Start
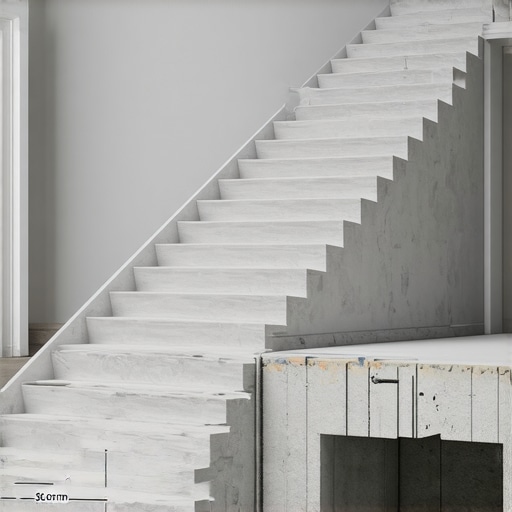
During my basement renovation, I learned firsthand how small miscalculations can derail a permit approval. To avoid this, use a reliable tape measure and double-check every measurement, especially the staircase width. Remember, local building codes typically specify minimum widths—often around 36 inches—to ensure safety and compliance. During my project, I marked out the intended staircase on the floor and then cross-verified these measurements against the code requirements listed in permit requirements guides. This step prevented surprises later.
Create Detailed, Accurate Sketches
Sketch your staircase layout precisely, including all dimensions. This isn’t an artistic endeavor; it’s a technical sketch that illustrates compliance. When I did this, I included not only width and length but also headroom clearance and handrail height, referencing the specifications outlined in estimating guides. This detailed plan clarified what the engineering team needed, reducing back-and-forth adjustments and speeding up approval.
Consult Local Codes and Regulations
Before finalizing your plans, dive into your city’s building code documentation or consult experts via contacting professionals. I once discovered a regional requirement that stairs needed to have nosing projections, which my initial plan overlooked. By reviewing the permit guide, I avoided rejection and unnecessary rework.
Use Accurate Tools for Measurement and Drafting
Invest in quality tools like laser distance meters and digital drafting software if possible. They help minimize human error and ensure precision. I found that a laser measurer reduced my errors significantly over traditional tape measures, especially when measuring multiple levels or awkward spaces. Accurate measurements seamlessly lead to trustworthy estimates—check out cost estimation tips to see how precise measurements impact overall project budgets.
Double-Check and Cross-Verify
Always review your measurements and sketches with a partner or a professional. During my project, a second set of eyes caught a critical misalignment that could have caused delays. This collaborative check, paired with referencing efficient project management resources, helps ensure nothing slips through the cracks before submitting for permits. Detailed documentation combined with thorough verification fosters confidence in your plans’ compliance and accuracy.Many homeowners and even seasoned contractors operate under misconceptions when it comes to permits, new builds, and estimating costs. One of the most common myths is that permits are just bureaucratic hurdles—something to worry about only after construction begins. In reality, permits are vital for compliance, safety, and avoiding costly delays, as emphasized in the comprehensive permit process guides. Underestimating this can lead to legal issues or project shutdowns.
A frequent oversight is assuming that initial estimates suffice for the entire project. Early figures often overlook hidden costs like utility rerouting or site-specific groundwork. According to industry research, such miscalculations are a primary cause of budget overruns. Advanced builders know that detailed, accurate estimates, considering every nuance—like soil conditions or regional code variances—are essential to project success.
One critical trap to avoid is the belief that permitting costs and building costs can be treated separately. In reality, permit fees, inspection costs, and related bureaucratic expenses are intertwined with overall budgeting and scheduling. Neglecting to include these in comprehensive estimates can catch you off guard, delaying approvals and increasing expenses. For expert tips on this, review cost estimation techniques.
Now, a question for experienced builders seeking to refine their approach: How can you incorporate potential code changes or municipal requirements unpredictably affecting your project timeline and costs? The answer lies in proactive communication with local authorities and staying updated with regulatory trends. Regularly consulting with professionals and reviewing permit requirements can prevent costly surprises.
Failing to recognize these nuances often results in project delays, budget blowouts, and legal risks. Remember, permits are not just paperwork—they’re an integral part of your project’s foundation. Do not treat estimating as a set-and-forget task; instead, view it as a dynamic process requiring diligence and expert input. To deepen your understanding and improve your accuracy, explore resources like step-by-step estimation guides.
Have you ever fallen into this trap? Let me know in the comments.
Investing in the Right Tools for Long-Term Success
Having reliable, precise tools is foundational for maintaining quality throughout your renovation or construction project. Personally, I swear by a laser distance meter like the Bosch GLM 50 C for measuring everything from room dimensions to stair clearances. Its accuracy—within 1/16 inch—and ease of use have saved me countless trips up and down ladders and reduced the potential for measurement errors that can delay permits or cause costly rework. Using such a device consistently ensures your measurements stay accurate over time, especially when multiple team members are involved.
Digital drafting software like SketchUp or AutoCAD has transformed the way I create detailed plans. Not only does this software allow for quick modifications, but it also helps identify conflicts early, like interference between plumbing and framing—saving time during inspections and revisions. Incorporating precise digital models into your workflow can streamline communication with inspectors and contractors, minimizing surprises during critical review phases.
Maintaining Your Tools and Processes Over Time
Tools need regular cleaning, calibration, and sometimes firmware updates to stay in peak condition. For instance, laser meters should be calibrated annually, and I keep a log of maintenance to track their accuracy. Beyond tools, effective project management practices are critical. Consistent documentation, scheduled check-ins, and ongoing team communication ensure everyone stays aligned, especially when scaling projects or managing multiple permits.
Looking ahead, automation and smart tools are poised to revolutionize maintenance routines. From IoT-enabled sensors that monitor site conditions in real time to AI-driven project tracking apps, the future points toward less manual oversight and more proactive management.
How do I maintain tools and workflows over time?
Establish a routine for regular tool calibration and maintenance, invest in training for your team on new technologies, and keep detailed records of inspections and updates. Regularly revisit your project management software settings and workflows; small adjustments can drastically improve efficiency and reduce errors. Remember, accurate estimates depend on maintained accuracy throughout the process, from initial planning through long-term operation. Try implementing a monthly maintenance check for your digital and physical tools—this small step can prevent costly setbacks down the road.
Lessons That Only Experience Can Teach
One of the most profound insights I gained is that overlooking small details, like a staircase width, can cause major setbacks. I once assumed that standard measurements would suffice, but local building codes had specific requirements that I ignored. That lightbulb moment made me realize that diligence in checking every detail isn’t optional—it’s essential for project success.
Another invaluable lesson is that myths about permits and estimates can lead to costly mistakes. I used to think that permits were mere bureaucracy, but I discovered they’re critical for safety and compliance. Misunderstanding this nearly caused my project to halt, emphasizing the importance of accurate knowledge and proactive planning.
Lastly, I learned that tools and teamwork are your best allies. Investing in quality measurement devices and having a second set of eyes review plans saved me from errors and delays. The combination of technology and collaboration creates a safety net that catches mistakes early, keeping your project on track.
Tools and Resources That Made a Difference
For precise measurements, I rely on a laser distance meter like the Bosch GLM 50 C, which minimizes human error and speeds up data collection. My digital drafting software, such as SketchUp, allowed me to visualize plans clearly and catch conflicts before they became problems. These tools are trustworthy because they’ve consistently improved accuracy and efficiency in my work.
Guides like Mastering New Build Estimating and Adding Value with Expert Home Additions have been invaluable in deepening my understanding of permits and budgeting. They provide actionable insights that have saved me time and money, making complex processes manageable.
Contacting local professionals through official channels has kept me informed about regional requirements and code changes. Building relationships with experts ensures you’re never in the dark about evolving regulations, which can be game-changers for your project timeline and success.
Your Next Step in Turning Plans into Reality
Embarking on a building project can seem daunting, but with the right knowledge and tools, you transform challenges into opportunities. Don’t let small oversights cost you months or thousands—prepare thoroughly, use trusted resources, and lean on technology and expertise. Remember, mastery of permit and estimation processes isn’t just about compliance; it’s about making your vision a reality efficiently and confidently.
What specific aspect of permit or estimating have you found most challenging? Share your experiences below and let’s learn from each other!
}#}#}#}#}#}#}#}#}#}#}#}#}#}#}#}#}#}#}#}#}#}#}#}#}#}#}#}#}#}#}#}#}#}#}#}#}#}#}#}#}#}#}#}#}#}#}#}#}#}#}#}#}#}#}#}#}#}#}#}#}#}#}#}#}#}#}#}#}#}#}#}#}#}#}#}#}#}#}#}#}#}#}#}#}#}#}#}#}#}#}#}#}#}#}#}#}#}#}#}#}#}#}#}#}#}{