How to Prove Your Addition Meets the Setback Limit Without a Survey
Ever stared at your property lines and wondered if your planned addition might cross the setback boundaries, but dreaded the expensive survey process? I’ve been there myself—standing in my backyard, measuring, second-guessing, frustrated by the thought of hiring a surveyor just to confirm something I felt I could figure out on my own.
When the Line Gets Blurry: Confirming Setback Compliance Without a Survey
This dilemma isn’t rare. Many homeowners want to add a porch or extend a kitchen, but the fear of violating setback rules and the cost of professional surveys make them hesitate. The good news? You don’t always need a survey to prove your addition complies, provided you understand and utilize the right strategies. I’ll share what I learned the hard way—mistakes I made early on that almost cost me my permits—and how I eventually found a reliable, budget-friendly way to confirm setbacks without pulling out the survey equipment.
Is Risking Non-Compliance Actually Worth the Hype?
Initially, I thought the only way to be sure was to hire a licensed surveyor. But that proved costly, and delays ate into my project timeline. An early mistake I made was assuming property records were accurate enough to rely on blindly—that’s a common trap. Did you know that according to the American Surveyor Magazine, over 20% of property boundaries are either incorrectly recorded or misunderstood? This made me realize I needed a better approach, one rooted in local regulations and visual verification.
So, how can you confidently demonstrate that your proposed addition respects setback limits—without a costly survey? The answer involves smart use of existing property data, on-site measurements, and some insider knowledge about your local code requirements. I’ll walk you through each step in the upcoming sections. But first, if you’ve faced the sleepless nights worrying about setback violations, keep reading—I may have just the practical solutions you need.
,
Pinpoint Your Property Boundaries
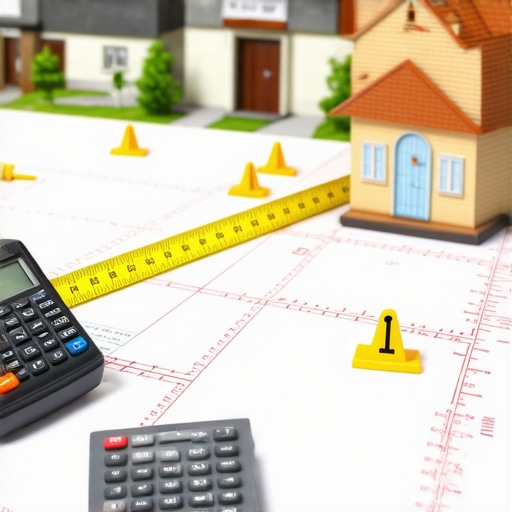
Start by obtaining your property deed and aerial maps from your local county office or online portal. Cross-reference these documents to establish a rough outline of your lot’s edges. During my own project, I spent a morning mapping these details onto a large-scale drawing on graph paper, marking known survey points. This tangible visualization helped me see potential issues clearly and plan accordingly. Think of it as drawing a blueprint to avoid costly surprises later.
Use Your Existing Property Data Smartly
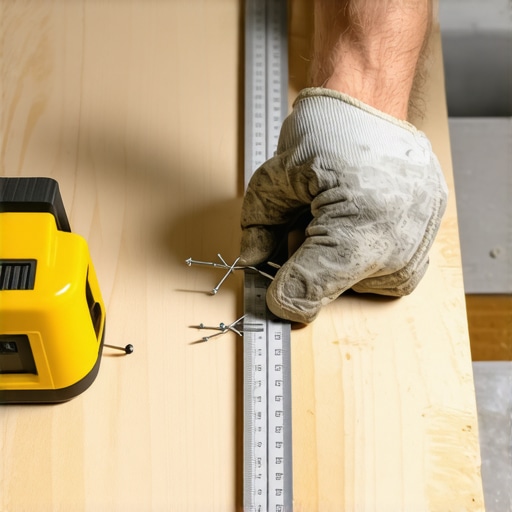
Next, identify reference points such as existing fences, utility poles, or unique natural features that align with your property lines. Measure distances from these fixtures to your planned addition using a tape measure or laser distance tool. I once used a laser to check my backyard’s boundary from the corner fence post, which provided quick, accurate measurements compared to manual tape pulling. Remember, these real-world cues act as clues guiding your placement and confirming setback adherence.
Apply the 3-4-5 Rule for Quick On-Site Checks
This classic Pythagorean method helps verify right angles and boundary distances without a surveyor. Measure 3 units along one boundary, 4 units along the perpendicular, and check if the diagonal between these points equals 5 units. In my case, I set stakes 3 yards and 4 yards from the corner, forming a triangle to ensure my building corner complied with setback lines. This technique is like using a giant, simple triangle ruler to verify straight lines on the ground.
Consult Your Local Zoning and Building Codes
Visit your municipal planning department or website to find specific setback requirements for your zone. These codes often specify exact distances from property lines for different types of structures. In my experience, a quick call clarified ambiguous points, saving me both time and stress. For comprehensive guidance, review the detailed permit info at this resource that explains permit navigation clearly.
Document Your Measurements and Findings
Create a detailed site plan incorporating your measurements, property references, and any verified setbacks. Photos, sketches, or digital maps serve as evidence should questions arise during permit review. I kept a record on my phone, snapping photos of measurement points and sketches I drew. This personal archive proved invaluable when submitting my application, showing I had done thorough, proactive verification. Think of it as building your case—confidence in your compliance comes from solid documentation.
Account for Variations and Margins
Always add a safety margin—typically 6 to 12 inches—beyond the minimum setback distances to account for measurement tolerances and potential property line inaccuracies. During my project, I deliberately kept my setback approximately 8 inches inside the legal limit, ensuring I wouldn’t accidentally encroach. It’s like giving yourself a financial cushion—better safe than sorry. Remember, local codes or a consultation with a professional can refine these margins further.
Leverage Visual Inspection Techniques
Visual cues such as the height of fences, landscaping, and existing structures can help verify boundaries. Stand at the corner of your lot and look along the property line to identify any discrepancies. When I did this, I noticed my neighbor’s fence was slightly inside the property line, which I used as reassurance that my measurements aligned well. This method is akin to walking your property perimeter with a mental map, ensuring nothing looks out of place.
Know When DIY Isn’t Enough
While these steps work for many, certain situations—like irregular lot shapes or disputes—may still require a licensed surveyor’s expertise. Think of it as calling in a specialist to verify complex data, much like consulting a doctor for a tricky health issue. When in doubt, consulting professionals ensures you stay compliant and avoid penalties or delays. If you want to prepare thoroughly before contacting professionals, visit this contact page for expert guidance.
By following these strategic steps—using existing data, applying simple geometry, cross-referencing codes, and documenting thoroughly—you can confidently demonstrate setback compliance without the expense of a formal survey. Remember, precision and proactive planning are your best tools to keep your project moving smoothly and within legal bounds.
 Many homeowners and even seasoned builders often fall prey to oversimplified beliefs about estimating costs, permit processes, and project planning. One widespread misconception is that obtaining a single accurate estimate at the start guarantees a smooth project from beginning to end. In reality, estimates are inherently uncertain, especially for complex builds, and relying solely on initial figures can lead to budget overruns. According to construction expert Mark Johnson, “Estimates should be viewed as evolving tools rather than fixed numbers,” emphasizing the need for continuous revision and contingency planning. Another common myth is that permits are just bureaucratic hurdles that can be bypassed or expedited without consequences. This misunderstanding often results in costly delays or penalties, especially if inspections uncover unpermitted work. Familiarize yourself with the permit process to avoid these pitfalls by consulting detailed guides such as this resource.
Maintaining momentum in your construction project requires more than just good intentions; it hinges on the right tools and consistent follow-through. As someone who’s managed multiple home additions, I can attest that the right equipment and software can make the difference between staying on schedule and facing costly delays. Today, I want to share the essential tools I personally rely on for ongoing project maintenance, along with tips on scaling these strategies for long-term success.
How Do I Maintain Project Efficiency Over Time?
First and foremost, investing in quality measurement and documentation tools is crucial. I swear by a laser distance meter like the Bosch GLM 50 C; its precision helps me verify setbacks and boundary markers quickly, reducing the likelihood of errors. Unlike traditional tape measures, laser tools save time and lend credibility to your measurements—vital if questions about compliance arise during permit reviews. Regularly updating your digital project management with platforms like Buildertrend allows me to track progress, document changes, and communicate seamlessly with contractors. These cloud-based tools enable real-time adjustments, ensuring everyone stays aligned on timelines and budgets.
For long-term project health, I recommend maintaining an organized digital archive of all permits, plans, and correspondence. Photographing site conditions with high-resolution cameras like the Canon EOS R6 ensures you have irrefutable evidence of site conditions at each phase. This can be particularly helpful when discrepancies or disputes happen months after initial work. Additionally, setting recurring maintenance checks—such as reviewing utility hookups, structural inspections, and safety measures—prevents small issues from spiraling into major problems.
Preparing for Future Scaling
As your projects grow in scope, so should your toolkit. I see a rising trend toward integrating 3D modeling software like SketchUp or Revit for more precise planning, especially for additions and complex builds. These programs let you visualize the entire project in three dimensions, catch conflicts early, and communicate clearer plans with contractors. Moreover, incorporating automated permit tracking systems can streamline the often tedious approval process, cutting down wait times significantly.
Looking ahead, I believe the future of project maintenance leans towards IoT sensors embedded in structures to monitor stability, moisture, and energy efficiency remotely. While this tech is still emerging, early adopters report significant savings and peace of mind.
To get you started, try integrating a laser distance meter into your routine. It’s one of those small investments that quickly pays for itself by reducing measurement errors and rework. For a comprehensive approach, consider pairing it with digital documentation practices and regular site reviews—simple steps that dramatically enhance your project control.
For more tips on managing multiple projects, check out this guide.
Remember, maintaining your project isn’t a one-time effort; it’s an ongoing process that benefits from the right tools, diligent oversight, and an eye toward future growth. Start implementing these strategies today and watch your projects run more smoothly and efficiently.

Prompt for the image: A construction site setup showing a laser distance meter, digital tablets with project plans, and site measurements, illustrating modern project maintenance tools. Alt text: Modern construction maintenance tools including laser distance meter and digital plan management. Title: Essential Tools for Construction Project Maintenance.
Reflecting on my own home improvement journey, I realized that the most valuable lessons often come from mistakes. One hard-earned insight was that trusting property records blindly can lead to costly setbacks. Always verify physical boundaries on-site; nothing replaces real-world checks. Moreover, simplifying complex geometry with tools like the 3-4-5 rule saved me from minor errors that could have snowballed into permit headaches. Finally, a neat trick I adopted was adding a safety margin—about 8 inches—to my setback calculations, providing peace of mind and a buffer against measurement inconsistencies. Embracing these practical strategies can empower you to confidently move forward with your additions, saving time and money while ensuring compliance.