The Soil Compaction Test That Prevents Driveway Cracking
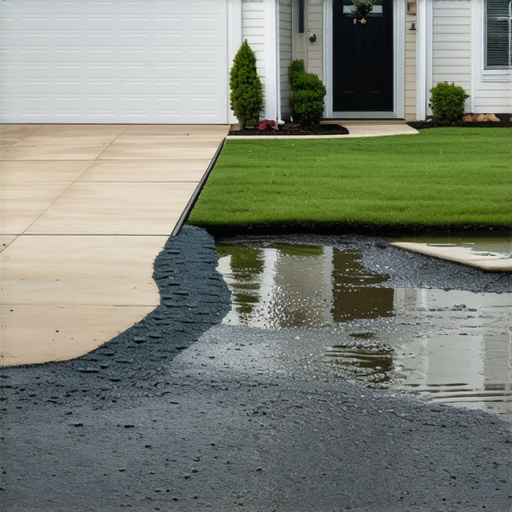
Just a few years ago, I was all set for my dream driveway installation. Excited, I ordered the materials, scheduled the labor, and dug into the design plans. But then, cracks appeared—slowly at first, then more visibly with each passing season. It was disheartening, and I couldn’t help but wonder: Why did something that seemed so straightforward turn into a costly headache? That moment of realization led me down a rabbit hole of research, and I discovered that improper soil compaction testing was at the heart of many driveway failures.
How Soil Quality Can Make or Break Your Driveway
Think about it: your driveway isn’t just a slab of concrete or asphalt; it’s a foundation that needs a solid, stable base. Without proper soil compaction, the earth beneath can shift, settle, or even wash away over time, leading to unsightly and potentially dangerous cracks. I learned the hard way that skipping the soil compaction test is a gamble—sometimes a costly one. Proper testing ensures the soil can support your driveway, preventing future cracks that may cost hundreds to repair. Today, I’ll share how you can avoid the same pitfalls and guarantee a durable, long-lasting driveway by performing the essential soil compaction test.
What You Need to Know Before You Build
One mistake I made early on was assuming that all soil types behave the same. Not true! Some soils, like clay, expand and contract with moisture changes, while sandy soils drain quickly but don’t hold structure well. A comprehensive soil compaction test assesses the earth’s ability to bear weight and stay stable over time, which is critical for preventing cracking. You can learn more about the importance of accurate soil testing [here](https://constructionedgez.com/the-soil-drainage-test-your-estimator-ignored). Ensuring your soil is properly tested and compacted isn’t just a best practice—it’s the secret weapon to avoiding future headaches. So, are you ready to learn the soil test that can save your driveway from cracking and your wallet from unnecessary repair costs? Let’s dive into how to do it right and what steps to follow to keep your driveway solid for decades.
Start With the Right Equipment and Prep
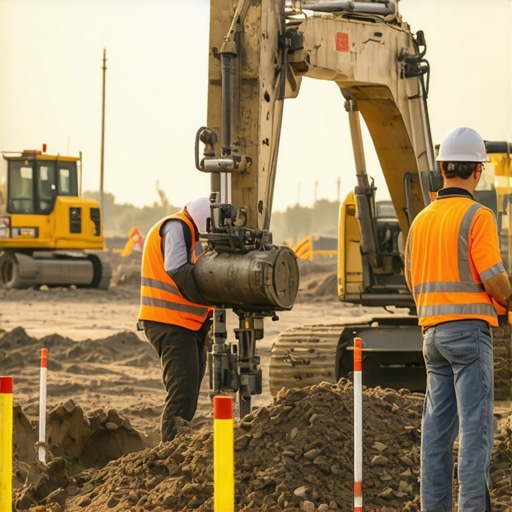
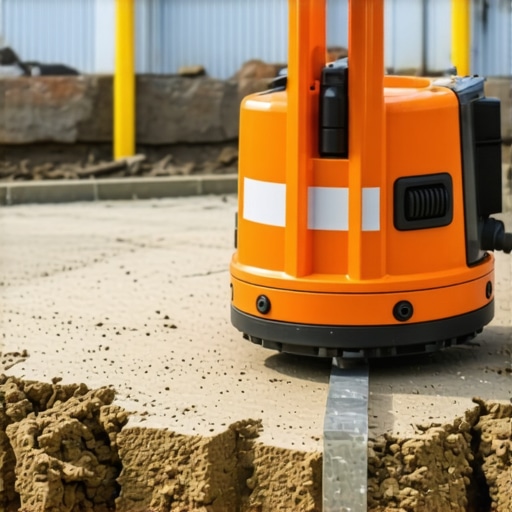
Before you can test soil compaction, gather the necessary tools: a compaction tester, a level, and a shovel. I remember my first attempt; I borrowed a simple hand-held tester from a local equipment rental store. It was crucial to clear the area of debris and loose soil, as this could skew results. Setting up your test area on a representative section of your planned driveway site provides an accurate picture of soil stability before pouring the foundation.
Collecting the Soil Sample
Dig a shallow hole about 6 inches deep, roughly the size of a basketball. The goal is to obtain a uniform soil sample that reflects the site’s typical conditions. I once skipped this step in my first project—resulting in an underestimate of poorer soil areas, which led to future cracks. When collecting, avoid the edges of your hole to prevent compaction from disturbance, and carefully place the soil on a tarp for testing.
Performing the Compaction Test
Follow the instructions of your soil tester: insert the probe into the soil at different depths, usually at 2-inch intervals, and record readings. Keep in mind, a reading that meets the recommended moisture content and density is ideal. Remember, just like estimating costs for a home addition, precise measurement matters; a small variance can lead to major issues down the line. I recall testing in a muddy area that initially seemed stable—a mistake that became apparent months later when cracks emerged. This emphasizes why thorough testing at multiple points is essential to identify weak spots.
Interpreting Results and Taking Action
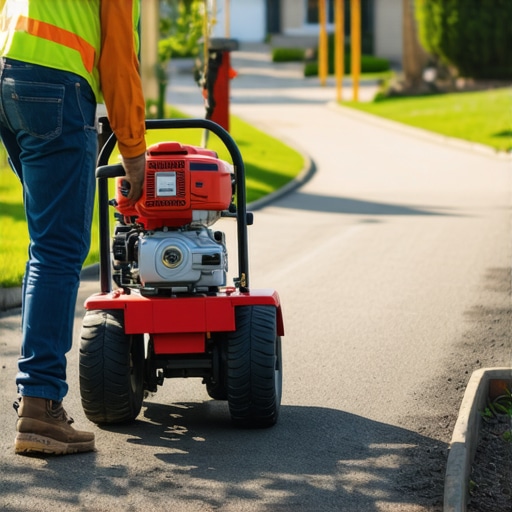
Compare your readings to local building standards, which specify minimum compaction levels. If soil compaction is below standards, you have options: add water and re-test for optimal moisture, or mechanically compact using a plate compactor. When I faced inconsistent readings across my site, I opted to rework the soil in weaker areas, which paid off with a stable driveway that resisted cracking. Remember, proper soil preparation is a foundation—literally—that keeps your project on solid ground.
Document and Plan for Next Steps
Keep detailed records of your test results to ensure compliance and future reference. This documentation supports your construction permit applications and can help address potential disputes. Also, consider consulting local guidelines or experts—specialists can provide more detailed testing protocols and advice. For example, understanding the soil’s drainage capabilities can influence your base material choices, impacting overall durability. Take care with each step; skipping or rushing through soil testing is a gamble that nobody should take when building a driveway that lasts.
Many homeowners assume that estimating costs and navigating permits for home additions or new builds is straightforward, but lurking beneath the surface are misconceptions that can lead to costly mistakes. One widespread myth is that rough estimates suffice for planning; in reality, detailed and accurate estimation—using expert strategies such as those outlined in [estimating home additions](https://constructionedgez.com/estimating-home-additions-a-step-by-step-guide-for-2025)—can prevent budget overruns. Overlooking this nuance often results in surprises when the final invoice arrives.
Another trap involves permit acquisition. Many believe obtaining a permit is a mere formality, but in fact, understanding the complex [permit process](https://constructionedgez.com/understanding-permit-processes-for-successful-home-additions) is crucial. Failing to account for local codes and unexpected delays can stall your project and inflate costs. For instance, homes built without a clear grasp of setback or boundary rules may face compliance issues, leading to legal complications or the need for redesigns.
**Why do so many still fall prey to these pitfalls?** The answer lies in the hidden nuances that seasoned professionals understand well. One such subtlety is the importance of comprehensive site evaluation—things like soil testing or existing easements—that can drastically affect foundation design and overall project scope. Ignoring these details can compromise structural integrity or prolong approval timelines.
Let’s tackle a more advanced question homeowners often overlook:
How can understanding local building standards influence your budget and timeline?
Recognizing specific local requirements—such as insulation grades, fire codes, or hydrostatic pressure plans—not only ensures compliance but also streamlines the approval process. An insightful study by the National Institute of Building Sciences emphasizes that early integration of these standards reduces rework and delays, ultimately saving both time and money. It’s a subtle but powerful advantage often missed by those rushing into projects without comprehensive planning.
Studying these hidden aspects underscores that successful home additions or new constructions depend heavily on detailed knowledge. Skipping these steps or underestimating their importance turns simple projects into nightmares. So, next time you plan a renovation or build, remember: due diligence isn’t just recommended—it’s essential.
Have you ever fallen into this trap? Let me know in the comments.
Keep Your Projects Running Smoothly: Essential Tools for Long-Term Success
Staying on top of your building’s maintenance requires the right equipment and software. I personally rely on a digital inspection camera, such as the FLIR One Pro, which allows me to easily identify hidden moisture or insulation issues in tight or inaccessible spaces. This tool has saved me countless hours and dollars by catching problems early before they escalate. For managing ongoing tasks, I recommend using project management software like Trello or Asana, which helps prioritize maintenance schedules, track repairs, and coordinate with contractors seamlessly. These digital tools turn complex workflows into manageable steps, ensuring nothing falls through the cracks over time.
Adopt Reliable Methods to Ensure Longevity
Routine inspections combined with sensor-based monitoring are key to preserving your investments. Installing moisture sensors in vulnerable areas, like basements or around HVAC systems, provides real-time alerts if conditions deteriorate. I have integrated such sensors in my properties, giving me peace of mind and quick insight into potential issues. Regularly reviewing your maintenance logs and conducting visual inspections monthly helps identify wear and tear early. Moving forward, the trend points toward smarter, sensor-driven maintenance that leverages IoT technology, enabling homes and buildings to inform owners proactively about emerging problems.
How do I maintain upgrades and updates over time?
Maintaining your building’s systems isn’t a one-and-done task. It involves scheduled upgrades, software updates, and periodic assessments. For example, updating your building management software ensures compatibility with new sensor technology and keeps security tight. Additionally, scheduling professional inspections—at least annually—by licensed technicians helps extend the lifespan of your structure. Remember, a proactive approach reduces long-term costs significantly, preventing small issues from becoming catastrophic failures. Learning to utilize tools like digital logs and predictive maintenance techniques can enhance your ability to keep everything working efficiently for years to come.
Another aspect to consider is documentation. Keeping detailed records of repairs, inspections, and upgrades not only simplifies future troubleshooting but also proves beneficial for insurance claims or resale. I also suggest studying detailed estimation guides, such as those at this resource, which can help you better plan for ongoing maintenance costs. As technology advances, integrating smart tools that generate maintenance schedules based on usage data is becoming more common, signaling a future where automation will make upkeep even easier. Try incorporating a moisture sensor or scheduling a system audit — small steps today can ensure your project remains reliable long into the future.
Lessons That Took Me Longer Than Expected
One of the most profound insights I gained was realizing that soil behavior can change dramatically over time, especially in certain climates. Relying solely on initial tests without considering seasonal variations led me to overlook potential future issues. Now, I make it a habit to perform multiple soil assessments throughout the year to catch hidden instability before construction begins.
Another unexpected lesson was how local regulations and subtle permit nuances can derail a project if overlooked. I used to think permits were just a bureaucratic hurdle, but understanding the permit process early on saved me from costly delays and redesigns. It’s essential to familiarize yourself with local standards—invaluable knowledge I discovered through detailed, person-to-person research.
Equally, I underestimated the importance of detailed documentation. Accurate records of soil tests, inspections, and communications not only streamline approval but also act as insurance if issues arise later. Developing this habit early has saved me from headaches and legal entanglements, emphasizing that preparation isn’t just about materials but also about meticulous record-keeping.
Tools and Resources That Changed My Approach
The soil moisture and density testers from reputable brands like [ProctorTest Instruments](https://constructionedgez.com/how-to-accurately-estimate-costs-for-home-improvements) have been game-changers, giving me confidence that my foundation is solid before pouring concrete. For project management, I swear by Trello—its visual workflow helps track soil tests, permits, and inspections effortlessly, reducing oversight.
Educational resources like the comprehensive guides on [Construction Edgez](https://constructionedgez.com/estimating-home-additions-a-step-by-step-guide-for-2025) broaden my understanding of complex regulations and best practices. These materials aren’t just educational—they’re practical, up-to-date tools that keep me ahead of potential pitfalls. Remember, the right tools and knowledge form the backbone of any successful building project.
Your Next Step: Trust the Process and Keep Learning
Building anything that lasts requires continuous learning and a willingness to go beyond surface-level planning. Each project reinforces how crucial soil testing, detailed record-keeping, and understanding local standards are—core lessons that save money and headaches in the long run. The journey from initial planning to completion isn’t linear, but it becomes manageable when armed with knowledge and reliable tools.
What unexpected lesson has taught you the most in your building endeavors? Share your experiences below and let’s learn from each other’s journeys in creating durable, lasting homes and driveways.