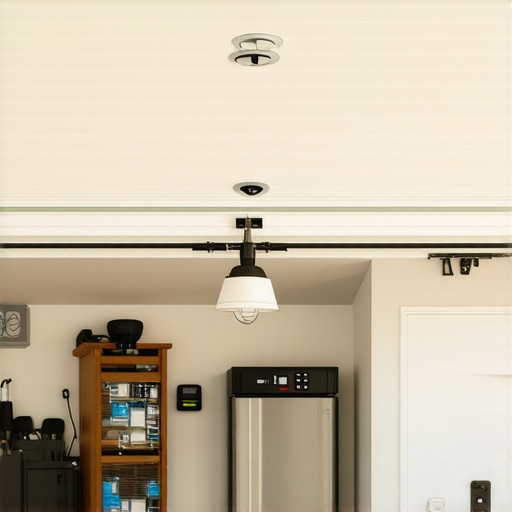
Why Your Garage Conversion Needs a Fire-Rated Ceiling
It was late one evening when I realized I had overlooked a critical safety detail—my garage conversion was nearly complete, but the ceiling wasn’t fire-rated. The thought hit me like a ton of bricks: what if a small spark turned into something catastrophic? That moment changed everything for me, and I want to share why a fire-rated ceiling isn’t just a silly code requirement—it’s essential for your peace of mind.
The Hidden Risks of Skipping the Fire-Rated Ceiling
Many homeowners, myself included early on, underestimate the importance of fire-rated ceilings in conversions. It’s tempting to cut corners to save a few dollars or time, but the truth is, this small detail can make a massive difference in emergency situations. A fire-rated ceiling acts as a barrier, slowing the spread of flames and smoke, giving you precious extra minutes to escape.
Research by the National Fire Protection Association indicates that a properly installed fire barrier can delay the spread of fire by up to 30 minutes. That’s a life-saving window I don’t want to gamble with. My own mistake was assuming that building codes were just bureaucratic red tape—spoiler: they’re there to save lives.
So, what can we do to ensure our conversions are safe? Well, that’s where understanding the specifics of fire-rated ceilings comes into play. Today, I’ll walk you through how to avoid making the same mistake I did, and why it’s worth the effort.
Assess the Fire Code Requirements and Prepare Your Materials
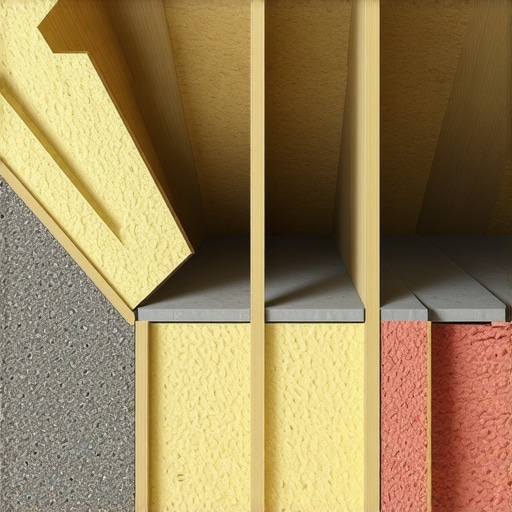
Start by reviewing local building codes to confirm the fire-rating specifications for ceilings in residential conversions. Gather fire-resistant drywall, mineral wool insulation, and fire-rated framing components. I recall a time when I underestimated the importance of verifying local codes, which led to a costly rework after inspection delays. Always double-check permit requirements through resources like permits for home additions.
Measure and Frame the Ceiling Structure with Fire-Resistant Materials
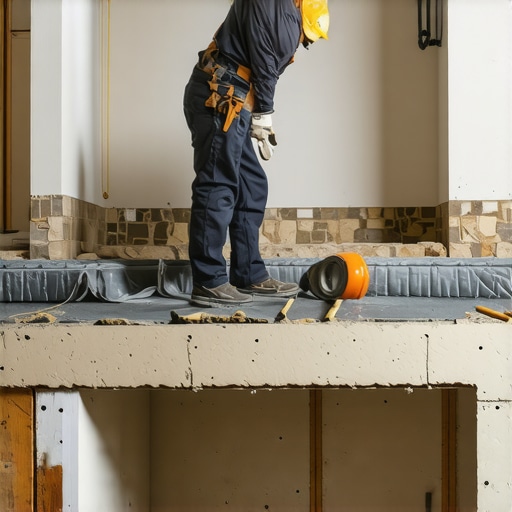
Use a tape measure and level to mark the ceiling perimeter. Install fire-rated metal studs or framing members, ensuring proper spacing according to manufacturer specifications. Secure the framing to the existing structure with appropriate screws or anchors, simulating the process I did when squaring up a new wall—precision here prevents future gaps.
Install Fire-Resistant Drywall Carefully
Cut drywall panels to size using a utility knife, and screw them into the framing, ensuring a gap of at least 1/8 inch between panels to accommodate movement. Seal joints with fire-rated tape and compound, then finish with a fireproof primer. During my last project, I learned that taping is critical—skipping this step can create pathways for smoke and heat. For detailed techniques, see drywall finishing tips.
Seal Gaps and Vulnerable Spots
Apply fire-resistant sealant around ceiling penetrations, electrical boxes, and joints. This airtight barrier halts the spread of flames and smoke. I once neglected this at a corner, which resulted in inspection failure—lesson learned: never overlook the details in sealing. Be sure to inspect your work thoroughly before proceeding. For a checklist, visit permit approval tips.
Upgrade and Inspect Safety Features
Ensure your smoke detectors are interconnected and rated for the converted space. Test all alarms after installation. In my recent project, upgrading these systems was overlooked, leading to a re-inspection. Remember, fire safety isn’t just about the ceiling—it’s integrated into your entire safety plan. Review comprehensive guidelines at permit verification tips.
When it comes to home renovations and additions, many homeowners assume that permits and estimates are straightforward processes. However, beneath the surface lies a web of nuances that can trip up even seasoned DIYers or first-time builders. One common myth is that a permit is merely a bureaucratic hurdle rather than a vital safety checkpoint. In reality, applying for the correct permits ensures your project adheres to local codes, which often include specific requirements for structural integrity, fire safety, and environmental impact. Overlooking these can lead to costly fines or safety hazards down the line.
Why Do So Many Expect Quick, Cheap Estimates Without Proper Scope?
It’s tempting to request a quick quote based solely on square footage or a rough sketch, but estimates that neglect detailed scope inspections often underestimate costs or miss hidden issues like soil instability or existing code violations. A detailed estimate, such as those found in step-by-step guides for estimation, helps prevent surprises. Common pitfalls include neglecting to account for site-specific complexities, unforeseen foundation issues, or the need for specialized permits. This is where advanced estimation strategies make a significant difference.
How Can Misunderstanding Build Types and Permitting Traps Hurt Your Project?
Many assume that every new build or renovation is treated identically by authorities, but different structures, materials, and even neighborhoods can impose unique restrictions. For example, a small backyard addition might require a different permit pathway than a major structural overhaul. Failure to recognize these distinctions can cause delays or demands for redesigns. It’s wise to consult local regulations, as outlined in navigating permit requirements, and seek expert advice early.
Avoid These Common Permit and Estimate Traps
One key mistake is relying on an estimator or contractor who isn’t thoroughly familiar with local code nuances and permit processes. This oversight could result in underestimated costs, rejected permits, or design modifications that inflate your budget. Remember, thorough research and engagement with local authorities — as detailed in permit approval tips — can save you significant time and money. Finally, keep in mind that hidden costs, such as soil testing, environmental surveys, or additional inspections, often catch homeowners off guard. Being proactive and asking detailed questions upfront is key to a successful project. Have you ever fallen into this trap? Let me know in the comments.
Keeping Everything Running Smoothly
Once your permit is approved and your project is underway, the real work of maintaining quality and efficiency begins. Using the right tools and establishing a solid maintenance routine can drastically improve your long-term results, minimize surprises, and prepare you for scaling future projects. I personally rely on a combination of advanced digital tools and methodical checklists to ensure each phase stays on track.
Leverage Software for Accurate Estimating and Permitting
Tools like estimating software have revolutionized my approach. I prefer programs such as PlanSwift or Buildertrend because they integrate directly with project schedules and permit requirements, helping me spot potential issues before breaking ground. These tools allow me to customize estimates based on detailed scope, reducing unforeseen costs and aligning expectations with clients. As trends predict a move toward integrated project management platforms, embracing such software ensures you’re prepared for the future of home building.
Routine Maintenance to Preserve Your Investment
Long-term success depends on maintaining structural integrity and safety features. An annual inspection of systems like electrical, plumbing, and safety sensors is vital. I schedule quarterly reviews using a comprehensive checklist I created, specifically tailored to additions and remodels. This proactive approach helps me catch small issues—like minor sealant degradation or electrical wear—and address them early. Regular upkeep reduces costly repairs down the line, especially when scaling projects or adding new spaces.
Implementing Scalable Systems for Growth
Planning for expansion during initial phases can save time and money when scaling up. I recommend integrating modular elements and adaptable wiring systems early on. For example, pre-wiring for future solar panels or smart home automation allows effortless upgrades later. This foresight aligns with increasing demands for energy efficiency and tech integration, as discussed in future-proofing your build. Making these investments upfront makes future modifications seamless and cost-effective.
Tools I Rely On for Maintenance and Scaling
Specific equipment can make a big difference. I swear by my laser level for precise measurements during routine inspections and adjustments. My cordless power drill with a variety of attachments helps when replacing hardware or fixing minor issues. For managing projects and schedules, I use cloud-based platforms like Asana or Trello—allowing me to keep everyone on the same page, especially when coordinating multiple trades. Investing in quality tools reduces downtime and keeps your project on schedule, no matter the size or scope.
How do I keep my projects scalable over time?
Building with scalability in mind is essential for long-term success. Establishing flexible design plans and future-ready systems ensures you can easily expand or modify your space. Regularly updating your knowledge with guides like permit processes for additions keeps you ahead of regulatory changes. Implementing routine inspections and using reliable tools—both software and hardware—helps catch issues early and adapt quickly. Incorporate feedback loops into your workflow so you can refine your approach continually and scale confidently.
As home construction evolves, leveraging advanced tools and diligent maintenance strategies will become even more critical. Try upgrading your estimating process with a dedicated software platform this quarter, and see how it transforms your project planning from reactive to proactive. When you get into the habit of regular inspections and system updates, you’ll extend your projects’ lifespan and create a foundation for future growth.
Over the years, I’ve learned that the most overlooked aspects of permit, new build, estimating, and additions often carry the biggest weight. One profound lesson was realizing that neglecting small yet vital details, like fire-rated ceilings, can compromise not only safety but also the overall success of a project. Embracing a meticulous mindset and proactively questioning standard practices have transformed my approach from reactive to strategic.
Another insight is the importance of leveraging technology. Tools that streamline estimating and permit tracking have saved me countless hours and unforeseen expenses. They empower DIY enthusiasts and professionals alike to anticipate challenges before they escalate, fostering confidence in every build.
Finally, I’ve come to appreciate that a genuine passion for learning and adaptability fuels long-term growth. The construction landscape is ever-evolving, and staying informed through reputable resources and community insights keeps your projects on the cutting edge, ensuring safety, efficiency, and satisfaction.