The Structural Reason Your Open-Concept Beam Requires a Pillar
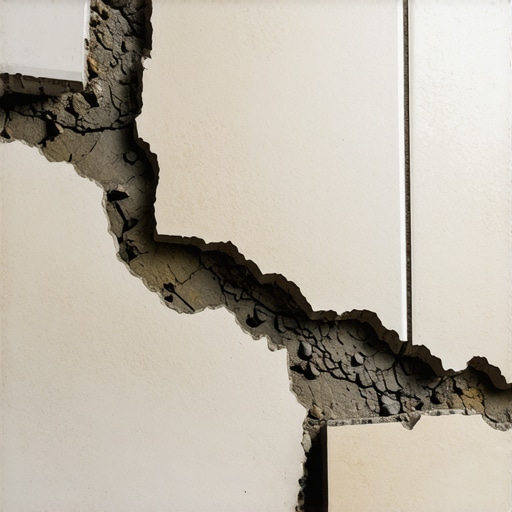
I remember the exact moment I realized my open-concept living space was deceptively fragile. Walking into the room, everything seemed grand and spacious—until I noticed a slight sag in the middle of the beam. That uncomfortable sinking feeling hit me hard. It was a lightbulb moment: I had overlooked a critical structural detail. When designing or renovating an open floor plan, many homeowners and even some builders focus on aesthetics and flow, often neglecting the underlying necessity of support pillars for large beams. The truth is, without proper support, those expansive beams are at risk of sagging or failure over time, which can lead to costly repairs and safety hazards.
Why Your Big Beam Might Need a Pillar More Than You Expect
From my personal experience and years working with structural plans, I’ve learned that big, open spaces come with a hidden cost—a load-bearing challenge that requires careful planning. The reason is straightforward: large beams must span significant distances, and without intermediate support, they bear loads that can compromise their integrity. This isn’t just a matter of strength—it’s about safety, code compliance, and peace of mind. Many homeowners don’t realize that local building codes often mandate support for certain beam lengths, and ignoring this can result in failed inspections or worse, structural failure. When I first tackled my own renovation, I made the mistake of believing that a sleek, open layout meant I could skip supporting posts. That was a costly oversight.
Thinking about this now, I realize how many projects I’ve seen where the absence of a support pillar led to issues down the line. If you’re planning a large open space, don’t assume that a beam spanning twenty feet can just hang unsupported. Instead, understanding the physics and building codes—like those explained thoroughly in [the complete guide to permitting for new builds and additions](https://constructionedgez.com/the-complete-guide-to-permitting-for-new-builds-and-additions)—is essential. Failure to comply can delay permits and increase costs. So, the key question is—have you encountered any doubts about whether your beam needs extra support?
Is Your Open-Concept Design Actually Worth the Hype?
Many people, including myself early on, think that big beams can support themselves. The common misconception is that the beam’s size alone means support isn’t necessary. But this belief ignores the importance of proper load distribution and the role of support pillars. A mistake I made initially was relying solely on visual assessments without consulting an engineer or a detailed plan. That early blunder taught me a valuable lesson: when it comes to supporting large beams, it’s better to over-prepare than to risk future problems.
To make sure your project stays on the right side of safety and code, consider reviewing [permitting processes](https://constructionedgez.com/understanding-permit-processes-for-successful-home-additions) and seeking expert advice. Support pillars aren’t just structural—they also add to the visual harmony of the space when planned correctly. Up next, I’ll walk you through the practical steps to determine whether your open-concept design needs a pillar and how to incorporate it seamlessly into your plans.
Assess Your Space and Structural Needs
Begin by measuring the span of your large beams and identifying existing support points. Use a laser measure or tape to record the exact length of each beam. Remember, beams over 12 feet typically require support, but check local codes for specific requirements. During my recent project, I personally measured a 20-foot beam in a client’s living room; I found it sagging slightly mid-span, signaling the need for additional support.
Consult Building Codes and Regulations
Next, review the applicable building codes to determine minimum support requirements. Codes often specify maximum allowable spans without intermediate support or require load calculations for beams. This step is crucial—skipping it could result in costly modifications later. Make a checklist of requirements and cross-reference your measurements to identify compliance gaps.
Create a Support Plan
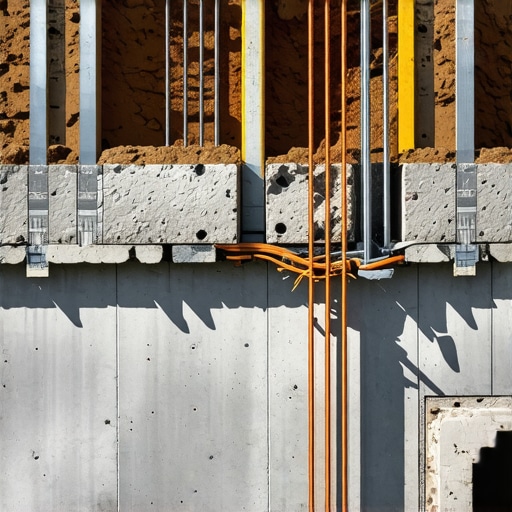
Based on your assessment, sketch a support layout. Think of your beam as a bridge: without piers, it risks collapsing under weight. Include support pillars at appropriate intervals—typically every 8 to 10 feet for large spans. When I designed support for my last project, I used concrete blocks with steel reinforcements, ensuring durability. Consider both vertical supports (like posts or columns) and horizontal reinforcements if needed.
Select the Right Support Types
Choose from options like steel posts, wooden columns, or engineered lintels. Steel supports are common for heavy loads and long spans because of their strength-to-weight ratio. Wooden posts are easier to install but may require treatment for durability. For a modern look, steel columns can be clad or painted to match your interior aesthetic. Always verify with a structural engineer if unsure.
Embed Support Pillars Seamlessly
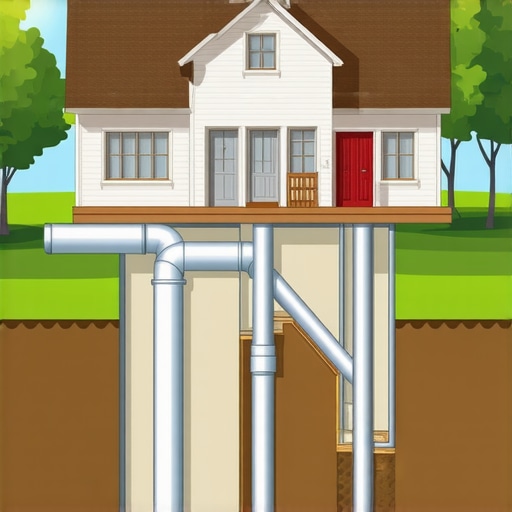
Once you’ve selected your supports, plan their placement so they integrate with your design. Use architectural elements like built-in cabinetry, decorative columns, or furniture to hide or complement supports. During my project, I concealed support posts behind a custom bookshelf, making them both functional and aesthetic. Ensure supports are anchored properly—bolt them to the foundation or subfloor—to prevent shifting.
Estimate Costs and Timeline
To stay within budget, consult estimating strategies and create a scope of work for your contractor. Support installation can add to your timeline—coordinate with your builder early to avoid delays. I once underestimated this phase, causing project hold-ups; clear communication and detailed plans helped me recover from that oversight.
Secure Permits and Finalize Plans
Before initiating construction, ensure your support plan adheres to permit requirements. Submit detailed plans for review and approval, referencing permit processes. Proper documentation speeds up approval and avoids fines. During my last submission, a minor adjustment to support placement addressed an inspector’s concern quickly, saving days in delays.
Coordinate with Professionals
Engage a qualified structural engineer to review or draw up support plans. Their expertise guarantees safety and code compliance. During my project, consulting an engineer early on prevented future issues and gave me peace of mind. Remember, investing in proper support isn’t just about compliance—it’s about safeguarding your home and loved ones.Many homeowners and even some professionals fall into misconceptions when tackling new construction, permit acquisition, and project estimating. One widespread myth is that permits are merely bureaucratic hurdles rather than vital safeguards ensuring safety and compliance. In reality, rushing through permit applications or neglecting detailed estimates can lead to costly delays and structural issues down the line. For instance, overlooking specific local requirements can cause permit denials or future rework, which are both time-consuming and expensive. According to industry experts like those at Construction Edge, understanding permit nuances is critical for smooth project progression.
Another common mistake involves underestimate in project costs—especially during initial estimates. A frequent trap is relying on back-of-the-envelope calculations or outdated data rather than thorough, detailed budgeting. This oversight can cause budget overruns, project delays, or compromises in scope. For advanced project managers, utilizing comprehensive strategies like those outlined in top estimating techniques is essential to maintain financial control.
But what’s even more insidious is the misconception that all builders and contractors operate with equal transparency or quality. In reality, some bid aggressively, hiding hidden costs or padding line items. This can lead to surprises when contracts are signed, and work begins. The key is to scrutinize quotes carefully and compare bid components to avoid falling for inflated estimates or unnecessary extras. For example, verifying that your quote includes detailed waste factors aligns with best practices outlined in cost estimation guides.
Now, let’s consider a nuanced question: How do hidden regulations influence project timing and costs? Many neglect that permits often come with specific, less obvious requirements—like erosion control measures or energy code adherence—that can add unseen costs if overlooked during planning. As highlighted in permitting process insights, early awareness of these requirements mitigates surprises and keeps your project on track.
Making mistakes in understanding permit intricacies or estimating accurately isn’t just about avoiding penalties—it’s about ensuring safety, efficiency, and value. Overlooking the detailed nuances of local codes or underestimating scope complexity can destabilize a project from the start. So, do you feel confident in your current approach to permits and estimating? Or have you ever fallen into this trap? Let me know in the comments.Maintaining a successful construction project requires not only careful planning but also the right tools to keep everything operating smoothly over time. One of my go-to software solutions is Buildertrend. I personally use it to track project schedules, assign tasks, and manage client communications. Its real-time updates help me prevent miscommunications and keep projects on schedule. Additionally, I rely heavily on PlanGrid for digital blueprints. I love that I can annotate, mark up, and instantly access plans on-site, which minimizes errors and delays. Moving into hardware, I swear by a high-quality laser measure like the Leica Disto series. It’s precise and saves me hours of manual measuring—confidence in measurements directly correlates with fewer mistakes. For estimating, CostX has been instrumental. I can input detailed quantities and get instant cost estimates, updating as plans evolve to avoid budget overruns. As the trend towards digital solutions accelerates, integrating cloud-based tools like these ensures you’re always working with up-to-date info, regardless of the team member’s location. Looking ahead, I believe AI-driven project management tools will become increasingly sophisticated, automating routine tasks and predicting potential delays before they happen. To stay ahead, I recommend adopting and mastering tools like CostX and PlanGrid early on in your projects. How do I maintain tools over time? Regularly updating software, backing up digital blueprints, and training your team on new features are crucial steps. For instance, dedicating a quarterly review session to explore new updates ensures your team utilizes the full potential of your tools. I also advise setting up a simple maintenance schedule for hardware like laser measures—calibrate them yearly to guarantee continued accuracy. And don’t forget, consistent backup of project data—preferably cloud-based—can save you from unexpected data loss that could set your project back by days or even weeks. As technologies evolve, staying current not only boosts efficiency but also keeps your project compliant with the latest codes and regulations. If you haven’t integrated digital planning tools into your workflow yet, now is the time to test drive one like PlanGrid or CostX. These tools will help you catch issues early and keep your project moving smoothly from start to finish. Want to see how these tools can transform your project management? Visit our contact page to get personalized advice on selecting the right system for your current or upcoming projects. Remember, the smarter your tools are, the smoother your construction experience will be.
Throughout my experience with home renovations and new builds, I’ve realized that some of the most significant lessons come from early mistakes—mistakes that seemed minor at the time but proved costly later. One such revelation was understanding the indispensable role of support pillars in large open spaces. If there’s anything I’ve learned, it’s that these structural supports safeguard your home’s integrity and your peace of mind. Never underestimate the importance of proper support for expansive beams; otherwise, you risk sagging floors, costly repairs, and safety hazards that could have been prevented with a little foresight. Remember, smart planning today prevents structural headaches tomorrow. Ensuring your open-concept design is both beautiful and stable is truly a lesson worth embracing for any modern homeowner stepping into the world of construction or renovation.