The Gutter Sizing Rule for High-Pitch Roof Additions
I stood there in my soaking wet pajamas at three in the morning, clutching a flickering flashlight while a literal waterfall hammered the soil just inches from my brand-new foundation. I’d just finished a gorgeous 12/12 pitch master suite addition. It looked like a mountain chalet masterpiece, but in that first real spring downpour, it was a disaster. I had calculated the square footage perfectly. I had my permits for new builds in order. But I made the one mistake every DIYer and even some pros make: I assumed a square foot of roof is a square foot of roof regardless of the angle. I was wrong, and my basement nearly paid the price.
Don’t Let Your Steep Roof Overpower Your Gutters
Most people look at a floor plan to figure out their gutter needs, but that’s a recipe for a flooded yard. When you’re estimating home additions with a high pitch, the vertical surface area actually catches more wind-driven rain. It’s not just about the footprint; it’s about the velocity. On a steep slope, water doesn’t just fall; it accelerates. By the time it hits the eave, it’s moving with enough momentum to overshoot a standard 5-inch gutter entirely. I learned the hard way that you have to account for the ‘pitch factor’—a multiplier that increases your effective roof area. If you miss this during your top estimating strategies phase, you’ll be retrofitting expensive fixes later.
Is Upsizing Your Gutters Really Worth the Extra Cash?
You might be looking at the quote for 6-inch K-style gutters or even 7-inch commercials and thinking it’s a total upsell. I thought the same thing until I saw my mulch beds washed halfway down the street. According to the National Roofing Contractors Association (NRCA), the drainage capacity of a gutter must be matched to the ‘adjusted’ square footage, which can be nearly double the actual square footage on a very steep roof. If you are already dealing with permits for new builds, adding the right gutter specs now is a drop in the bucket compared to foundation repair. It’s also vital that your addition estimate should factor in temporary heat and proper drainage during the build so you aren’t fighting erosion before the shingles are even on. Have you ever stood outside during a storm only to realize your expensive new roof is actually a giant water slide aimed at your siding? It’s a gut-wrenching feeling, but I promise we can avoid it by getting the math right before the first nail is driven.To get this right, you need to think of your roof not as a flat surface, but as a giant funnel. On a standard 4/12 pitch, rain hits and moves at a leisurely pace. On my 12/12 pitch addition, it was like a bobsled run. You start by finding your ‘Pitch Factor.’ This is a multiplier—usually 1.0 to 1.3 depending on the angle—that you apply to the actual square footage. If your master suite is 600 square feet but has a steep roof, your gutters need to handle the volume of a 780-square-foot roof. If you don’t use cost-effective estimating techniques for new builds and additions that include this multiplier, you’re building a system destined to fail. 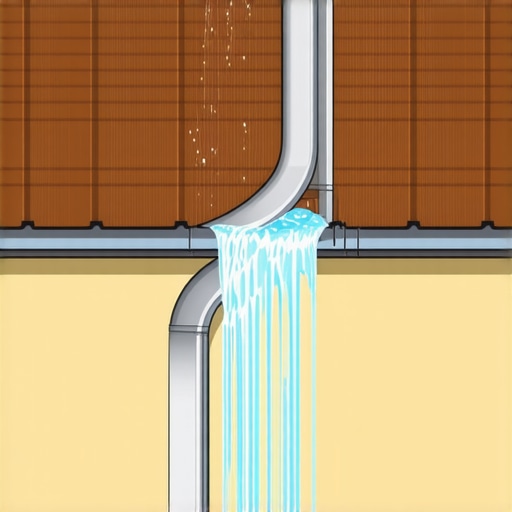
Calculate Your Roof’s Actual Thirst
I once ignored this on a client’s project in the Pacific Northwest. I thought standard hardware was fine. During the first storm, the water hit the gutter so fast it skipped right over the edge like a skater jumping a ramp, carving a trench in their fresh sod. Now, I always cross-reference my new build estimation strategies for modern homeowners with actual velocity calculations. You aren’t just measuring length; you are measuring speed.
Stop the Waterfall Effect with Oversized Hardware
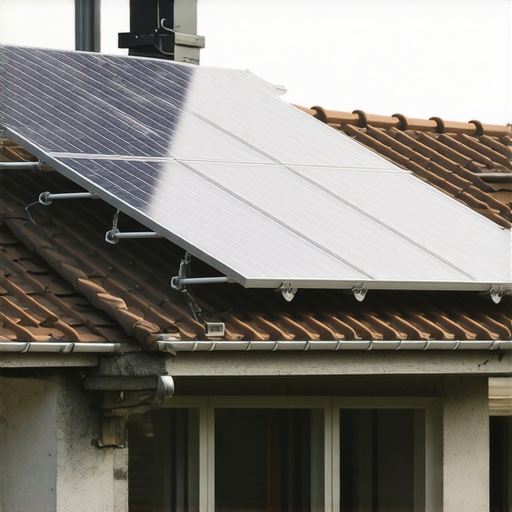
Gutter sizing is where most budgets fail to account for reality. A 6-inch K-style is the gold standard for steep slopes, offering significantly more ‘catch’ area than the standard 5-inch. But don’t forget the downspouts. A massive gutter is useless if the ‘exit door’ is too small. I recommend doubling the downspouts or using 3×4 inch leaders to ensure high-velocity drainage. This level of detail is why mastering new build estimating essential tips for success involves more than just reading a tape measure; it involves predicting fluid dynamics.
Keep Your Foundation Dry Before the Shingles Arrive
While you are waiting for the roofers, your site is at its most vulnerable. Every builder needs a temporary drainage plan. This involves using ‘elephant trunks’—long plastic tubes—attached to temporary gutters or even just heavy-duty plastic sheeting staked to divert water away from the open foundation. Without this, you’ll be dealing with mud slides that can compromise your soil compaction test results, leading to settling years down the road.
Don’t Ignore the Municipal Red Tape
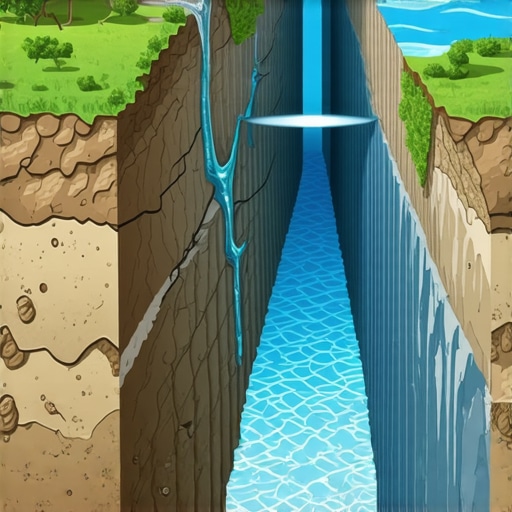
Don’t forget that your drainage plan is often a mandatory part of navigating permit requirements for additions in 2025. Inspectors want to see where that water is going. If you plan on tying into the municipal storm sewer, check the permit requirement for replacing a main sewer trap to ensure you aren’t overloading an old line. If you are in an area with high groundwater, following the foundation weeping tile rule for high water tables is the only way to keep your new basement from becoming an indoor pool. This proactive planning is the difference between a successful addition and a damp, expensive nightmare.Most contractors will tell you to just set aside 10% for ‘the unknowns’ and call it a day. In my experience, that is a shortcut to a mid-project financial crisis. A flat percentage is a lazy guess that ignores the specific technical demands of your site. Instead, you need to learn how to calculate realistic contingency funds for a new build by looking at specific high-risk variables. For instance, everyone talks about the cost of the addition itself, but few people account for the ‘mobilization’ of the site. If your backyard is tucked behind a narrow alleyway, how to account for mobilization fees in remote site estimates becomes a critical line item that 10% simply won’t cover.
Can Your Existing Infrastructure Handle the Extra Load?
This is the question that separates the amateurs from the pros. I once saw a gorgeous master suite addition grind to a halt because the homeowner didn’t realize their existing gas line was too small to fire up the new fireplace, the tankless water heater, and the kitchen range simultaneously. It is a classic ‘oops’ factor. You must verify if your kitchen extension needs a new gas meter size before you close the walls. Similarly, many people forget that adding bathrooms means more than just plumbing; it’s about protection. I always insist on checking the sewer backflow valve rule for new basement baths to prevent a literal catastrophe during the next heavy storm. According to a study by the American Society of Civil Engineers (ASCE), improper site drainage and utility mismanagement account for nearly 30% of residential construction delays. This is why estimating costs for new builds expert insights should always include a deep dive into your existing utility capacities. 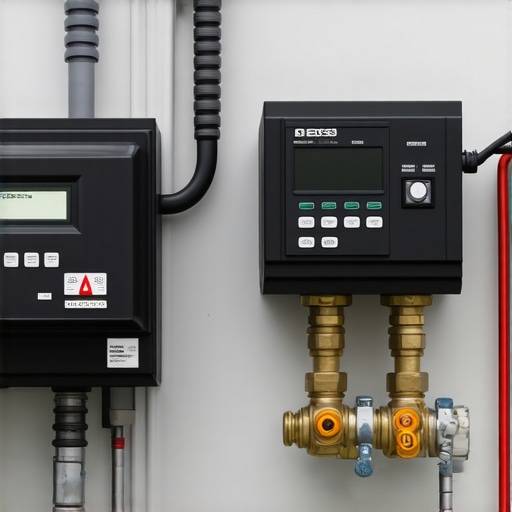
The Red Tape Nobody Mentions Until It Is Too Late
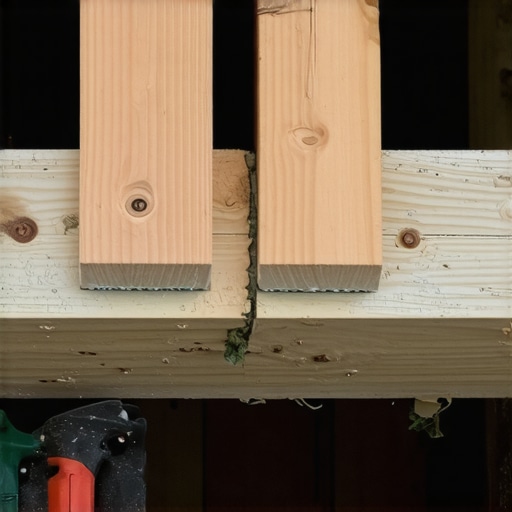
One of the biggest traps I see involves the land itself, specifically the ‘impervious surface ratio.’ You might have the budget and the space for a massive new patio and addition, but the impervious surface ratio that limits your paved patio size is a hard legal limit set by your municipality to prevent flooding. Ignore this, and you’ll be tearing up brand-new concrete to satisfy an inspector. Even during the build, you have to manage the mess legally; why your new build site needs a designated concrete washout is a detail that can lead to heavy fines if neglected. Efficiently managing additions from planning to execution requires you to look beyond the blueprints and into the local bylaws that govern how much of your lot can actually be covered. Have you ever fallen into this trap where a hidden regulation or utility limit blew your budget? Let me know in the comments. I’m curious to see which ‘hidden’ fee caught you off guard.I never swing a hammer on a new project anymore without my Wagner Orion 950 moisture meter in my pocket. It sounds overkill until you realize that most ‘settling cracks’ are actually just framing lumber shrinking because it was closed up while still wet. If you want your addition to look as good in ten years as it does on move-in day, you have to how to verify the moisture content of framing lumber before drywall goes up. I personally wait until the wood is below 12% moisture; anything higher, and you are basically inviting your drywall screws to pop out like popcorn. This level of precision is what separates a DIY-looking job from adding value with expert home additions that actually increase your property’s appraisal.
Get the Right Gear for Accurate Long-Term Results
Beyond the physical tools, I’ve started leaning heavily on 3D site modeling. I used to rely on a transit level and a prayer, but now I want to see exactly where the water goes. Seeing how 3d landscape models catch drainage errors before you dig saved me from a $5,000 mistake on a sloping lot last summer. This technology is becoming a standard part of mastering new build estimating essential tips for success because it removes the guesswork from topography. 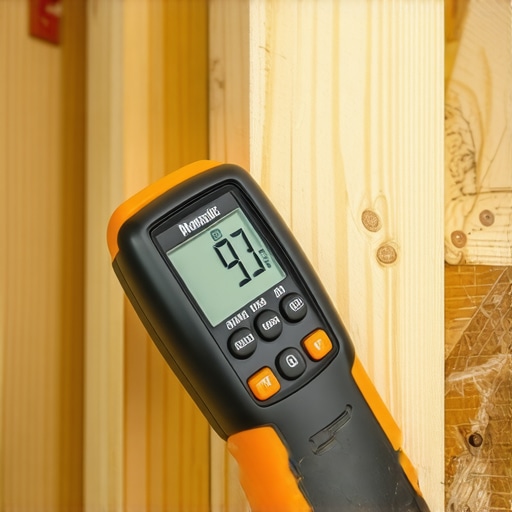
How can I prevent my new master suite from rotting from the inside out?
The answer is usually airflow, not more insulation. According to the International Residential Code (IRC) Section R806, you need a specific balance between intake and exhaust to prevent condensation. If you get the attic ventilation ratio that prevents roof rot wrong, your beautiful new shingles will curl in five years and your sheathing will turn to mush. I’ve seen homeowners spend thousands on premium materials only to have them fail because why your attic ventilation math is probably wrong by a factor of two. It isn’t just about the roof; even your walls need to breathe, which is why why your renovation needs a dust mitigation plan for permits often includes specs for proper vapor barriers and air exchanges.
Where the Future of Home Building is Heading
I predict that within the next five years, smart moisture sensors will be embedded directly into the wall cavities of high-end additions, sending an alert to your phone if a leak starts behind the siding. We are moving away from ‘build and forget’ and toward ‘active monitoring.’ Until that becomes the norm, you need to stay on top of efficiently managing additions from planning to execution by keeping a digital log of every inspection and material delivery ticket. This documentation is gold if you ever decide to sell. I strongly recommend you try this one thing: before you close your walls, take a 360-degree video of every room to document exactly where the wires, pipes, and studs are located. It will save you hours of frustration the first time you need to hang a heavy TV or fix a leak.
Hard Lessons from My 3 AM Waterfall Moment
Looking back at that soaked night, I realize that the biggest failures in construction don’t usually come from bad craftsmanship—they come from underestimating the invisible forces like water velocity and soil saturation. Here is the insider truth: a 10% contingency fund is a myth if you haven’t accounted for your site’s specific topography. When you are accurately estimating costs for home improvements, you have to look at the project as a living system. One overlooked detail, like the speed of runoff on a metal roof versus shingles, can snowball into a foundation nightmare. I’ve also learned that the relationship with your inspector is your greatest asset. Getting permit approval tips for seamless home additions early in the process prevents the soul-crushing ‘Stop Work’ order that kills momentum.
The Gear That Keeps Me Sane on Site
I don’t just rely on my gut anymore; I rely on data. If you are serious about your build, invest in a high-quality moisture meter like the Wagner Orion 950. It’s the only way to ensure your framing is ready for drywall. I also swear by 3D site modeling apps to visualize drainage before the first shovel hits the dirt. Finally, always keep a physical project binder. Even in a digital world, the one document most homeowners forget during project planning—the signed site survey—should always be within arm’s reach. These tools aren’t just for pros; they are for anyone who wants to sleep through a rainstorm without clutching a flashlight.
Build a Legacy Not a Liability
At the end of the day, your addition is about more than just extra square footage; it is about creating a space where your family can thrive without worrying about what’s happening behind the walls. Taking the time to understand the difference between a rough-in and a final inspection ensures your project meets the highest safety standards. Don’t rush the invisible steps. The drainage, the venting, and the permits are the skeleton of your home’s future. You’ve got the knowledge now—go build something that lasts. Have you ever had a drainage issue or a hidden utility line nearly ruin your construction timeline? Let me know in the comments below!