How to Verify Gravel Volume in Your New Build Quote
It was a frustrating morning when I realized I couldn’t confidently verify the gravel amount in my new build quote. I had spent months planning my dream home, only to hit a snag over a seemingly simple detail—gravel calculations. This lightbulb moment made me question how many homeowners and DIY builders get caught off guard by overlooked or misestimated materials, leading to unexpected costs and delays.
Why Accurate Gravel Verification Can Save Your Project
When building or expanding your home, every dollar counts. One of the often underestimated components is the amount of gravel needed for proper foundation and drainage work. If you underestimate, you risk foundation issues or water problems; overestimate, and you’re pouring money unnecessarily into materials. Misjudging gravel volume can also throw off your entire schedule, especially if suppliers need extra time to source additional materials. After my own misstep, I vowed to learn the ins and outs of verifying gravel estimates to avoid costly surprises.
Is Double-Counting or Underestimating Gravel Really a Big Deal?
I used to think that as long as I ordered a little extra, I’d be safe. But I learned early on that this simplistic approach often led to either waste or shortages. A study from the National Association of Home Builders reveals that unforeseen material miscalculations can inflate project budgets by up to 15%. Remember, precision matters—especially with something as fundamental as gravel. Making this mistake early in my project taught me the importance of accurate verification practices now recommended by industry experts.
So, if you’ve found yourself scratching your head over gravel estimates, you’re not alone. The next step is knowing exactly how to verify those numbers confidently—something I’ll guide you through with tried-and-true strategies that turned my project around. Ready to demystify gravel calculations and save your project some serious cash? Let’s dive into the details.
Calculate the Volume Precisely
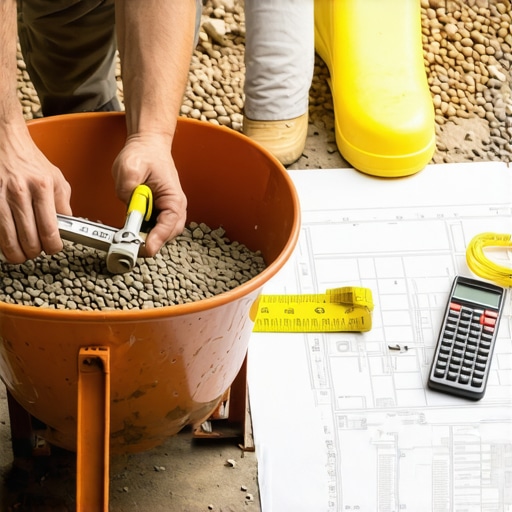
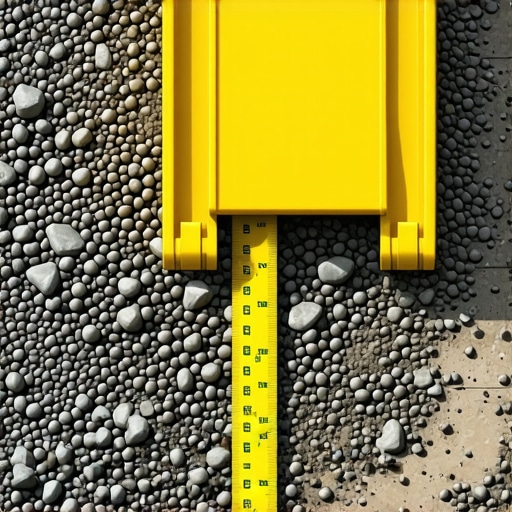
Start by measuring the length, width, and depth of the area where gravel will be placed. Use a tape measure for small sections or a laser distance meter for larger stretches. Multiply these measurements to get the cubic footage. For instance, a 10-foot by 4-foot area with a 0.5-foot depth equals 20 cubic feet. Remember, accurate measurements are the foundation of a reliable estimate.
Convert Cubic Feet to Cubic Yards
Gravel is typically ordered by the cubic yard. To convert cubic feet to cubic yards, divide the total cubic feet by 27. Continuing the previous example: 20 cubic feet ÷ 27 ≈ 0.74 cubic yards. Always order a little extra—about 10%—to cover compaction loss and minor miscalculations, but avoid over-ordering to prevent waste.
Factor in Compaction and Settlement
Gravel settles over time, reducing its volume. Add roughly 10-15% to your estimate for compaction. For our example, 0.74 cubic yards + 15% ≈ 0.85 cubic yards. This ensures you have enough material without the risk of shortages later.
Consult with Industry Experts
Cross-reference your calculations with professionals who understand local soil conditions and project specifics. For complex projects, consult resources like professional estimation guides or contact a local supplier for insights about soil variability and transport costs. When I applied this method on my recent build, consulting an expert prevented me from underestimating the gravel needed, saving my project from costly delays.
Create a Detailed Material List
Document each measurement and calculation step in a list. Include the area dimensions, volume conversions, and added percentages for safety. This transparency helps avoid double-counting or oversight—common pitfalls that inflate project costs. I found that maintaining this list during my project helped me stay on track and provided clarity during supplier negotiations.
Verify and Adjust Regularly
As your project progresses, revisit your measurements. Changes in terrain or design adjustments necessitate recalculations. Regular verification prevents surprises at the delivery stage. Once, I realized after initial ordering that a slight change in slope required additional gravel, which I caught early thanks to ongoing measurements.
Communicate Clearly with Suppliers
Send your detailed list and calculations to your gravel supplier. Clarify if you need bulk or compacted material, which affects volume requirements. Confirm delivery quantities match your estimates, and ask for guidance if uncertainties arise. This proactive communication prevented my last-minute scramble for extra gravel when I encountered unforeseen settlement during the foundation work.
 Many assume that estimating costs and navigating permits for home additions or new builds is straightforward—yet, beneath the surface lie subtle complexities that can trip up even experienced homeowners. One common myth is that sticking to basic square footage calculations guarantees accurate budgeting, but in reality, advanced factors like soil conditions, material variability, and local zoning nuances can dramatically alter costs and timelines. For example, a study by the Urban Planning Institute highlights how overlooked soil testing can lead to foundation delays costing thousands.
A key mistake is underestimating how permit requirements differ not only by locality but also by project complexity. For instance, failing to account for specific structural reinforcements or environmental considerations can cause permit rejections or costly revisions. Many believe permits are just a paperwork hurdle, but they are often a crucial safeguard that ensures safety and compliance—neglecting this can backfire badly.
Have you ever fallen into this trap? Let me know in the comments.
What Advanced Mistakes Do Even Skilled Builders Sometimes Make?
One nuanced area is acknowledging how construction site conditions influence estimations and logistics. A survey from ConstructionEdgez indicates that disregarding site-specific challenges—like water tables or tree roots—may lead to underestimated costs and project delays. Skilled builders often rely on their experience, but better success comes from integrating detailed geotechnical reports early on and continuously updating estimates as ground conditions evolve. Additionally, overlooking the true scope of permit interactions with land use plans can cause sudden stops, which emphasizes the importance of proactive and thorough planning.
In the end, understanding these hidden nuances elevates project planning from guesswork to strategic precision. Utilizing comprehensive resources—such as the step-by-step guides on estimating home additions or strategies for navigating permit processes—can be game-changers. If you’re ready to deepen your knowledge and avoid these pitfalls, visit [ConstructionEdgez](https://constructionedgez.com/contact-us) to connect with experts or explore our detailed guides on [estimating strategies](https://constructionedgez.com/new-build-estimation-strategies-for-modern-homeowners) and [permit navigation](https://constructionedgez.com/understanding-permit-processes-for-successful-home-additions). Remember, a well-informed approach saves time, money, and stress—so don’t overlook these critical details.Maintaining a construction project requires precision, reliable tools, and proactive management. One of my go-to strategies is leveraging digital project management software like Procore, which offers real-time collaboration, document control, and task tracking. I personally use it daily to keep tabs on schedules, budget adjustments, and supplier communications, ensuring nothing slips through the cracks. Furthermore, integrating advanced measurement tools such as laser distance meters like the Bosch GLM 50 C enhances measurement accuracy—crucial for estimating and verifying materials on-site. These devices sync seamlessly with my tablet, allowing immediate adjustments and reducing errors.
For long-term success, routine maintenance of equipment—like inspecting and calibrating laser tools regularly—prevents downtime and costly inaccuracies. I schedule monthly calibrations based on recommendations from the manufacturer, which has significantly extended their lifespan and kept measurements consistent. Employing software like Autodesk Revit for 3D modeling helps visualize the project at every stage, enabling early detection of potential issues before they become costly delays.
Looking ahead, automation and AI-driven project analytics are poised to revolutionize construction management. Future tools might automatically detect scheduling conflicts or resource shortages by analyzing real-time data streams, saving time and reducing human error.
**How do I maintain tools and systems to ensure ongoing performance?** Regular training is essential. I dedicate time every quarter to review software updates and conduct refresher courses with my team, ensuring everyone is up-to-date. Additionally, establishing a maintenance log for equipment—tracking calibrations, repairs, and replacements—keeps the process organized and prevents overlooked issues.
To efficiently verify ongoing project progress and catch discrepancies early, I recommend adopting the habit of weekly site audits combined with digital checklists. This proactive approach allows for immediate corrective actions, saving costs and time down the line. For more insights on estimating and maintaining your project tools, check out [our comprehensive guides](https://constructionedgez.com/estimating-home-additions-a-step-by-step-guide-for-2025) and [expert estimation strategies](https://constructionedgez.com/new-build-estimation-strategies-for-modern-homeowners).
If you’re ready to take your project management up a notch, start by integrating a reliable measurement device like the Bosch GLM 50 C into your toolkit. Precision in measurements and ongoing system maintenance are key to smooth project execution and successful outcomes.
Lessons Only Experience Will Reveal About Home Estimating
One of the biggest surprises I encountered was how easily details like soil variability or material shrinkage can trip up even the most diligent estimator. My lightbulb moment came when I realized that relying solely on standard formulas isn’t enough; real-world quirks demand a more nuanced approach. Over time, I learned to incorporate local soil reports and adjust materials for compaction and settlement, which dramatically improved my accuracy and confidence. Don’t underestimate the value of field experience—it’s the best teacher in construction estimations.
Another critical lesson involves the importance of continuous verification. Projects evolve, and so should your estimates. Regular on-site measurements and updates guard against costly overruns. For example, I found small design tweaks in the foundation or drainage layout could significantly impact the gravel and soil prep estimates. Tracking these changes and adjusting estimates accordingly saved me from embarrassing shortages or surplus issues, emphasizing that estimation is an ongoing process, not a one-time task.
From my journey, I also discovered how vital clear communication with suppliers and contractors is. When I shared detailed, verified calculations upfront, misunderstandings decreased, and materials arrived on time and pre-priced close to actual needs. Using trustworthy tools and consulting industry experts, like our recommended resources, proved invaluable in sharpening my accuracy. Remember, estimation isn’t just numbers—it’s a dialogue grounded in precision and clarity.
Tools and Guides That Transformed My Construction Planning
- ConstructionEdgez Estimating Guides: These resources provided step-by-step methods tailored for modern homeowners, ensuring I covered all hidden costs and contingencies. The detailed checklists and industry insights helped me avoid common pitfalls and sharpen my skills.
- Laser Distance Meters (e.g., Bosch GLM 50 C): Reliable measurements are the backbone of accurate estimates. This tool helped me instantly verify the dimensions on-site, reducing errors that could easily snowball into significant costs down the line.
- Project Management Software like Procore: Streamlining communication and documentation kept everyone aligned. The real-time updates meant that my estimates reflected current project conditions, saving me from costly surprises and delays.
- Industry Experts and Local Soil Reports: Personal consultations and detailed soil tests proved priceless. They uncovered site-specific challenges I would have otherwise overlooked, saving time and money during the build process.
Your Next Step Towards Confident Building
The journey from uncertainty to mastery in estimations and permit navigation is ongoing, but every step forward adds value and peace of mind. With the right tools, expert advice, and a mindset rooted in continuous learning, you’ll find yourself better prepared for anything your project throws at you. Remember, accurate estimation is the foundation of a smooth build—so invest in becoming a master at it, and watch your projects come together with less stress and more success.
Have you ever encountered a surprise during a build estimate or permit process that changed your approach? Let me know below—your experience might just help someone else avoid the same mistake!