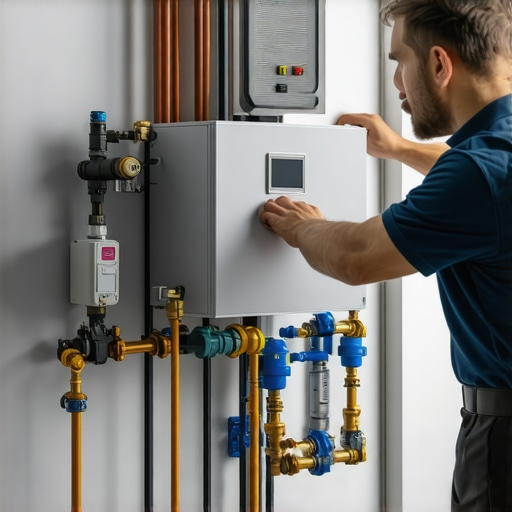
Why Your Kitchen Extension Needs a New Gas Meter Size
I’ll never forget the moment I realized my kitchen upgrade was hitting a wall. We had planned for a sleek new space with modern appliances, only to find that the existing gas meter couldn’t handle the increased demand. Frustration set in as I scrambled to figure out why my plans were delayed and how this tiny but crucial detail could have been overlooked. That lightbulb moment taught me a vital lesson: understanding your gas meter’s size isn’t just a technicality—it’s the backbone of a successful extension.
Getting Ahead with the Right Gas Meter for Your Home Expansion
If you’re dreaming of a bigger kitchen or a new addition that promises convenience and style, you might not realize that a seemingly small component — your gas meter — could become a major roadblock. When I first started my project, I assumed my existing meter would suffice. But I quickly learned that as your home’s energy needs grow, so should your gas meter. An undersized meter not only hampers appliance performance but can also pose safety risks. Fortunately, understanding the ins and outs of gas meter sizing, especially during renovations or extensions, can save you a lot of headaches.
Why Is a Bigger Gas Meter So Important?
Think of your gas meter as the entry point for fuel into your home; it needs to match your increased appliance demands. If it’s too small, your new oven, heater, or boiler could struggle to operate efficiently, or worse, cause safety hazards like leaks or pressure buildup. On the flip side, overestimating can lead to unnecessary costs. According to industry guidelines, selecting the correct meter size is essential for safety, efficiency, and compliance with local regulations. Early miscalculations were my biggest mistake—something I learned the hard way. For a step-by-step approach to estimating these costs, check out our estimating guide.
Before proceeding, I urge you to consider: has your energy provider assessed your needs? Or are you still running on outdated assumptions? This small check can make a significant difference. Now, let’s dive into how to determine the right size for your new gas meter, ensuring your extension runs smoothly and safely.
Measure Your Current and Future Gas Demand
Start by listing all appliances and systems that will use gas in your extended space—think cooktops, water heaters, fireplaces, and heating systems. For example, I once upgraded my kitchen and added a large gas stove, a new boiler, and an outdoor firepit. Making a detailed list helps visualize total gas consumption. Use manufacturer specifications to find the BTU ratings for each appliance and sum them up. This step provides a clear estimate of your home’s new gas demand.
Consult Industry Guidelines and Local Regulations
Next, refer to local standards or your energy provider’s requirements. These guidelines specify minimum pipe sizes and meter capacities for various demand levels. For instance, I found that my city’s regulations recommended a minimum capacity of 100 cubic feet per hour for my planned setup. Visiting the permit and regulation page can provide valuable insights and ensure compliance.
Estimate the Required Gas Meter Size
Calculate your total BTU or cubic feet per hour demand and compare it to the capacity ratings of available meters. If your total demand exceeds your current meter’s capacity—for example, your existing meter handles 150 CFH but your calculation shows you need 250 CFH—you’ll need a larger meter. I vividly remember when I realized my existing meter only supported 150 CFH, yet my requirements hit 300 CFH after adding outdoor heating. Upgrading involved coordinating with the gas company, which also required a permit. This experience taught me the importance of early sizing to prevent delays.
Use Conversion and Safety Margins
Apply a safety margin—generally around 25%—to your calculations to account for future expansions or unexpected demands. For my project, multiplying my total demand by 1.25 ensured the selected meter would comfortably handle potential increases, avoiding the need for future upgrades.
Involve Your Gas Provider Early
Speak with your utility company as soon as you have your estimates. They often have specific requirements and can advise on suitable meter sizes or upgrades. My provider recommended a new, larger meter with integrated pressure regulation. Sometimes, they require a site inspection before approving the upgrade, which can add time if not scheduled early. This proactive step prevents surprises and keeps the project moving smoothly.
Coordinate with a Qualified Professional
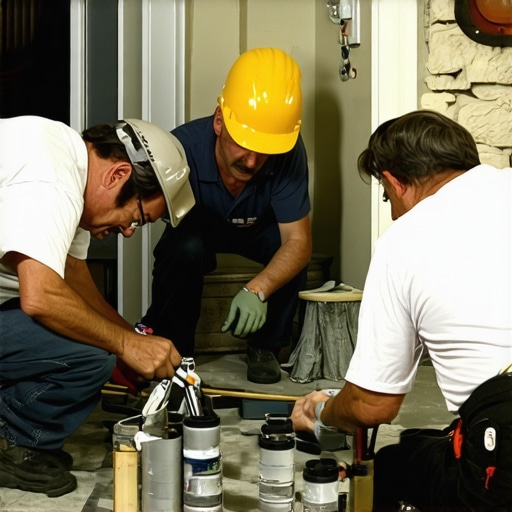
Hire a licensed plumber or gas technician to confirm your calculations and oversee the installation. This is crucial because improper sizing can compromise safety and efficiency. When I hired a professional to reconfigure my gas lines, his expertise ensured that the new meter was correctly installed and validated to meet all safety standards.
Final Checks and Documentation
Once installed, obtain the necessary documentation and inspection approvals. Proper documentation from your technician and utility is essential for permit compliance and future servicing. Remember, neglecting to size correctly initially can lead to costly setbacks—a lesson I learned firsthand through my messy but educational upgrade process. Proper sizing and planning are your best defenses against project delays and safety issues.
Many homeowners and even seasoned builders believe that navigating permits and accurate estimations is a straightforward process, but in my experience, there are subtle pitfalls that can derail your project if you’re not careful. One prevalent myth is that once you understand the basic permit requirements, you’re set for the entire process. However, building codes and permitting standards evolve, and misinterpreting these nuances can lead to costly delays. For example, some assume that a generic estimate suffices for budgeting, but overlooking specific local regulations or the project’s unique complexities can cause significant overruns. According to industry experts, failing to account for these hidden factors is among the top reasons new builds and additions face unexpected issues.
Why Do So Many Overlook Permit Complexities?
Think of permits as the legal backbone of your construction project; rushing through their acquisition or assuming they’re merely bureaucratic hoops is a mistake. A critical oversight is not understanding the specific requirements for your property’s zoning or the permitting process’s granular details—like setback variations, easement restrictions, or drainage rules. Such nuances vary by locality and often require professional interpretation. For instance, in some jurisdictions, certain minor expansions might seem permissible without extensive permits, but neglecting to verify this can result in fines or mandates to undo work. Here’s an essential tip: always consult resources like navigating permit requirements early to avoid surprises.
Moving to estimation, a common falsehood is that generic square-foot costs provide an accurate budget. In reality, detailed takeoffs and understanding regional labor, material costs, and project-specific factors are critical. For example, an underestimated foundation complexity or unforeseen soil conditions can inflate costs dramatically. The key is to employ strategies highlighted in cost-effective estimating techniques to enhance accuracy. Advanced errors often occur when homeowners neglect to include soft costs—permits, inspections, design fees—that can double initial project estimates. So, don’t rely solely on previous project figures; tailor your estimates with precision.
In the context of home additions, many overlook the often-invisible requirement for proper site planning and compliance with modern standards like energy efficiency or fire safety codes. A silent trap is not engaging professionals familiar with these requirements from the start. For instance, building a heavier roof support without accounting for snow loads or wind pressures can result in structural issues later. Ensuring compliance is not just about avoiding fines but also about safeguarding your investment and safety. More insights on this are available through adding value with expert guidance.
How Can Mistakes in Estimation and Permitting Cost You Later?
Overlooking these detailed aspects can cause delays, increase costs, or even lead to legal disputes. For example, misinterpreting setback requirements might mean relocating structures or redesigning projects, which is time-consuming and expensive. Additionally, failure to secure proper permits before starting work can result in stop-work orders that halt progress for weeks or months, sometimes requiring costly demolitions or modifications. A study by the National Association of Home Builders emphasizes that early, detailed planning minimizes risk and cost overruns.
To avoid falling into these traps, it’s wise to leverage professional consultation and stay updated with local codes. Engaging with your city’s permit processes early in your planning can clarify requirements, saving you time and money. Also, employing precise estimation techniques from top estimating strategies ensures your budget reflects reality.
Have you ever fallen into this trap? Let me know in the comments! Recognizing these hidden nuances can make the difference between a smooth home expansion and a costly, frustrating experience. Remember, thorough planning and informed decision-making are your best tools for a successful project.
,
How do I keep my project running smoothly over time?
Maintaining the momentum in home additions and new builds requires the right tools and a strategic approach. I personally rely on specialized software like Stacker for project management, which helps me coordinate timelines, budget allocations, and permit statuses in real time. Its integration with local permitting databases streamlines the approval process, reducing delays. For accurate estimation, I use our detailed estimation guides, which break down costs into soft and hard categories, ensuring I don’t overlook soft costs like inspections or design fees.
On the hardware front, high-quality laser distance meters like the Leica Lis300 have become indispensable for verifying site dimensions before ordering materials. Being precise at this stage prevents costly reordering or structural errors later. Additionally, I swear by thermal imaging cameras like the FLIR C5 for detecting insulation gaps or moisture issues that could compromise the long-term integrity of the build. Regularly scheduled inspections using these tools allow me to catch issues early, saving both time and money.
Where is home-building technology heading in the future?
Automation and AI-driven project management tools are poised to revolutionize how we maintain and scale our projects. Imagine software that predicts permit delays based on ongoing municipal changes, or drone inspections that provide real-time site assessments. As these tech trends evolve, they’ll make long-term project management more efficient and less stressful, ultimately reducing risk. Getting familiar with current tools now will prepare you for these exciting developments.
Master the art of ongoing maintenance
To keep everything working perfectly after completion, I recommend setting up a routine maintenance schedule utilizing digital checklists tailored to your project’s specifics. For example, quarterly inspections of gas lines with professional leak detection ensure safety and efficiency. Investing in quality tools like the RIDGID Video Inspection System facilitates these inspections without unnecessary disassembly. Remember, proactive maintenance prolongs the lifespan of your investments and minimizes unexpected repairs.
Try implementing a digital maintenance log using apps like Evernote or Notion. Documenting routine checks, issues, and repairs helps track recurring problems and plan future upgrades. Consider consulting with professionals via our contact page to develop a personalized maintenance plan—this step is essential for long-term success.
In my experience, integrating high-quality tools and strategic planning can dramatically improve your project’s durability and compliance. As you scale up or take on more complex additions, remember that embracing new technologies now positions you ahead for future growth. For instance, reviewing expert home addition strategies can help ensure your projects stay on track, cost-efficient, and compliant with evolving standards.
Little Things That Spunned Big Problems
One of the most surprising lessons I learned was how often overlooking a simple detail like the gas meter capacity could cause major setbacks. I underestimated how critical proper sizing was, and it led to delays that could have been avoided with a proactive mindset. This experience taught me to scrutinize every component, no matter how small it seems, to prevent surprises later on.
Foresight Over Hindsight: Don’t Wait for a Breakdown
I used to believe that trusting the initial assumptions about my home’s energy needs was enough. However, I found that engaging directly with my gas provider early in the process saves time and money. Making space for expert input upfront ensures your project is built on a solid foundation—literally and figuratively—and avoids costly corrections down the line.
Always Over-Estimate—with a Safety Margin
Applying a safety margin when estimating gas requirements—something I discovered the hard way—provides flexibility. Overestimating by about 25% gave me confidence that my systems could handle future upgrades without needing major rework, especially when my plans changed mid-project. This approach has become an essential part of my planning toolkit.
Prioritize Professional Guidance to Minimize Risks
Hiring a licensed professional for sizing and installation turned out to be invaluable. Their expertise not only ensured safety compliance but also uncovered potential issues I wouldn’t have known about. Relying on experts is a small investment that can save significant headaches—and dollars—in the long run.
Resources That Accelerate Success
Over the years, I found certain tools and resources indispensable. For detailed estimating, I keep a copy of the cost-effective estimating techniques guide. When navigating permits, I consult the permit requirements portal. These resources keep me informed and prepared, reducing guesswork and stress.
Embrace Technological Advancements Today
Using innovative tools like laser distance meters and project management software has transformed how I manage home additions. These devices help me verify site measurements accurately and stay ahead of deadlines. Staying open to new technology keeps your project efficient and can give you a competitive edge, especially as construction tech rapidly evolves.
Keep the Momentum with a Clear Vision
Staying motivated relies on setting achievable milestones and sticking to them. Regular check-ins using digital logs or project dashboards prevent minor issues from snowballing. My secret is maintaining a proactive approach—addressing potential problems early keeps the project moving smoothly and transforms challenges into learning opportunities.
Your Next Step Comes Down to Confidence
Remember, every successful project starts with informed decisions and thorough planning. The more you understand about components like gas meters and permit processes, the better prepared you’ll be to handle surprises. Embrace continuous learning and resourcefulness—your home expansion journey will become not just feasible but enjoyable.
What’s Your Biggest Challenge in Home Expansion?
Have you ever underestimated a crucial detail like a gas meter or permit requirement? Let me know below—sharing our experiences helps build a community of knowledgeable homeowners ready to tackle any project with confidence!
,