The Soil Compaction Test Your New Build Foundation Needs
It was a late summer afternoon when I first realized my foundation might be in more trouble than I thought. After months of planning, permits, and dreaming about my backyard oasis, an unexpected crack appeared on the basement wall. Panic set in. That crack wasn’t just a minor flaw; it was a wake-up call. I learned that overlooking the soil condition, especially neglecting the soil compaction test, can lead to costly foundation issues later on.
Understanding the Vital Role of Soil Compression in Building Foundations
Most homeowners and even many builders underestimate how crucial soil compaction is to a stable foundation. A soil test, specifically for compaction, isn’t just a bureaucratic hoop to jump through; it’s a safeguard that ensures your new build is on solid ground. Without this step, you risk settling, cracking, or worse — catastrophic foundation failure. That’s why I want to share from my experience the importance of trusting a soil compaction test and how it can save your project from the nightmare I faced.
Is Skipping Soil Testing a Risk Worth Taking?
I admit, early in my project, I brushed off the soil test as an optional formality. Big mistake. Early on, I thought, “It’s just dirt; how bad can it be?” Turns out, a significant mistake. I had flaky, loose soil beneath my house that my contractor didn’t sufficiently evaluate. That oversight resulted in uneven settling and the need for expensive underpinning. Trust me, mistakes like this are common, but they’re also avoidable if you prioritize proper testing. Early soil testing, including soil compaction tests, is a proven strategy [source](https://constructionedgez.com/the-soil-compaction-test-most-new-builds-skip). It’s a small investment that can prevent a mountain of headaches and budget blowouts down the line.
Do you remember a time when ignoring something simple led to bigger problems? If so, you’re not alone. Many homeowners jump into building or renovating without recognizing the silent but critical role of soil quality. So, let’s delve into how you can make sure your foundation is truly on firm ground, starting with the soil compaction test that I wish I had ordered sooner.
Start with Proper Site Assessment
Before breaking ground, visualize your site as preparing a fertile garden bed. Just as you would check soil quality for healthy planting, evaluate your land for foundation stability. Conduct a thorough site survey, noting areas of loose or uneven soil, which can compromise structural integrity. Use a professional geotechnical engineer to perform a comprehensive soil analysis, including soil compression testing. This step is crucial and sets the foundation for a resilient build. During my project, I scheduled a soil test immediately after land acquisition; the results revealed loose sandy patches that would’ve led to settling issues without proper compaction.
Order a Soil Compression Test
Work with Certified Labs or Experts
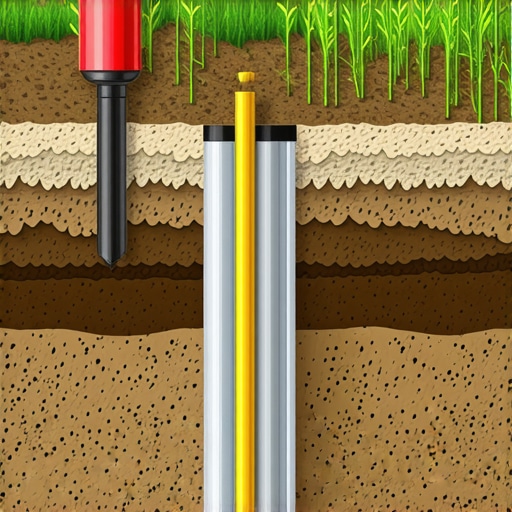
Hire accredited geotechnical firms that specialize in soil testing. Provide them with detailed site plans and recruitment instructions. The process involves inserting test samples into boreholes to measure soil resistance under load. Think of it like testing the soil’s capacity to support a tower—without this, you’re building on quicksand.
In my case, I coordinated with a local geotechnical engineer who provided a detailed report on compaction levels across different zones. This report identified weak spots requiring soil stabilization. Don’t overlook this step; ensuring proper soil density saves you from future costly repairs or foundation failure.
Interpret the Results Accurately
Once the test data arrives, analyze the compaction levels against local building codes. A typical ideal is 95% of the maximum dry density. If the soil is under-compacted, plan to improve it through methods like compaction grouting or adding fill material. Think of this as packing a mattress tightly so it doesn’t sag—your foundation relies heavily on this solid base.
My project’s report indicated that soil in certain zones was only 85% compacted, prompting immediate intervention. By re-compacting these zones before pouring footings, I avoided uneven settling that could have caused cracks down the line.
Implement Soil Stabilization Measures
If tests reveal loose soil, don’t proceed without addressing it. Techniques include adding granular material and mechanically compacting it, installing vapor barriers, or injecting chemical stabilizers. This is akin to reinforcing a weak bridge abutment—skimping here endangers the entire structure.
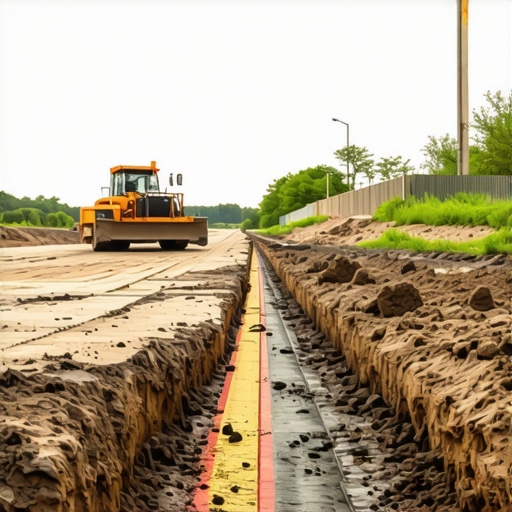
In my case, I opted for compacting additional fill material and using a vibrating plate compactor. The result was a significantly firmer base, confirmed by a follow-up test. This proactive approach ensures the soil remains firm, reducing the risk of future foundation shifts.
Document Everything for Permits and Future Reference
Record all testing reports, improvement measures, and results meticulously. These documents serve as proof of compliance during permit reviews and can expedite inspections. Plus, they become valuable reference records if future issues arise.
When I submitted my permit application, including detailed soil test results and stabilization procedures, the approval process was smoother. It reassured inspectors that I prioritized foundation integrity from the start.
Remember, soil testing and proper preparation are not optional steps—they’re the backbone of a durable, safe structure. Taking these concrete actions now can save you from an expensive and stressful foundation repair later on.
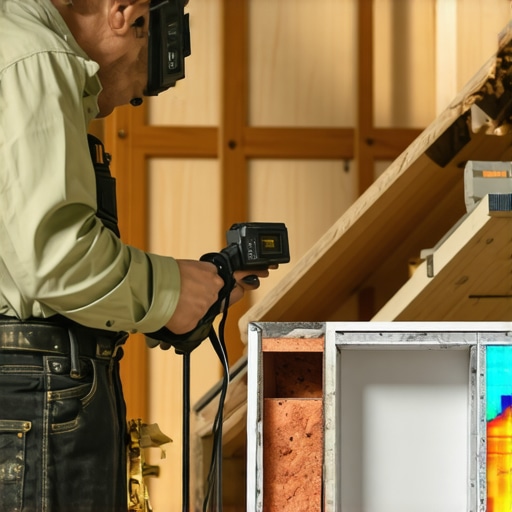
Many homeowners and even seasoned contractors believe that permits, estimates, and building plans are straightforward processes, but this oversimplification often leads to costly mistakes. A common myth is that permits are just bureaucratic hoops, delaying projects unnecessarily; however, in reality, rushing or skipping permit steps can result in severe legal and safety issues, including fines and project delays. Similarly, there’s a misconception that estimating costs for new builds or additions is a simple matter of multiplying square footage by a standard rate, but the reality is far more nuanced. Overlooking factors like site-specific challenges, material fluctuations, and permit requirements can cause estimates to balloon uncontrollably, jeopardizing budgets and timelines. One critical nuance that many miss is the importance of understanding local permit codes and how they affect design choices. For example, neglecting setback requirements or zoning restrictions can render an entire project illegal, leading to redesigns that incur extra costs and time. Advanced practitioners know that early collaboration with local authorities and detailed site assessments are essential for smooth permitting and accurate estimating. A study published in the Journal of Construction Engineering and Management emphasizes that proactive communication with code officials reduces approval times and minimizes rework costs. Another common trap involves underestimating the complexity of existing infrastructure when planning additions—such as electrical, plumbing, or foundation work—which can significantly impact costs and timelines. To avoid these pitfalls, always consult comprehensive resources like [the complete guide to permitting](https://constructionedgez.com/the-complete-guide-to-permitting-for-new-builds-and-additions), and consider engaging experts early in the design process. Remember, the key to a successful project isn’t just doing things by the book but understanding the hidden layers that influence outcomes. Have you ever fallen into this trap? Let me know in the comments.Maintaining your new build or renovation project requires more than just initial planning; it’s about leveraging the right tools and establishing effective routines to ensure everything continues to function optimally over the years. One indispensable piece of equipment I rely on is a digital moisture meter. I personally use the Protimeter SURVEYLEAK, which offers precise readings of moisture levels in walls and floors. This tool helps me catch potential leaks or moisture infiltration early, preventing mold and structural issues that can be costly down the line. Additionally, a quality laser distance meter, like the Bosch GLM 50 C, simplifies measurements during inspections and routine check-ups, ensuring walls, ceilings, and foundations remain within specified tolerances despite natural shifts over time.
How do I maintain my building’s systems over time?
Regular inspections are critical. I schedule seasonal check-ups for HVAC filters, electrical panels, and plumbing joints. For example, I replace HVAC filters before winter and summer to maintain efficiency and prevent system breakdowns. Upgrading my smart home management system has also been a game-changer. Using software like Home Assistant, I can monitor energy consumption, detect anomalies early, and even automate routine maintenance tasks. This proactive approach extends the lifespan of my systems and saves money in the long run.
In terms of long-term results, establishing a maintenance schedule rooted in data from your tools is essential. Keep detailed logs of inspections, repairs, and upgrades. For instance, tracking moisture levels with my moisture meter helps identify trends indicating a need for sealing or drainage improvements. Plus, adopting these habits aligns with the emerging trend of smart, data-driven home maintenance, which I expect will grow significantly as IoT devices become more affordable and sophisticated.
What about scaling and adjusting for future projects?
As your needs evolve, or if you plan additions or modifications, revisit your tools and routines. Use software like Estimating Home Additions to project costs for future expansions accurately. Also, if expanding a structure, ensure your tools are calibrated and ready—think laser levels, moisture meters, and digital calipers—to adapt existing systems smoothly while maintaining quality and compliance. For example, when planning an attic upgrade, remeasuring and reassessing moisture risks is critical; overlooked moisture can compromise new insulation or framing.
Lastly, stay informed. Resources like the [Construction Edgez](https://constructionedgez.com/contact-us) blog regularly update strategies for maintenance and scaling. Implementing a robust maintenance routine with precise tools ensures your investment appreciates over time, minimizes unexpected expenses, and keeps your project standing proudly for decades. Try integrating a moisture meter into your routine this month—you’ll be surprised at how much early detection can save your project.
Lessons the Soil Taught Me About Building Success
One of the most profound insights I gained was how overlooked details, especially soil testing, can ripple into costly disasters. Skipping the soil compaction test felt like saving a dollar today but paid tenfold later when foundation issues emerged. Trusting experienced geotechnical professionals and respecting their recommendations proved to be the ultimate investment in my project’s longevity.
Another lesson was the importance of early, transparent communication with local permitting authorities. Navigating permit processes with newfound clarity streamlined approvals and avoided unnecessary delays. It taught me that proactive engagement and understanding permit nuances can turn potential roadblocks into stepping stones.
The third realization was embracing a comprehensive toolbox of tools and routines to monitor my build’s health over time. From moisture meters to digital measurements, these tools offered early warnings of issues unseen to the naked eye, saving me from future headaches and ensuring my investment appreciated.
My Essential Arsenal for Construction Confidence
In my journey, a few tools stood out as game-changers. The Protimeter SURVEYLEAK moisture meter allowed me to catch hidden leaks before they became mold or structural problems, making it indispensable. The Bosch GLM 50 C laser distance meter simplified precise measurements during inspections, ensuring my structure remained within tolerances. For estimating, I relied on detailed guides like How to Accurately Estimate Costs for Home Improvements, which demystified complex calculations. Lastly, engaging with resources like Managing Additions Effectively from Planning to Execution helped me stay organized, on schedule, and within budget.
Your Turn to Take Charge of Your Build
Armed with these insights, tools, and resources, you’re better prepared to navigate the intricate world of permits, new builds, estimating, and additions. Remember, the key lies in diligent preparation, continuous monitoring, and learning from every experience. You have the power to shape a construction journey that’s smooth, successful, and built to last.
What’s the one step you’re most eager to implement in your upcoming project? Share your thoughts below and let’s learn together!
,