The Subfloor Thickness Error That Ruins Tile Floors
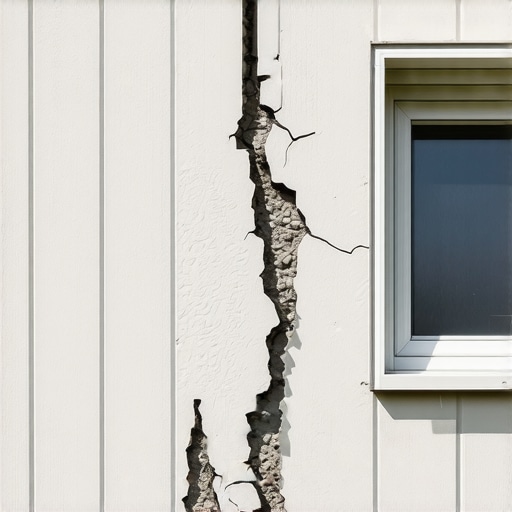
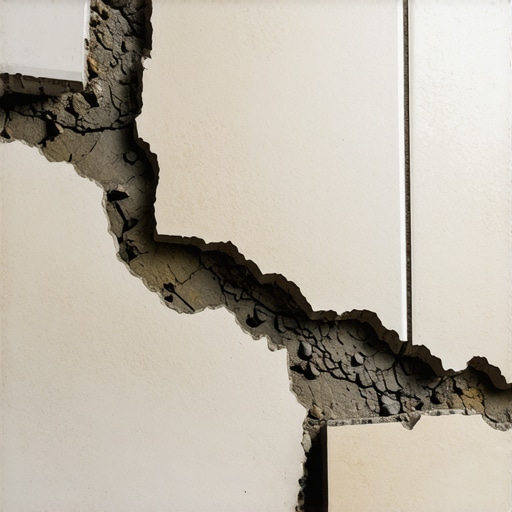
I still remember that sinking feeling when I stepped onto my newly tiled bathroom floor—one that looked perfect during installation, but within weeks, it started cracking, and the grout lines gapped painfully. It was frustrating, especially after pouring money and effort into what was supposed to be a beautiful, durable finish. The revelation? A silent, often overlooked mistake with the subfloor thickness that can turn a dream project into a costly nightmare.
Why Subfloor Thickness Matters More Than You Think
Many DIY enthusiasts and even some pros underestimate the critical role of proper subfloor preparation, particularly in tile installation. The subfloor acts as the foundation for your entire finish. If it’s too thin or uneven, it can’t bear the weight or movement, leading to shifted tiles, cracks, and grout failure. I learned this the hard way early in my career—by rushing through the subfloor assessment, I set myself up for problems down the line. You wouldn’t build a skyscraper on a shaky base, so why treat your tile installation any differently?
Research shows that an inadequate subfloor can decrease tile lifespan by up to 50%.* That’s a staggering statistic that highlights how a small mistake—like ignoring the required thickness—can exponentially inflate repair costs and frustration. But don’t worry; this isn’t an insurmountable problem. The key is understanding the proper subfloor standards and ensuring your build or renovation adheres to them. Understanding permitting and building codes can shed light on these standards, making sure your project is solid from the ground up.
Earlier on, I made the mistake of assuming that piling on additional adhesive could compensate for a thin subfloor. Big mistake. It wasn’t until I learned about the importance of minimum thickness requirements—typically 3/4 inch for residential tile—that I started getting it right. This mistake cost me not just money but also trust in my own skills. So, have you faced a similar problem or overlooked subfloor details in your project?
Getting this right sets the stage for success. Next, I’ll show you how to determine if your subfloor meets the standards and guide you through steps to correct any issues before you lay down your tiles. Trust me, a solid foundation makes all the difference—because no one wants their beautiful new tile to end up as a crackled mess.
Assess Your Current Subfloor Carefully
Before purchasing materials or tearing into your project, take precise measurements of your existing subfloor. Use a sturdy tape measure and a level tool to check the thickness at multiple points across the room. Remember, an ideal residential subfloor should be at least 3/4 inch thick. During my first DIY attempt, I skipped thorough measurements and faced unexpected sagging months later. To avoid repeating my mistake, allocate time for these critical checks. Consider removing any surface debris or furniture to get the most accurate readings. This step ensures you’re building on a solid base.
Identify and Repair Weak Spots
Once measurements are complete, look for soft or squeaky areas, which indicate underlying issues. Use a scrap piece of wood and tap gently across the floor; listen for hollow sounds signaling possible rot or detachment. In my project, I found a sagging corner caused by a weakened joist, which I reinforced with proper blocking. Addressing these issues prevents future tile cracking or grout failure. If parts of your subfloor fall below the standard thickness or show signs of damage, plan to add a leveling compound or install a new sublayer. This proactive approach prevents costly repairs later.
Reinforce or Replace Insufficient Subfloor
If your measurements show the subfloor is too thin, don’t attempt to patch it with thin adhesives or overlay materials alone. Instead, plan to add a second layer of plywood—commonly 1/2 inch thick—using construction-grade screws. My experience with a small bathroom taught me that adding a robust layer reinforced the base, resulting in a durable, crack-free installation. When attaching the new plywood, stagger the joints and ensure tight, fully seated screws to eliminate any movement. Cement backer board over the reinforced subfloor to provide a solid surface for your tiles, enhancing longevity and appearance.
Guarantee Structural Stability with Proper Fastening
For the new layer, use galvanized screws or nails specifically designed for subfloors to prevent corrosion. Maximize stability by fastening along the joists and at least every 8 inches around the perimeter. In my project, I used a pneumatic screwdriver to speed up the process, ensuring even and secure attachment. Remember, a well-fastened subfloor resists shifting under tile weight, reducing the risk of cracks and failures.
Final Check Before Tiling
Once reinforcement is complete, do a final walk-through to verify flatness and security. Use a long straight edge or a level to spot any high or low spots. Minor imperfections can be smoothed out with a self-leveling compound, especially in high-traffic or wet areas. I learned this the hard way when a slight unevenness caused a tile to crack after a few months. Taking the time to prepare the subfloor properly will save you time, money, and frustration in the long run, ensuring your tile last for years instead of cracking prematurely.
Why Most People Misjudge Permit Processes and Cost Estimations
There’s a common misconception that permits and estimates are straightforward checkboxes in construction projects. Many assume that following basic guidelines guarantees smooth approval and accurate budgeting. However, in my experience, this oversimplification leads to costly oversights. For instance, relying solely on standard estimates without accounting for local zoning nuances can cause significant project delays. Understanding permit procedures deeply is crucial for success, yet few realize how nuanced and location-specific these can be.
The ‘Oops’ Trap: Underestimating Permitting Complexity
One trap I’ve seen many fall into involves underestimating the complexity of permit approval timelines and requirements. Beginners often think that submitting a generic application suffices, but in reality, building departments have unique procedural quirks often overlooked. For example, some areas require special environmental clearances or specific engineering stamps that can extend approval times by weeks. This isn’t just anecdotal—studies have shown that projects neglecting local permitting intricacies face 30-50% longer delays and increased costs.
A comprehensive guide to permit approval can help avoid this common pitfall. Are you factoring in these nuanced details in your project planning? If not, you’re risking hidden costs and project stalls. Have you ever fallen into this trap? Let me know in the comments.
How can advanced estimation techniques uncover hidden costs in home additions?
Many underestimate the importance of sophisticated estimating methods for accurate budgeting. Relying on rough figures or previous projects might seem sufficient initially, but it often leads to surprises due to overlooked variables like permit fees, utility upgrades, or site-specific foundation work. Using detailed cost breakdowns and top estimating strategies can reveal hidden expenses, saving you from budget blowouts. Recognizing these nuances early is the hallmark of an expert. Remember, a slight miscalculation can balloon into significant overruns, especially in complex additions or bespoke builds.
In summary, the hidden depths of permit and estimate intricacies require more than surface-level understanding. Paying attention to local regulations, environmental considerations, and detailed costing methods not only streamlines approvals but also safeguards your project’s financial health. Don’t let the common myth that permits are simple or estimates are just guesses sabotage your next project. Dive deeper, plan smarter, and build confidently.
Staying Ahead with the Right Tools
In the world of construction and renovation, the difference between a smooth project and costly delays often comes down to the tools you choose to use daily. I personally swear by a high-quality laser measure, such as the Bosch GLM 50 C, because it offers precise distance measurements quickly, reducing errors that can cascade into bigger problems down the line. Incorporating a digital level, like the DeWalt DW089LG, ensures your surfaces stay perfectly aligned, preventing future issues with tile and drywall installation. These tools aren’t just gadgets—they’re investments in accuracy and efficiency that pay off over the lifespan of your project. As technology advances, expect to see more integrated digital solutions that combine measurements with project planning apps, streamlining the entire workflow.
Leveraging Software for Estimating and Planning
Accurate estimation is critical to prevent budget overruns and project delays. I rely on software like Buildertrend and HomeGauge, which allow for detailed project planning and real-time updates. These platforms facilitate seamless communication with clients and suppliers, ensuring everyone stays on the same page. For instance, using construction management software helps track material orders, permits, and subcontractor schedules—saving hours of manual coordination. In the future, AI-powered estimating tools could analyze historical data to predict costs even more precisely, further reducing surprises during the build process.
Routine Maintenance to Ensure Long-Term Success
Long-term results depend heavily on consistent maintenance strategies post-construction. I recommend setting up a schedule for inspecting key structural elements such as beams, joists, and connection points—especially after extreme weather events. Regularly check for signs of moisture intrusion or shifting that could compromise foundation integrity. Keeping tools like moisture meters and infrared cameras handy enables early detection of hidden issues. Remember, addressing small problems promptly can avoid costly repairs or project failures down the line. Developing a maintenance checklist tailored to each project type will help you stay proactive and extend the lifespan of your work.
Scaling Your Operations: A Strategic Approach
If you’re planning to expand your construction or renovation business, investing in scalable tools is essential. Cloud-based project management platforms and shared digital document repositories make collaboration across multiple sites more manageable. Additionally, hiring specialists for tasks like structural engineering or permit consulting ensures your projects adhere to evolving regulations without bottlenecks. As the industry moves toward more integrated solutions, staying current with the latest technology and procedural best practices will give you a competitive edge. Remember, seamless maintenance and tool optimization are the backbone of sustainable growth.
For a deeper dive, learning about permit handling in 2025 can offer valuable insights into compliance and process streamlining. Always evaluate your current workflows and seek out innovative tools to keep everything operating smoothly.
How do I maintain efficiency and quality over time?
The key is establishing routine protocols and leveraging advanced tools like digital inspection devices and project management software. Regularly updating your skills and staying informed about new technology ensures your work remains top-notch. Try integrating one new digital tool or maintenance routine this month and monitor how it improves your project flow. Remember, continuous improvement is the secret to long-term success in construction and renovation projects. For tailored strategies, consider consulting dedicated expert guides that help you refine your workflow over time.

Beyond the Blueprints: The Little Mistakes That Cost Big
One of the most eye-opening lessons I learned was that rushing the permit process often leads to hidden delays and surprises. Overconfidence in assuming permits are straightforward made me overlook local nuances, which later added weeks—and extra costs—to my project. This taught me that detailed permit research, including understanding regional quirks, can be the difference between a smooth build and a frustrating standstill.
Tools That Made My Planning Sharper
Investing in digital tools like a quality laser measure and project management apps transformed my workflow. They provided precision and clarity, helping me catch issues early—such as uneven subfloors or overlooked permit fees—saving time and money. Trusting technology to supplement my experience has been a game changer for accurate estimating and efficient execution.
Trust Your Gut—But Verify, Always
Throughout my home additions projects, I realized that intuition guides you well, but thorough verification ensures success. Whether it’s double-checking permit requirements or inspecting subfloor thickness, small due diligence steps prevent big problems down the line. My secret: always pair confidence with meticulous testing—it’s the safest way to keep your project on track.
Curated Resources for Smarter Building
To enhance my own process, I rely on tools like Buildertrend for project oversight and consulting local code guides to avoid permit pitfalls. Books that emphasize detailed planning and estimation, such as “Mastering New Build Estimation,” shaped my approach. These resources offer proven strategies and save countless headaches in real-world applications.
Your Next Move in Renovation Brilliance
Every home extension is a chance to learn, grow, and craft something truly resilient. Embrace every challenge as an opportunity to refine your skills and deepen your understanding of permits, estimation, and construction. With the right mindset, tools, and resources, you’ll turn your vision into a lasting reality. So, what’s the first step you’ll take to elevate your next project? Share your plans below—let’s learn together!