The Trench Depth Rule for New Electrical Lines
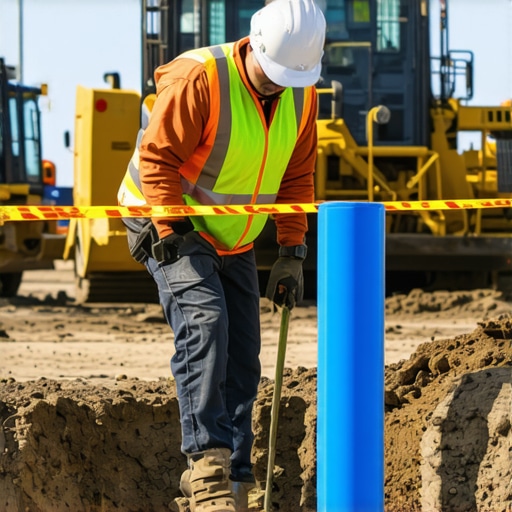
I remember the moment vividly—standing in my backyard, tools in hand, staring at a maze of blueprints and unfamiliar regulations, feeling overwhelmed and a bit defeated. It hit me then: I had overlooked one simple yet crucial detail—how deep I needed to trench for the new electrical lines. That mistake almost delayed my entire project and costs kept climbing as I scrambled to fix it. If you’ve ever faced a similar dilemma, you’re not alone. Many homeowners and new builders underestimate the importance of the trench depth rule when installing electrical lines. Getting it right from the start can save you headaches, money, and permit delays.
Why the Trench Depth for Electrical Lines Can Make or Break Your Build
Ensuring the proper depth for underground electrical lines isn’t just a technicality; it’s a critical safety and compliance issue. If lines are buried too shallow, they risk exposure, damage, and potential electrical hazards. Too deep, and you might be unnecessarily inflating costs or complicating the installation process. I learned this the hard way early on—underestimating the depth required and having to redo work after inspection flagged it. That cost me extra time and money, which I could have avoided with a clear understanding of the rules. It turns out that this rule isn’t merely a guideline; it’s mandated by local codes, and non-compliance can mean re-inspection, fines, or project delays.
According to the National Electrical Code (NEC), there is a specific minimum depth that electrical cables must be buried to ensure safety and durability. This depth varies depending on your area’s regulations, soil conditions, and whether you’re using direct burial cables or conduit. Getting this detail right is essential, and I recommend reviewing your local requirements thoroughly. For many, this means consulting [expert estimation strategies](https://constructionedgez.com/new-build-estimation-strategies-for-modern-homeowners) or even seeking advice from professionals familiar with your exact location.
Let’s Dive Into How You Can Avoid This Costly Mistake
Now that we understand why the trench depth rule is a big deal, the next step is knowing how to get it right. In my experience, careful planning, accurate measurements, and understanding the legal requirements can make all the difference. Over the coming sections, I’ll walk you through practical tips and checklists that help ensure you’re trenching at the correct depth, avoiding common pitfalls and ensuring your project moves smoothly from permit to completion.
Does the idea of risking delays or fines scare you? Or have you already faced such hurdles and learned your lesson the hard way? Share your experience—I’d love to hear how you’re tackling this challenge.
Remember, the key to a successful and compliant installation is knowing the rules. Making errors early on can cost not just money but trust in your project. So, let’s get into the details, starting with understanding your local trench depth requirements—because knowledge really is power when it comes to safe, successful home building.
,
Plan Your Excavation Carefully
Start by reviewing local code requirements to determine the minimum trench depth for your specific project. Call your local permit office or consult the permits guide to ensure compliance and avoid rework. I remember opening my plans and cross-referencing code sheets, which clarified exactly how deep I needed to go. Using a laser level or string line helps establish a clear trenching path, preventing accidental shallow digging.
Gather Precise Measurements and Tools
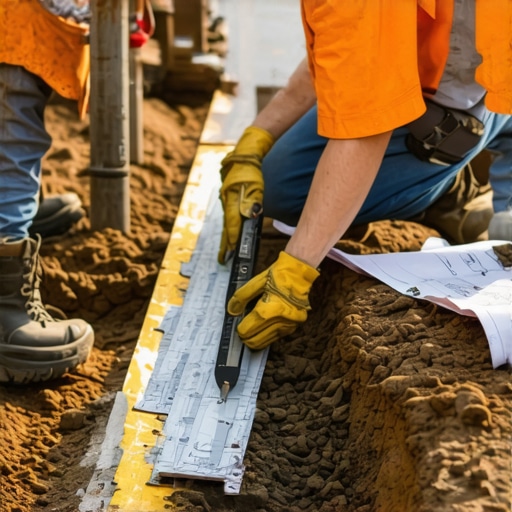
Use a reliable measuring tape and a transit or level to mark trench lines. Map out your route, noting any obstacles like roots or utility lines. When I did this on my own backyard project, I found unexpected underground piping, which made me adjust my route before digging. Think of it like mapping a trail—accuracy ensures you don’t stumble into costly surprises later. Mark the depth with stakes or spray paint so the excavation crew knows exactly how deep to go.
Execute with Strategic Digging
Equip yourself with a trencher or excavator capable of reaching the required depth. Begin trenches from the lowest point of your property to avoid flooding issues. During my recent build, I rented a trencher that allowed me to set the depth precisely—saving hours of manual labor. Regularly check the depth using a (give a specific measurement tool) and adjust as needed. It’s like following a recipe—precision in each step guarantees a smooth process and compliance with safety standards.
Verify and Document each Stage
After digging, use a calibrated depth gauge or a marking stick to confirm the trenches meet code requirements. Take photos, record measurements, and keep a log—this documentation becomes invaluable if inspections are delayed or questioned. I learned this lesson the hard way when a minor discrepancy caused a permit hold; thorough documentation prevented unnecessary rework and delays. Always double-check before covering the trench.
Cover and Protect the Trenches Properly
Once verified, fill trenches with approved backfill materials, ensuring proper compaction. Protect exposed lines from damage during subsequent construction stages. In my recent project, I added warning tapes above the lines for future reference and safety checks. Using the correct backfill and compacting in layers preserves trench depth integrity and aligns with the permitting standards.
Keep Learning and Adjusting
Every site has unique challenges. Keep studying your area’s regulations and stay informed about updates—especially concerning soil conditions that affect required depths. When I encountered unexpected soil compaction issues, I adjusted my trenching method and consulted experts via estimating resources to adapt my approach. This flexibility ensures safety, efficiency, and compliance throughout your build process.
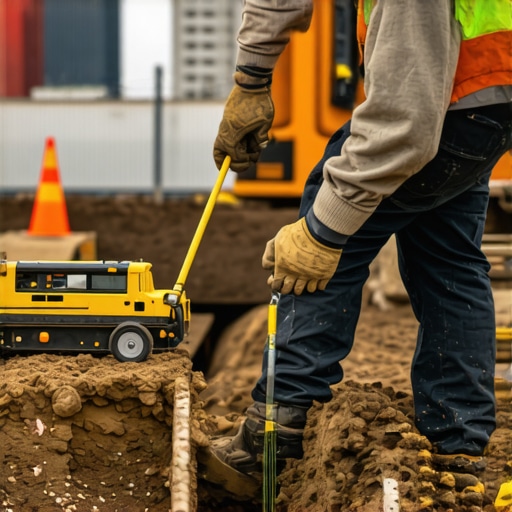 While many believe that rough estimates and standard permits suffice for successful home additions or new builds, the reality is far more nuanced. One common misconception is relying solely on generic cost figures without considering site-specific factors, such as soil conditions or local code intricacies, which can drastically alter project scope and expenses. For instance, overlooking the importance of detailed site assessments may lead to underestimating foundational requirements or drainage modifications, causing costly delays and rework. Additionally, a frequent myth is that permits are merely bureaucratic hurdles—when in fact, failing to understand permit nuances, like specific code amendments or inspection criteria, can result in project halts or legal issues.
Expert insight from industry studies emphasizes that nuanced understanding of local regulations and thorough estimation strategies are crucial for project success. Analyzing these aspects ahead of time avoids the ‘oops’ moments that compromise timelines and budgets. Moreover, many contractors misjudge the complexity of permit applications, either undervaluing necessary documentation or misunderstanding approval processes, leading to unforeseen delays. To truly master these challenges, homeowners and builders must differentiate between surface-level estimates and comprehensive planning, which considers all regulatory and site-specific variables.
**Why Do Some Estimates Fail to Capture True Costs?**
In my experience, one overlooked factor is the hidden costs associated with post-permit modifications. For example, changes in soil composition discovered during excavation can necessitate reinforcement or rerouting, which basic estimates seldom predict. Similarly, unforeseen easements or underground utilities can impose restrictions that demand redesigns, incurring additional fees. A 2022 study from the Construction Management Institute points out that accurate estimation requires integrating geographic information system (GIS) data and real-time permitting updates—something many underestimate in their planning.
Being aware of these hidden nuances is vital. By integrating detailed site assessments and consulting current local codes—like those outlined on permit-related guides—you can avoid costly surprises. Remember, a precise estimate is not just about numbers but about understanding the project’s context from foundations to final inspections. Always question whether your planning accounts for site-specific constraints and regulatory intricacies. This proactive approach can either save you thousands in unexpected costs or prevent project delays that frustrate everyone involved.
Have you ever fallen into this trap of underestimating permit or site complexities? Let me know in the comments and share your experience—learning from real-world mistakes often offers the best lessons. The key takeaway is that a successful build hinges on attention to those subtle, often-hidden details that many ignore at their peril.
Invest in Reliable Equipment for Long-Term Success
One of the most crucial aspects of maintaining progress in your build is choosing the right tools. I personally rely on a high-quality laser level, such as the Spectra Precision LL100, because accuracy over long distances ensures trenches are consistently at the correct depth, reducing rework and delays. Similarly, a durable compact excavator like the Bobcat E35 makes digging precise trenches not only faster but also more reliable, especially when working with challenging soil conditions. Investing upfront in top-tier equipment pays dividends over time, maintaining efficiency and preventing costly mistakes that could arise from equipment failure or inaccuracies.
Leverage Software for Accurate Estimation and Scheduling
Beyond physical tools, digital solutions have become indispensable. I recommend estimation software like Buildertrend or Procore. These platforms allow you to track costs meticulously, schedule tasks seamlessly, and set alerts for upcoming permit deadlines. I’ve found that integrating such tools into my workflow helps catch discrepancies early—like miscalculating trench depths—so I can make adjustments before delays happen. As technology advances, I predict the trend toward smart project management platforms will only intensify, making real-time data more accessible and decisions more informed.
Maintain and Check Equipment Regularly
Equipment breakdowns can halt a project in its tracks. I set a routine—weekly inspections, oil changes, and calibration checks—to ensure everything remains in top condition. For example, verifying the accuracy of my laser level daily before starting work prevents errors that might otherwise require re-digging. Establishing a maintenance schedule isn’t just about extending equipment lifespan; it’s about safeguarding your project’s timeline and budget. Remember, a well-maintained tool is a reliable tool, crucial for delivering quality results day after day.
Keep an Eye on Future Trends
Looking ahead, innovations like AI-powered site monitoring drones and IoT-connected machinery promise to revolutionize construction management. These tools can automatically detect issues such as soil shifts or equipment malfunctions, alerting you instantly. Staying ahead by adopting emerging technology ensures your projects are not just maintained but optimized for the future. To harness this potential now, start exploring affordable drone inspection options to regularly survey your site—an effective way to catch issues early before they escalate.
How do I maintain tools and equipment over time without breaking the bank?
Good maintenance isn’t just about fixing things when they break but implementing preventive care routines. Regularly cleaning, calibrating, and servicing your equipment—like the laser level and excavator I mentioned—extends their life and keeps them performing accurately. Using manufacturer-recommended lubricants and filters, scheduling professional inspections, and keeping detailed maintenance logs are best practices that many seasoned builders swear by. This proactive approach minimizes unexpected downtime and preserves your investment, ensuring that your workflow stays uninterrupted and efficient over the long haul. Remember, a little effort now can save you significantly later, especially when timing and precision are everything in construction. Try setting a weekly maintenance schedule for your tools—trust me, it’s a game-changer for keeping your projects on track.
How Overconfidence Can Trip You Up in Building Projects
One major lesson I learned was that assuming I knew everything without consulting local codes or experts can lead to costly mistakes. Believing my experience alone was enough almost resulted in rework and delays, reinforcing that even seasoned DIYers need up-to-date knowledge and humility. This taught me the importance of continuous learning and verifying rules instead of relying on assumptions.
Why Trusting Experts Transformed My Approach to Estimation
Engaging with professionals and reliable resources, like specialized estimation tools and local permit guides, made a significant difference. For instance, using specific estimation strategies helped me create more accurate budgets, preventing surprises down the line. I realized that expert insights are invaluable when navigating complex project requirements, especially permits and site-specific regulations.
What Reading Between the Lines Impressed Upon Me
- Not all regulations are obvious: Hidden soil conditions or easements can threaten schedules if overlooked during planning. Clear documentation and site assessments uncover these subtleties, reducing risks.
- Permit processes are more than paperwork: They reflect safety standards that protect everyone. Learning their nuances ensures smoother approval and fewer delays, as I discovered firsthand.
- Proactive communication saves headaches: Regularly consulting with inspectors and authorities keeps projects aligned with expectations, avoiding last-minute surprises.
Tools That Keep My Projects on Track
Definitely, investing in a quality laser level like the Spectra Precision LL100 or using estimation software such as Procore has paid dividends. These tools ensure precision and help me stay within scope, especially when verifying trench depths and estimating permit costs. Maintaining and regularly calibrating my equipment prevents errors that could derail progress.
Don’t Let Overconfidence Stall Your Build—Act Now!
Every project teaches us new lessons; mine was that thorough planning, expert advice, and meticulous documentation are non-negotiable for success. If you’re ready to take control of your additions and permits, embrace the details and be proactive. Your build will be safer, smoother, and more satisfying when you master these behind-the-scenes essentials.
What’s the biggest challenge you’ve faced with permits or project estimation? Share below—I’d love to hear your story and learn how you overcame it!