Why Your Garage Conversion Needs a Carbon Monoxide Buffer Zone
I remember the exact moment I realized I had overlooked something crucial in my garage conversion. It was a chilly Saturday morning, and I started feeling dizzy while working inside. At first, I blamed the morning coffee mishap, but the sensation persisted. That lightheadedness was my wake-up call—something wasn’t right. Later that day, I learned that carbon monoxide (CO) buildup can silently threaten homeowners during renovations or conversions, especially when proper measures aren’t taken.
The Hidden Danger in Your Home: The Role of a Carbon Monoxide Buffer Zone
Many homeowners don’t realize that converting a garage into usable living space isn’t just about new drywall or flooring. It’s about safety—particularly preventing the silent, odorless threat of carbon monoxide poisoning. A buffer zone acts as a safeguard, ensuring any potential leaks from appliances or vehicles don’t infiltrate the living areas directly. When I first researched this, I found that carbon monoxide levels can rise quickly in poorly ventilated spaces, leading to serious health issues or even fatalities, as highlighted by the CDC.
Is Protecting Your Family Really Worth the Extra Step?
I admit I made a mistake early on—I skipped installing a dedicated venting and buffer setup, thinking it was an unnecessary hassle. That oversight made me nervous for months, especially after reading stories of accidents where homeowners underestimated the importance of proper ventilation. Trust me, even the most cautious DIYer can overlook these details, but the consequences are severe. That’s why today, I promise to share how a simple buffer zone can be your best friend in keeping your family safe during and after the conversion.
If you’re contemplating a garage transformation and worry about CO risks, stay with me. We’re going to explore exactly how to establish a reliable buffer zone that genuinely protects your loved ones from this invisible threat. Ready to get started?
Select the Right Location for Your Buffer Zone
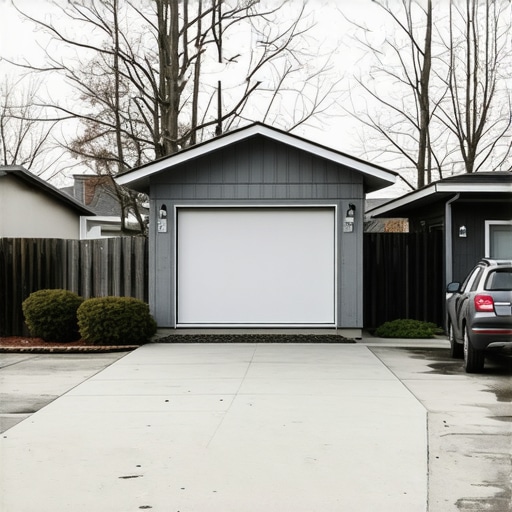
Begin by identifying an area adjacent to your garage that can serve as a dedicated space for ventilation and safety measures. This zone should be insulated from your living area to prevent any CO infiltration. Use existing wall separations or construct a small partition to delineate this buffer. When I converted my garage, I chose a side wall that was easily accessible for vents and dedicated electrical wiring, which made installation smoother and boosted safety.
Install Proper Ventilation and Exhaust Systems
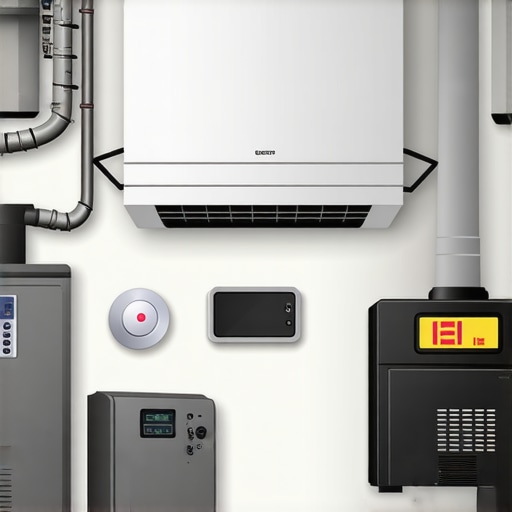
Next, install exhaust fans or vents capable of exchanging air efficiently. Use weatherproof, bidirectional vents that allow fresh air in and expel stale or potentially contaminated air out. Connect these to your home’s main ventilation system or employ standalone units if necessary. I added a wall-mounted exhaust fan with a timer to ensure constant airflow during and after renovation, which proved essential when unexpected fumes entered the space.
Ensure Adequate Sealant and Insulation
Seal all gaps and joints with high-quality, fire-rated sealant to prevent leaks. Insulate the buffer zone with materials rated for high temperatures and fire safety standards. Doing so maintains a controlled environment that reduces the risk of CO buildup infiltrating living areas. During my project, meticulous sealing prevented unexpected drafts and improved ventilation efficiency.
Implement Clear Ventilation Pathways and Access Points
Create unobstructed pathways for airflow from the garage to the buffer zone. Install access doors or removable panels for regular inspection and maintenance. Maintain clear signage indicating the purpose of the buffer zone to alert all home occupants. When I tested the system, ensuring easy access helped me perform routine checks, verifying that vents functioned properly and that no obstructions existed.
Link Safety Devices and Monitoring Tools
Integrate carbon monoxide detectors within the buffer zone and throughout the home, especially near bedrooms and living spaces. Use sensors with Wi-Fi connectivity for real-time alerts. This setup provides peace of mind and immediate notification if unsafe CO levels are detected. I learned the importance of this step when a sensor alerted me to a malfunctioning exhaust vent, allowing quick intervention before any risk arose.
Test and Maintain Your Buffer Zone Regularly
Schedule periodic inspections to ensure all ventilation components are operational. Test sensors monthly and conduct smoke tests on vents to confirm airflow. Clear debris and reseal seals as necessary. Regular maintenance keeps the system dependable and significantly reduces health risks. In my experience, routine checks revealed minor sealant cracks that, if left unaddressed, could have compromised safety during cold months.
By following these concrete steps, you create a reliable buffer zone that acts as your home’s frontline defense against carbon monoxide buildup. Overlooking this critical safety measure could have dire consequences, but with precise planning and execution, you safeguard your family’s health for years to come.
Many homeowners believe that estimating costs, navigating permits, and planning new constructions are straightforward steps—yet, beneath the surface lie nuanced pitfalls that can derail your project. One common misconception is that initial estimates are always close to actual expenses; in reality, many overlook hidden costs due to complex variables like permit fees or unanticipated site conditions, which can inflate budgets significantly. To master accurate planning, you need to understand the subtleties of detailed estimation techniques; I recommend reviewing strategies at https://constructionedgez.com/top-estimating-strategies-for-accurate-project-budgets to avoid costly surprises. Furthermore, many assume permits are just a formality, but misinterpreting permit requirements or rushing the application process often results in delays or hefty penalties, as explained at https://constructionedgez.com/the-complete-guide-to-permitting-for-new-builds-and-additions. Advanced builders dive into specifics like local zoning nuances and code compliance, which influence design decisions and timelines. For example, neglecting to account for setback restrictions or overlooking essential inspections can lead to costly retrofits. An often-overlooked aspect is the accuracy of project scope definition; ambiguous plans lead to change orders and inflated costs. Expert estimates emphasize detailed scope documentation, as outlined here: https://constructionedgez.com/how-to-accurately-estimate-costs-for-home-improvements. On permits, understanding the permitting process from start to finish helps prevent procedural hiccups; this is especially critical in areas with strict regulations or upcoming policy changes. For a comprehensive approach, see https://constructionedgez.com/navigating-permits-a-step-by-step-approach-for-builders. Lastly, many underestimate the importance of continuous monitoring—regular site inspections and updated estimates ensure your project stays on track financially and legally. Incorporating these advanced insights minimizes risk and facilitates smoother project completion. Now, question yourself: Are you reliably accounting for every hidden nuance in your home improvement plans? If not, you might be risking much more than you think. Have you ever fallen into this trap? Let me know in the comments.Maintaining your home improvement projects, especially those involving additions or new builds, requires precision, consistency, and the right set of tools. One essential tool I personally rely on is a digital laser distance measurer. Unlike traditional tape measures, this device offers rapid, highly accurate measurements of distances and heights, cutting down planning time and reducing errors. When estimating material quantities for the next phase, I use software like Buildertrend, which integrates directly with my project schedules and budget estimates, ensuring I stay on top of costs and timelines. It’s invaluable for keeping complex projects organized and transparent, especially when managing multiple contractors or phases.
Regular inspection and calibration of your equipment are vital. For example, I schedule quarterly checks of my laser measurer and laser level to prevent small deviations that could compound over a project. This habit not only extends the lifespan of my tools but also maintains measurement accuracy, which is crucial for permit compliance and structural integrity.
Thinking ahead, I believe the trend is moving toward automation. Smart tools with Bluetooth connectivity and cloud integration will become standard, enabling real-time updates and remote monitoring. This shift will make maintenance more streamlined and project oversight more transparent.
So, how do I keep my tools working reliably over time? Regular cleaning with compressed air, proper storage in climate-controlled environments, and timely firmware updates are essential. Additionally, investing in quality brands like Bosch or Leica ensures durability and precision, ultimately saving money on replacements and corrections.
For those managing larger projects, I strongly recommend integrating professional-grade levels of calibration and documentation. Detailed logs of equipment maintenance can save headaches when navigating inspections or troubleshooting discrepancies.
Stay proactive—regular maintenance is your best defense against unexpected failures or inaccuracies. And if you want to elevate your maintenance game, try scheduling routine calibration checks with your equipment. Adopting this disciplined approach will greatly enhance your project’s accuracy and success. To deepen your understanding, explore expert estimates on cost-effective maintenance techniques at https://constructionedgez.com/cost-effective-estimating-techniques-for-new-builds-and-additions.
What I Wish I Knew Before Starting My Garage Conversion
The most valuable lesson I learned was the importance of meticulous planning, especially regarding safety features like the buffer zone for carbon monoxide protection. Jumping into construction without considering ventilation details almost cost me dearly, reinforcing that no detail is too small when health and safety are involved. Another insight was the necessity of understanding permit intricacies—blindly assuming approval processes are straightforward can lead to costly delays. It took a grueling lesson to realize that every nuance in local codes and zoning laws can significantly impact project timelines. Finally, I learned that integrating reliable monitoring and maintenance routines isn’t optional but essential, ensuring safety systems function flawlessly over time. These lessons transformed my approach from reactive to proactive, equipping me with the wisdom to handle future projects confidently.
Tools That Changed My Approach to Estimates and Permits
My indispensable toolkit includes digital laser distance measurers, which drastically improve measurement accuracy and reduce errors during planning. I’ve found that software like Buildertrend streamlines project management by syncing schedules, budgets, and documentation, keeping everything transparent and on track. To navigate the often complex permit landscape, resources like this comprehensive permit guide have been game-changers in my understanding of local regulations. Additionally, consulting expert articles such as these estimation techniques empower me to predict costs more reliably, avoiding surprise expenses and ensuring a smoother workflow. These tools and resources form the backbone of my effective, safe, and successful home improvement projects.
Your Turn to Push Forward
Embarking on a renovation or addition project is as much about confidence and clarity as it is about bricks and mortar. With the right safety measures, detailed planning, and reliable tools, you can transform your space while safeguarding what matters most—your family and peace of mind. Remember, every challenge you face is an opportunity to learn and grow. So, take that first step today, armed with knowledge and determination. Your future self will thank you for it.
Have you ever overlooked a small safety detail that turned into a big problem? Share your experience below—I’d love to hear your stories and tips!
,