The Egress Window Rule That Kills Basement Bedroom Permits
It was a Saturday morning when I first hit a wall I hadn’t seen coming—standing in my newly framed basement bedroom, staring at the code requirement for an emergency egress window, and realizing my permit could be rejected just because of a tiny window size. Suddenly, all my excitement about finishing my basement turned into a whirlwind of stress and second-guessing. I learned the hard way that the ‘Egress Window Rule’ isn’t just a simple guideline; it’s the kind of regulation that can derail an entire project if misunderstood.
Why the Egress Window Rule Can Make or Break Your Basement Conversion
Have you ever jumped into a home improvement project only to find out that one seemingly minor detail could halt everything? That was exactly my experience with the basement bedroom permit. The rule demanding a specific size and height for egress windows caught me off guard. Missing this detail meant risking rejection of my permit application, leading to costly delays and redesigns. I want to share what I discovered—so you don’t end up in the same trap. Today, we’ll explore how understanding this rule can save you time, money, and a mountain of frustration.
Is this rule truly worth the hassle or just a bureaucratic headache?
One mistake I made early on was assuming that the local building codes were a mere formality or something I could handle later. I ignored the importance of proper planning and verification, which is a common pitfall. According to construction experts, improper compliance with egress requirements is a leading cause of permit rejections that can set your project back by weeks or even months. Ensuring your window meets the size, height, and escape requirements is not just about following rules; it’s about creating a safe space that complies with legal standards.
If you’ve faced similar hurdles or worries about permit approval, you’re not alone. The good news is, by the end of this guide, I’ll show you the practical steps I took—backed by solid advice from industry insiders—to navigate this tricky regulation successfully. And trust me, understanding these details early on is the difference between a smooth process and a nightmare.
Ready to uncover how to pass your basement egress window inspection on the first try? Let’s dive into the essentials that will keep your project on track and permit-ready.
Measure Precisely and Verify Requirements Early
My first step was to get exact measurements of my intended window space. I used a laser measure for accuracy, then cross-checked local code requirements through official resources like permit guides. This helped me understand the minimum size, height, and clear opening needed. I recommend creating a quick diagram of your basement wall with measurements labeled, to visualize compliance and identify potential issues before breaking ground.
Consult a Skilled Professional for Inspection-Ready Plans
Once I had my measurements, I scheduled a consultation with a licensed contractor familiar with local codes. They verified my plan met all requirements and highlighted any adjustments needed. Trust me, this saved me from costly redesigns when the inspector arrived. You can find qualified experts at Construction Edgez. Their guidance ensures your plans align with official standards, reducing permit rejection risks.
Source Quality Windows That Meet Code Standards
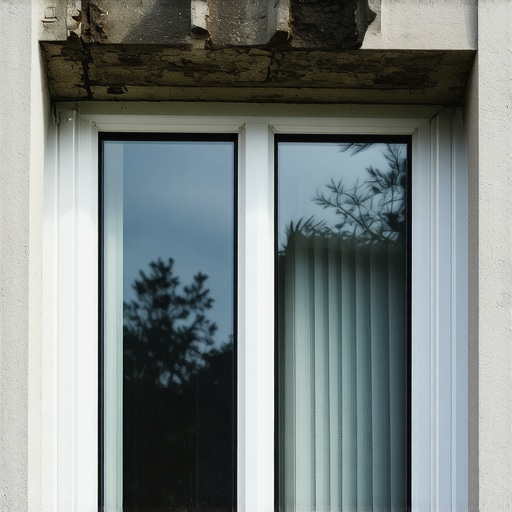
I then researched compliant window options. Not all egress windows are equal; some don’t meet size or manufacturing standards. I opted for a certified window that explicitly stated it satisfied code requirements. During installation, I adhered strictly to manufacturer instructions. For detailed specifications, check out estimating cost guides for quality benchmarks and compliance tips.
Incorporate Adequate Lighting and Clear Pathways
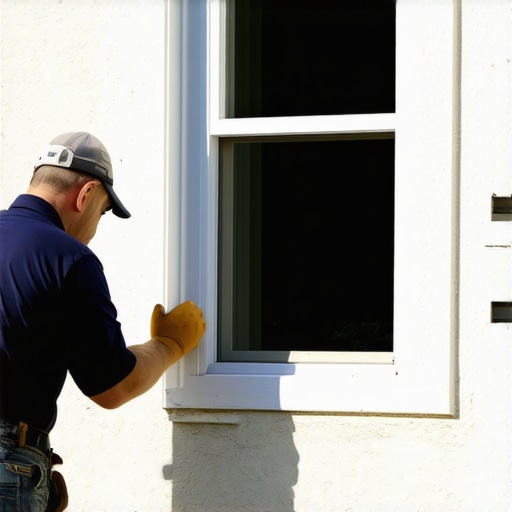
Code doesn’t just specify size; it emphasizes accessibility. Post-installation, I ensured the window had unobstructed pathways and sufficient lighting. During my review with the inspector, I showed them photos demonstrating clear escape routes, which helped accelerate approval. Remember, a window that opens easily and is free of debris or obstructions demonstrates your compliance and preparedness.
Document Everything and Prepare for Inspection
Finally, I documented every step—measurements, photos, receipts, professional verifications. When I scheduled the inspection, I brought all these records, making it straightforward for the inspector to approve on-site. This proactive approach minimizes delays or rejections, especially if minor code points are questioned. For more insight on permit success stories, consider reading permit approval tips.
Implementing these steps turned my project around, transforming potential permit rejections into approvals. Remember, proactive planning and professional guidance are your best allies when dealing with complex regulations like the egress window rule.

Myth Busting: Think Permits Are Just Paperwork
Many homeowners believe that permits are merely bureaucratic hurdles, but in reality, they serve critical safety and compliance functions. Overlooking essential permit details, like correct load calculations or fire safety requirements, can lead to costly rework or safety hazards down the line. Industry experts emphasize that neglecting permit nuances increases the risk of project delays and potential legal issues. Don’t assume that because a permit seems straightforward, all requirements are automatically met.
Is there something more nuanced than just paperwork involved in permits?
Absolutely. Permits are rooted in complex code compliance, local regulations, and safety standards. For instance, a common missed detail is understanding how fire code requirements affect all aspects of construction, including insulation, electrical systems, and egress paths. According to the permit guidelines, failing to consider these nuances can result in non-compliance and permit rejection. Ensuring you are well-versed in these subtleties can save your project from expensive setbacks.
Estimating Costs: More Than Just Adding Up Materials
When estimating expenses for new builds or additions, many rely on rough calculations or outdated pricing. But true accuracy involves accounting for hidden costs, labor variances, and regional price fluctuations. Overestimating can scare off potential financing, while underestimating often results in budget overruns. Experts recommend using detailed, up-to-date estimating methods that factor in current market conditions, permit fees, and contingency allowances. This holistic approach helps avoid unpleasant surprises and keeps your project financially healthy.
The Trap of Underestimating Site Preparation and Hidden Fees
A common mistake is to focus solely on the visible costs like materials and skip over site prep and soft costs. For example, unexpected soil conditions can significantly increase excavation costs, which often aren’t captured in initial estimates. Additionally, hidden fees such as permits, inspection costs, and utility connections tend to be overlooked. Construction experts stress that a comprehensive estimate should include these elements from the start. Failing to do so can derail your project timeline and budget, turning what seemed like a reasonable plan into a financial nightmare.
Why Precise Planning Matters for Approvals
Many underestimate how detailed planning influences permit success. Permitting authorities scrutinize every aspect—from structural loads to environmental impact. Small miscalculations, like inaccurate load estimates or overlooked setback requirements, can cause delays or rejections. To tackle this, I recommend consulting with specialists early on, not just for design, but for understanding the intricate permit process. Trusted sources like permit processes provide invaluable insights into avoiding common pitfalls. This proactive approach fosters smoother approvals and keeps your project moving forward.
Let me know if you’ve ever fallen into these traps—better planning, estimation, and understanding the true scope of permits can save you both time and money. Remember, knowledge is your most powerful tool in navigating complex construction projects.
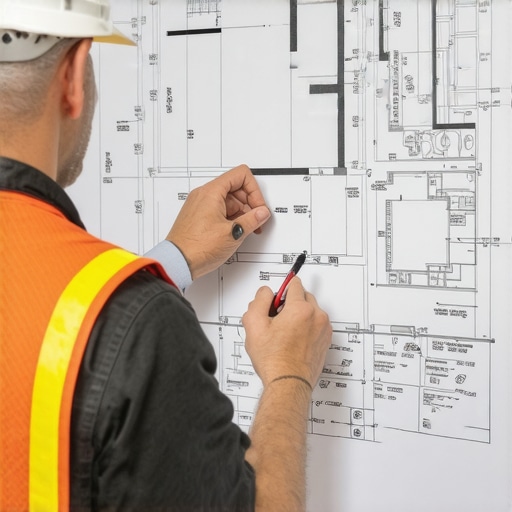 Maintaining your construction projects over the years requires more than just good initial planning; it demands the right tools, consistent upkeep, and an eye toward future scalability. One of my go-to pieces of equipment is a high-precision laser measure, such as the Leica Disto, which I rely on daily to verify measurements before any work begins. Unlike traditional tape measures, these lasers provide instant, accurate readings up to 200 feet, drastically reducing errors that can lead to permit rejection or structural issues. For software, I swear by Construction Edgez’s estimating platform—it’s not just a calculator but a comprehensive project management tool that keeps everything organized, from permits to budgets. Their guide on estimating costs for new builds, available here, walks you through creating accurate, long-term budgets vital for scale-up planning.
As projects evolve, so should your maintenance routines. Regularly updating your tools, such as inspecting equipment for wear and tear, ensures longevity and consistent performance. Investing in software updates and training keeps your team aligned with changing codes and technology advancements, preventing costly mistakes. Additionally, establishing a maintenance log for equipment like excavators and drills helps preempt breakdowns and extends their lifespan.
Thinking about future growth, scalability hinges on flexible design and modular components. For instance, during initial build phases, I always plan for future additions—installing extra conduit wiring and leaving space for potential structural adjustments. This foresight streamlines subsequent expansions and reduces permit headaches. Moreover, staying current with evolving regulations through resources like permit process guides ensures your projects remain compliant, avoiding delays and expensive rework.
How do I maintain my tools and systems over time? The key is routine checks and scheduled upgrades. For example, I set quarterly inspections for all digital equipment, calibrate sensors annually, and allocate budget for software subscriptions. These practices keep my construction process smooth and compliant with current standards.
Looking ahead, automation and smart technology will revolutionize construction maintenance and scaling. Drones for site surveys and AI-powered project management won’t be the future—they’re already here. Embracing these advancements now will give you a competitive edge, reducing costs and improving safety.
By integrating specialized tools, establishing rigorous maintenance routines, and planning for future expansion, you can ensure your construction efforts remain efficient and compliant for years to come. Don’t hesitate to try implementing a dedicated maintenance schedule for your equipment—it’s a simple step that yields significant long-term benefits.
The Hard-Won Lessons That Changed My Approach to Permits
One of the most eye-opening realizations I had was that permits are more than just paperwork—they embody safety, compliance, and the foundation for a worry-free project. I initially underestimated how intricately rules like the egress window code influence every step. The biggest lesson was that ignorance could lead to costly delays, so investing time upfront in understanding exact requirements and consulting experts became my game-changer. Embracing this mindset transformed my frustrations into proactive planning, saving me months of rework and headaches.
My Go-To Tools and Resources for Smooth Permitting
Over the years, I’ve curated a toolkit that keeps my projects on track. First, a high-precision laser measure like the Leica Disto ensures my measurements are spot-on, preventing permit rejection due to inaccuracies. For estimating costs and managing schedules, I rely on Construction Edgez’s comprehensive platform—it’s an all-in-one resource that guides me through every phase. Their articles on estimating costs (here) and navigating permit requirements (here) have become my go-to references. Additionally, consulting with licensed professionals at Construction Edgez ensures my plans are inspection-ready, reducing rejection risks.
This Journey Inspires Me to Keep Moving Forward
If there’s one thing I want you to take away, it’s that understanding and respecting permit requirements turn daunting tasks into achievable milestones. Whether you’re installing an egress window, planning an addition, or estimating costs, proactive knowledge and the right tools will empower you. Don’t let fear or uncertainty hold you back—embrace the learning process. Every project I complete with this mindset adds to my confidence and skills, proving that with the right preparation, permit success is within reach. What’s your biggest challenge when it comes to navigating permits? Let me know below.