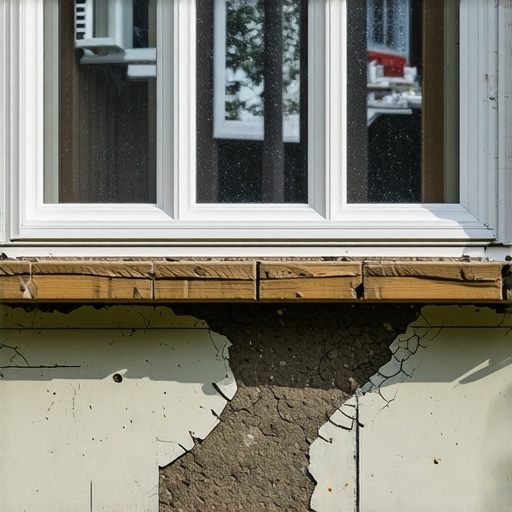
The Window Header Error That Causes Your Drywall to Crack
I remember the moment vividly—walking into my living room after completing a big renovation project, only to notice a fine hairline crack snaking across the drywall. That sinking feeling hit me hard. It was a lightbulb moment; I realized that seemingly minor details during the planning phase could lead to major issues later. If you’ve ever faced this situation, you’re not alone. Many homeowners and DIY enthusiasts discover cracks and other drywall imperfections during or shortly after home additions, often wondering what went wrong. Today, I want to share with you the behind-the-scenes reason that often causes these cracks and how to prevent it from ruining your project.
The Window Header Error That Causes Drywall to Crack
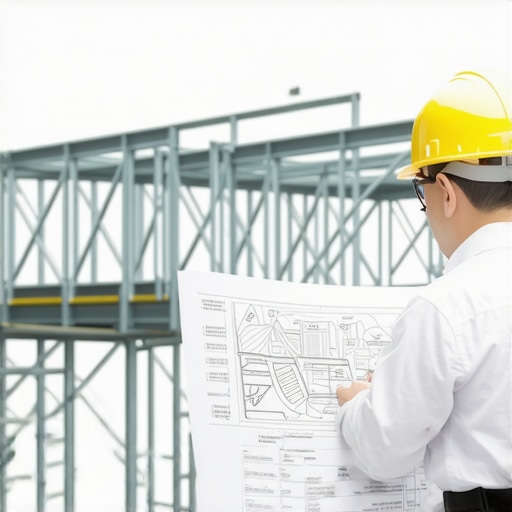
One of the most overlooked yet critical factors in home additions is the header installation above windows. When the header isn’t properly designed or installed, it doesn’t just affect the structural integrity—it impacts the entire wall system, leading to stress points that manifest as cracks in your drywall. I learned this lesson the hard way early in my DIY journey when I failed to account for the header’s role in managing load transfer and framing stability. Mistakes like overlooking proper support or inaccurately estimating load capacity can cause subtle, hidden issues that only become apparent after drywall installation.
By understanding how headers work and ensuring they are correctly sized and supported, you can avoid this costly and frustrating problem. A good step is to familiarize yourself with the permit processes involved in home additions. Knowing the ins and outs of permits, inspections, and building codes can save you from these unintended consequences. Check out [Understanding Permit Processes for New Building Projects](https://constructionedgez.com/understanding-permit-processes-for-new-building-projects) for a comprehensive guide.
If you’re embarking on an addition that involves installing large windows or altering load-bearing walls, paying close attention to the header details is vital. Skipping this step or underestimating the load can lead to drywall cracks that look minor but hide more serious underlying issues. That’s why I advocate for working closely with professionals who understand the technical nuances—it’s one of the best investments you can make for a durable finish.
Have you ever faced drywall cracks after a renovation? If so, chances are good that a hidden window header error was at play. Let’s delve into how you can identify and prevent these issues before they become costly repairs.
Secure Your Permits First
Begin by thoroughly understanding the permit requirements for your project. Think of permits as the GPS navigation that guides your build—skipping this step often leads to costly detours. Visit this guide to streamline your permit process. When I added a new window, I first confirmed permitted header sizes—neglecting this caused subtle stress on the drywall, which eventually cracked. Being proactive here saves headaches later.
Accurate Load Estimation Is Key
Next, estimate loads precisely. Imagine load estimation as setting a weight limit on a bridge—overload it, and cracks are inevitable. Use established methods or consult expert insights to get it right. I once underestimated a header’s required size for a large window, which resulted in drywall stress and cracks. Correct estimation prevents this scenario.
Step-by-Step Framing and Support
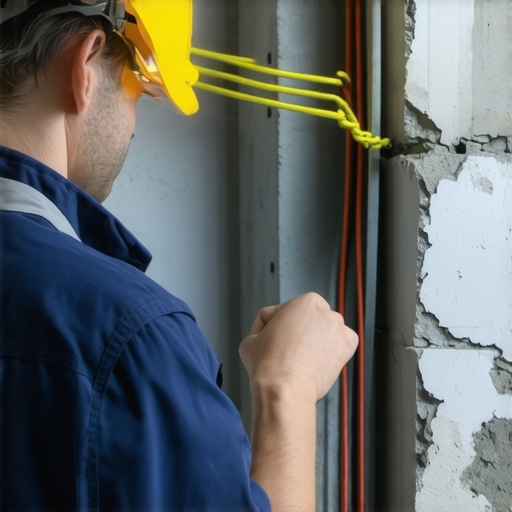
Implement proper framing techniques—think of building a sturdy scaffold that distributes weight evenly. Ensure headers are supported with correctly placed jack studs and headers that match load calculations. When I built a new wall, I carefully installed double jacks supporting a wide window, preventing any future drywall cracks from stress. Use level and plumb checks meticulously during framing to avoid misalignments.
Use Quality Materials
Choose high-grade lumber and steel that meet code standards. Low-quality materials may bend or weaken, transferring stress to your drywall. After upgrading to kiln-dried framing lumber, I noticed significantly fewer cracks, even after seasonal shifts. Always verify material specifications match project demands.
Regular Inspection During Construction
Continuously monitor support structures as you build. Think of this as a daily health check—catching issues early keeps the project healthy. During my project, I used a moisture meter and level to ensure the header remained true, preventing uneven load transfers that cause cracks.
Work with Professionals When Needed
While DIY skills are valuable, consulting with a structural engineer or experienced contractor adds a safety net. When I felt uncertain about load support, I hired an engineer who confirmed my framing was sound, averting potential drywall issues. Remember, precise technical input saves you money and stress.
Many homeowners and even seasoned DIYers believe that simply following basic guidelines ensures a smooth construction process. However, true expertise lies in understanding the nuanced pitfalls and misconceptions that can derail a project. One prevalent myth is that permit processes are mere formalities; in reality, they are complex systems that, if misunderstood, can cause costly delays. For example, some assume that once permits are secured, additional inspections are unnecessary, but overlooking minor discrepancies can lead to project stoppages or code violations. Diving deeper, a common mistake in estimating costs involves relying solely on surface-level calculations or generic averages, which often neglect project-specific variables like soil conditions or material fluctuations. Inaccurate estimates not only inflate budgets but also spawn disputes and project delays. Interestingly, many fail to realize that the process of planning additions or new builds requires integrating local regulations with detailed technical analyses—something best addressed with professional guidance. For instance, knowing how to navigate permit requirements correctly can streamline your project; check out this guide for insights.
On the estimation front, leveraging expert tools and methods significantly improves accuracy. The key is understanding that each project’s unique variables—like load calculations or material grades—must inform your budget. For example, underestimating load-bearing elements can lead to drywall cracks down the line, costing extra repairs. Advanced homeowners often overlook that structural details like header sizes directly influence drywall health; a miscalculation here is a recipe for future issues. Teachers such as industry experts highlight this nuance. Additionally, mistakes extend beyond technicalities. For instance, skipping comprehensive site assessments like soil testing can impair foundational integrity, leading to unexpected expenses. Recognizing these nuances is what elevates a good project to an exceptional one. So, have you ever fallen into this trap? Let me know in the comments. Remember, thorough planning and precise estimation are your best defenses against costly mistakes in your building endeavors.Maintaining your home addition or new build isn’t just about the initial construction—it requires ongoing effort and the right tools to ensure longevity and optimal performance. Personally, I rely on a combination of advanced equipment and software to keep every project running smoothly from start to finish.
Precision with Digital Level and Laser Tools
One of my most-used tools is a high-precision digital level paired with a rotary laser level. These tools are invaluable for verifying that framing, drywall, and finishes remain perfectly level and plumb over time. Unlike traditional bubble levels, digital versions provide exact readings, which helps me catch minor deviations early before they turn into costly issues. I use the Leica D110 for interior leveling and the Bosch GLL3-330 for larger-scale layout tasks. These tools ensure that structures stay aligned, preventing stresses that can cause drywall cracks down the line.
Monitoring Moisture with Smart Sensors
Moisture management is critical, especially in areas prone to humidity fluctuations. I personally install smart moisture sensors in basements and exterior walls that connect via Wi-Fi. Devices like the TP-Link Shelly 1PM allow me to monitor real-time moisture levels, triggering alerts if readings spike unexpectedly. This proactive approach helps prevent mold, wood rot, and structural shifts that can result from ongoing moisture problems. As trends advance, I predict more integration of IoT devices will become standard, providing homeowners and builders with continuous data streams for maintenance.
Efficient Project Management with Specialized Software
Beyond physical tools, I depend heavily on project management and estimation software like Buildertrend and CoConstruct. These platforms allow for precise scheduling, budget tracking, and document sharing with clients and subcontractors. Recently, I integrated a permit tracking plugin into my workflow, streamlining the approval process. This integration not only saves time but also reduces errors—unlike relying solely on manual tracking or spreadsheets. For example, I recommend using this guide for best practices in managing additions efficiently, ensuring each phase stays on schedule and within budget.
Maintenance Strategy: Regular Inspections and Data Review
My approach involves scheduled inspections using these tools, combined with reviewing data logs every quarter. This habit helps identify trends and potential issues early. For instance, I noticed a gradual moisture increase in a wall segment, traced it back to a small leak, and fixed it before drywall was compromised. Incorporating these practices extends the lifespan of your structures and reduces long-term repair costs.
Future of Building Maintenance Tools and Techniques
As technology evolves, I believe remote monitoring will become even more sophisticated, with AI-driven diagnostics predicting failures before they happen. This predictive maintenance could revolutionize how we care for our buildings, saving money and increasing safety. To prepare, I suggest trying advanced tools like smart sensors and integrated management platforms now to stay ahead of maintenance demands.
How do I keep my building working optimally over time?
Start by investing in reliable measurement tools, integrating IoT sensors for moisture and structural health, and leveraging project management software to coordinate ongoing maintenance. Implement a routine inspection schedule, review data regularly, and address issues proactively. By doing so, you’ll ensure your home remains safe, efficient, and durable for decades to come. If you’re interested in expanding your maintenance toolkit, I recommend exploring this comprehensive guide to expert strategies that can elevate your building management practices. Don’t wait for small issues to become big problems—start small with a smart sensor or software today, and enjoy peace of mind knowing your investment is protected.
Reflecting on my journey through home additions, I realize that small oversights—like neglecting proper header support—can silently cause cracks and long-term issues. The key lesson? Never underestimate the importance of precise structural support and thorough planning, especially with load-bearing elements above windows. Equally, understanding the permit and inspection processes isn’t just bureaucratic red tape but vital steps that safeguard your project’s integrity. Embracing professional guidance when dealing with complex load calculations and permit nuances has been my game-changer, preventing costly mistakes down the road.
Lessons That Were Hard-Won in My Building Adventures
- Double-check your headers: Even small miscalculations in load support can hide behind drywall cracks for years, reminding us to prioritize accurate framing and material quality.
- Permits are your protection, not a hassle: Skipping or rushing permit steps often results in hidden issues that surface later as structural or code violations—better to avoid this from the start.
- Consult experts early and often: They help decode complex load and code requirements, saving both money and peace of mind.
- Continuous monitoring: Using tools like laser levels and moisture sensors has transformed my ability to catch issues before they escalate, ensuring durability over time.
Tools and Resources That Keep My Projects Solid
- High-precision laser levels: Devices like the Leica D110 provide unmatched accuracy in framing and drywall installation, preventing misalignments that cause cracking.
- Smart moisture sensors: Monitoring humidity and water intrusion helps me address hidden risks before they compromise structural components.
- Project management platforms: Software such as Buildertrend keeps all my plans, permits, and inspections organized, reducing errors and delays.
- Educational guides: Resources like this comprehensive guide have elevated my understanding of the entire process.
Your Move Towards Confident Building
Taking control of your home addition projects with informed decisions and reliable tools sets you apart from common pitfalls. Start small: verify your permits, work with guides, and invest in quality support. Every step you take now builds a legacy of craftsmanship and security—your future self will thank you. Ready to turn those plans into lasting reality? Share your experiences or questions below—let’s build smarter together!