How to Verify Square Footage in a Custom Home Quote
I remember the first time I built a home from scratch; I had my hands on the blueprints, excited but overwhelmed. Then came the real shock—my contractor’s quote for the project seemed off. Turns out, I hadn’t properly verified the square footage—an oversight that ended up costing me thousands and delaying my timeline. That moment was a lightbulb for me: knowing how to confirm the actual size of my future home is more than just a checklist item—it’s a safeguard against costly surprises.
Why Verifying Your Home’s Square Footage Is Non-Negotiable
Understanding how to accurately verify square footage isn’t just a technicality; it’s the foundation of a trustworthy quote and a smooth approval process. Misestimations can lead to permit rejections, unexpected costs, and design compromises. For example, an overlooked attic or basement area might seem trivial but can significantly affect your total square footage, impacting zoning laws and valuation. According to industry experts, nearly 30% of permit delays stem from incorrect or unverified measurements, emphasizing the importance of this step. Have you ever received a quote that just didn’t seem right but didn’t know how to double-check it? Well, you’re not alone. I found that early missteps often come from assuming official plans are enough without verifying the actual measurements on-site or through official records.
Is Double-Checking Your Square Footage Really Worth the Hassle?
I once trusted the initial measurements without question—and paid the price when a basement was larger than recorded, leading to permit issues and redesigns. That taught me a valuable lesson: never assume the plans are perfect. Instead, learn how to verify square footage yourself or with a trusted expert. It’s a straightforward process that can save you from surprises later in the construction journey. Want to know the secrets I uncovered for getting this right? Stay tuned because the next section will walk you through simple, effective methods to confirm your home’s size, ensuring you stay in control of your project from start to finish. And remember, for more in-depth insights on estimating costs and avoiding common pitfalls, check out our comprehensive guides linked throughout.
Measure with Precision Using a Laser Tool
My first attempt at verifying the total area involved a simple tape measure, which led to hours of guesswork and a few miscalculations. Then I invested in a laser distance meter—an inexpensive device that significantly improved accuracy. To start, walk through your space, marking key points along the perimeter. Aim the laser at corners or walls, and record each measurement. Use these figures to draw a scaled sketch of your floor plan, ensuring that every segment aligns with the actual space. This step is like using a GPS for your home’s layout—precise and reliable, reducing the risk of costly permit issues.
Compare Official Plans with On-Site Measurements
Next, gather the official blueprints or property records, which often contain stipulated measurements. Cross-reference these with your on-site laser measurements. If discrepancies arise, prioritize your actual measurements, as real-world data beats a plan that might be outdated or inaccurate. For example, during my project, I discovered the living room was 10% larger than the plan indicated, which affected the overall square footage count. Document each measurement meticulously to support your verification process and avoid misunderstandings during permit applications.
Break Down Complex Spaces to Avoid Overlooking Areas
Think of your home’s layout as an onion—you need to peel each layer to get to the core. Many overlooked spaces like closets, basements, attics, or storage rooms can inflate or deflate your total area if not properly accounted for. Use your measurements to map out each segment separately. For rooms with irregular shapes, divide them into rectangles or triangles, then calculate each’s area separately before summing them. During my last remodel, neglecting the basement’s hidden corners led to a permit delay; verifying every nook and cranny saved the project.
Involve a Trusted Professional When Necessary
While DIY verification is feasible, complex or large properties may require professional assistance. An architect or licensed surveyor brings accuracy and credibility to your measurements. Think of hiring a professional as calling in a seasoned chef to perfect a complicated recipe—they catch mistakes you might miss and ensure everything is up to code. I once hired a surveyor whose precise measurements prevented my contractor from quoting based on incorrect data, saving thousands of dollars in redesign costs. To find qualified experts, consult local directories or professional associations. Visit Construction Edgez for trusted contacts near you.
Keep Records and Double-Check for Confidence
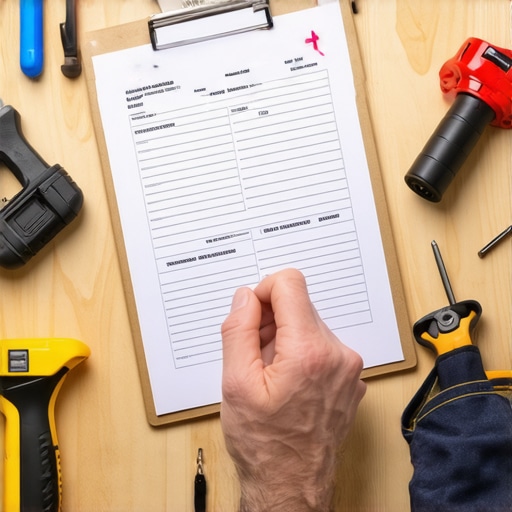
Finally, compile all your measurements, sketches, and comparison notes into a clear record. Double-check each figure for consistency. These documents act as your under-oath agreement that the measurements are accurate, supporting any disputes or queries during permit reviews. This organized approach is like having a detailed map during a treasure hunt—ensuring you’re prepared for all eventualities.
By applying these concrete steps, you gain control over your project’s foundation, building confidence and preventing unforeseen delays. Remember, verifying square footage isn’t just a box to tick—it’s your shield against costly surprises, turning your dream home into a verified, approved reality. For more detailed strategies, explore estimation techniques for modern homeowners and how to navigate permit processes effectively.
While most beginners focus on basic measurements and permit applications, there’s a lesser-known pitfall that can derail even experienced homeowners: underestimating the complexity of nuanced building codes and the layered process of accurate estimation. Contrary to popular belief, simply knowing the square footage or a rough idea of costs isn’t enough—understanding the subtle intricacies can mean the difference between a smooth project and costly delays.
One common myth is that permits are straightforward if initial plans are approved by the city. In reality, many overlook that permit approval often depends on unanticipated details like setbacks, flood zone considerations, or underground utilities that weren’t initially apparent. This hidden layer can lead to repeated permit rejections, especially if you haven’t prepared comprehensive documentation or filed for necessary variances.
Another advanced mistake involves misjudging the actual costs involved in the estimation process. Many rely on outdated or overly simplistic models, ignoring things like material waste, fluctuating labor rates, or site-specific challenges such as soil stability. According to estimates from industry experts, overlooking these factors accounts for up to 20% of project overruns. Curious how seasoned estimators account for these variances? Check out expert insights on estimating costs for home improvements.
Have These Common Oversights Been Haunting Your Projects?
Another nuance that often trips homeowners is the assumption that all spaces are created equal when adding square footage. Hidden structural issues, like load-bearing walls or foundation constraints, may not be evident until demolition or excavation begins. These reveal hidden costs and delays, which could have been foreseen with deeper pre-project assessments. This is why a comprehensive review of permit requirements and structural integrity checks are indispensable before committing fully.
Moreover, many underestimate the *administrative* weight of layers of codes and local ordinances. For instance, understanding how setback rules interact with underground utilities can prevent future rework or permit modification requests. An expert tip is to always verify with local public works departments early in your planning process—many delays are due to overlooked regulations, not construction issues.
Let’s not forget the psychological trap: assuming everything will progress linearly after permits are approved. Reality often requires adapting to unanticipated inspections or detailed code enforcement requests. Anticipating these nuanced steps with proactive planning means fewer surprises and a smoother project flow.
In sum, gaining mastery over these subtle yet impactful factors distinguishes a seasoned builder from a novice. It’s not just about measuring twice and cutting once, but about an in-depth understanding of the layered regulatory, structural, and estimation complexities. Want to deepen your knowledge? Explore strategies for better estimating in new builds and ‘{estimating} your project with confidence’. And as always, have you ever fallen into this trap? Share your experiences in the comments—I’d love to hear your stories.
Maintaining Your Construction Workflow Over Time
Staying on top of your project’s ongoing needs requires more than just initial planning. It involves diligent maintenance and the right toolkit to handle unexpected issues promptly. Regular inspections of your site equipment and tools are essential—think of it as giving your project a health check, preventing small problems from turning into costly delays. Scheduling routine maintenance on critical tools like laser distance meters or digital survey equipment ensures longevity and accuracy, saving you time and money in the long run. Incorporating preventive measures, such as weatherproof covers for sensitive equipment, is increasingly important as climate unpredictability rises. As the industry evolves, digital tools are becoming more sophisticated, allowing for real-time monitoring of project progress and equipment health, which enhances overall efficiency.
Essential Tools I Trust for Staying Ahead
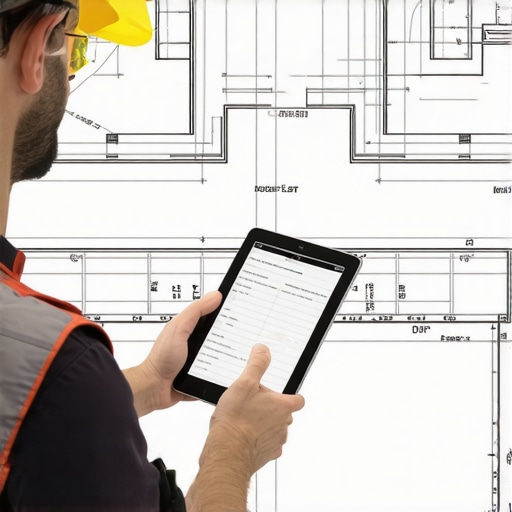
Having the right tools at your fingertips can make or break your project’s pace. I personally rely on a few key pieces: a high-precision laser distance meter for quick and exact measurements; a digital water level for ensuring flat layouts, especially in challenging terrain; and a rugged tablet loaded with project management software like CoConstruct or Buildertrend. These apps help track progress, maintain documentation, and coordinate with subcontractors seamlessly. Investing in a durable, high-quality toolbox with organized compartments ensures everything stays in place, reducing downtime searching for tools. For estimating and permitting accuracy, I use software like PlanSwift, which integrates directly with measurements, minimizing errors and speeding up the approval process. Expect this trend towards integrated, IoT-connected equipment to grow, enabling even smarter construction sites in the future.
How do I keep my tools and processes in top shape over the years?
Developing a maintenance routine is key. Schedule quarterly inspections of your measurement devices, calibrate your laser tools annually, and replace worn-out batteries immediately. Document your maintenance activities—it’s a good record for warranties and troubleshooting. Regularly update your digital tools and software to benefit from patches and new features that improve accuracy and security. Also, foster relationships with reliable suppliers and service providers who can offer quick repairs or replacements, minimizing downtime. Keep your workspace organized; clearly labeled storage not only preserves your tools but also streamlines onboarding for new team members. Looking ahead, automation and AI-driven maintenance alerts will simplify upkeep, ensuring your tools work flawlessly when you need them most.
Integrate Smart Maintenance to Future-Proof Your Site
Embracing proactive, tech-enabled maintenance practices is the future of construction management. Using sensors attached to key equipment can alert you before a failure occurs, allowing scheduled repairs instead of emergency fixes. For instance, vibration sensors on generators or compressors can indicate when parts need inspection. Additionally, adopting cloud-based asset management systems enables centralized monitoring of tool condition and usage patterns. This approach not only extends your equipment’s lifespan but also enhances safety by preventing accidents due to equipment failure. As these technologies become more affordable, expect them to become standard, making your projects more resilient and efficient. To discover cutting-edge strategies, explore new build estimation strategies for modern homeowners that incorporate tool management insights. Why not start today by auditing your current tools and setting a maintenance schedule? You’ve got this—taking action now will pay dividends with smooth project delivery.
The Hardest Lesson I Learned About home projects and permits
- One of my biggest eye-openers was realizing that even official blueprints need on-site verification. Don’t rely solely on plans; always measure yourself to catch discrepancies early.
- Overestimating my abilities led to overlooking the importance of detailed record-keeping. Now I document every measurement meticulously, which saves time and stress later.
- Assuming building codes are straightforward often caused delays. The layered and nuanced nature of permits means doing thorough research and consulting professionals can make all the difference.
- Thinking that a quick check-up was enough cost me dearly when hidden spaces or structural peculiarities caused unexpected costs. Deep inspection and breakdown of spaces are essential.
- Investing in good tools like a laser measure transformed my process from guesswork to precision, highlighting the value of quality equipment for accurate verification.
My Essential Toolkit for Verifying Home Sizes
- Laser Distance Meter — I trust this for quick, accurate measurements across rooms. It saves hours and prevents costly errors.
- Official Blueprints & Property Records — Always cross-reference these with on-site measurements. They provide a baseline for accuracy and legal compliance.
- Sketching Apps & Digital Plans — Software like PlanSwift helps me create scaled diagrams, making verification straightforward and shareable with professionals.
- Professional Surveyors — When the project scales up or involves complex spaces, a licensed surveyor’s expertise ensures precision and credibility.
Your Next Step: Trust Your Measurements and Keep Moving
Taking control of your square footage verification process turns a daunting task into a manageable part of your project. Remember, mastering this skill not only shortens your timeline but also saves thousands of dollars by preventing permit issues and rework. Don’t wait for problems to surface—begin implementing these strategies today, and you’ll build confidence with every verified measurement. Ready to elevate your home project? Share your experience with measurement challenges or ask questions below—let’s learn from each other’s journeys to successful building outcomes.