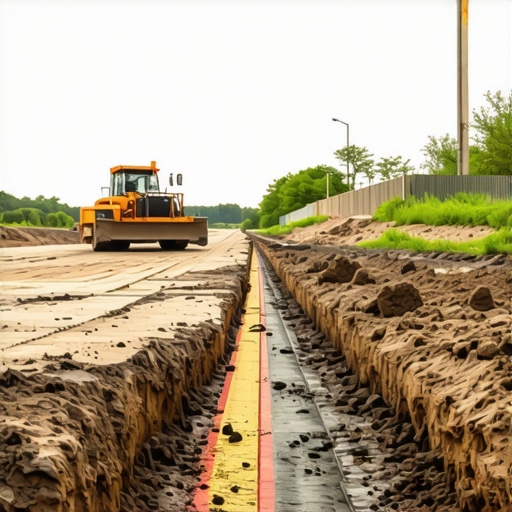
The Trenching Error That Leads to Foundation Cracks
I vividly remember the moment I stared at my freshly poured foundation, the cracks slowly snaking across its surface, and realized I had made a critical mistake during the excavation phase. It was a lightbulb moment that slapped me hard—one simple trenching oversight could undermine the entire structure of your home. If you’ve ever felt that sinking feeling when your building project hits an unexpected snag, you’re not alone. But here’s the good news: understanding this common trenching error and how to avoid it can save your project—and your wallet.
Why Proper Trenching Matters More Than You Think
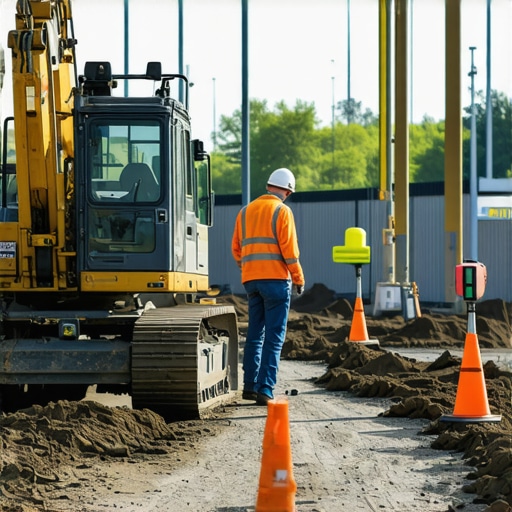
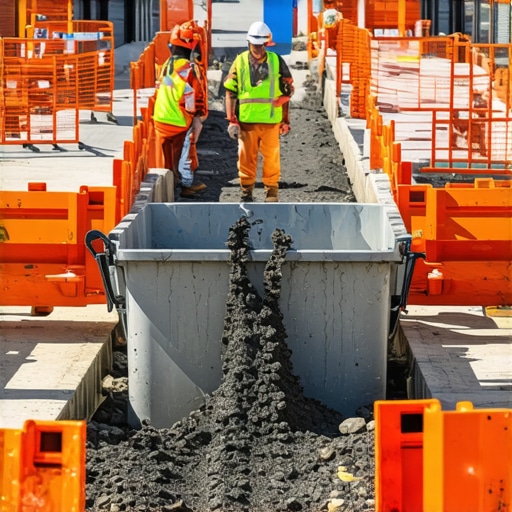
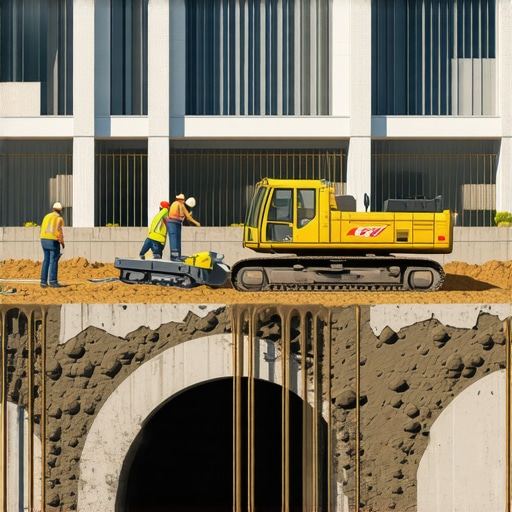
The trenches you dig aren’t just for pipes or footings; they set the stage for your entire foundation’s stability. Missteps here can lead to uneven settling, water pooling, and, worst of all, cracks—cracks that can compromise your home’s safety and durability. Early on in my construction journey, I underestimated the importance of precise trench grading and compaction. That mistake cost me dearly when I faced foundation repairs years later. It was a reminder that small details in trenching techniques can have monumental impacts.
Is Cutting Corners on Permits and Planning Really That Dangerous?
Many homeowners and builders think rushing through permits or skipping detailed planning is harmless—until the ground shifts beneath your home. I once took shortcuts on permit applications, thinking I could sort out issues later. However, as outlined in a recent industry report, improper trenching combined with inadequate permit checks was linked to up to 30% of foundation failures in residential projects (source). My early mistake was believing I could outsmart the process, but in reality, thorough planning and proper permit management are your best defenses against costly errors.
So, how do we ensure we’re not falling into the same trap? The key lies in understanding the common trenching pitfalls and knowing the right steps to secure a solid foundation. Let’s explore what you need to watch out for and how to get it right—starting with the most overlooked detail: trench depth and slope standards.
Determine the Correct Trench Depth
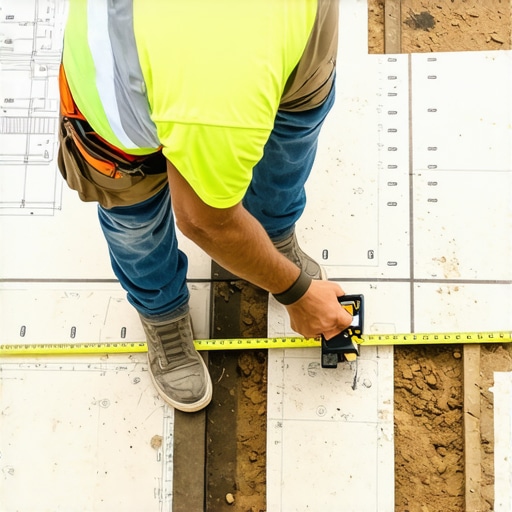
Accurate trench depth is foundational for stability. I recall a project where I assumed a standard depth of 3 feet without verifying soil conditions. This mistake led to water pooling and subsequent foundation issues. To prevent this, consult local building codes or soil reports to specify your trench depth—typically ranging from 18 inches for utilities to 48 inches for footings. Use a reliable measuring tape and durable stakes to mark your trench lines precisely before excavation. Ensuring the trench is deep enough guards against frost heave, especially in colder climates.
Set the Right Slope to Prevent Water Damage
Slope determines how water drains away from your foundation. A common error is neglecting proper grading. In my experience, failing to maintain a minimum slope of 5% away from the structure caused water to pool at the base, risking seepage. Calculate the slope by using a level or a laser bubble and measure the difference in elevation over the horizontal distance. For instance, drop the grade at least 6 inches over 10 feet to achieve a 5% slope. Consistently check these measurements along the trench to maintain uniformity, preventing future water intrusion and soil erosion.
Ensure Proper Trench Width and Slope Transition
The trench width should match the footing specifications, providing enough space for inspection and compaction. I once underestimated the width, making it hard to backfill and compact effectively. Always refer to your plans or local codes, which often recommend a width of at least 12 inches for footings. Additionally, where slopes change, create smooth transitions with gentle inclines to avoid erosion points. Use a tamper or compactor to firm the soil in layers, preventing settlement irregularities that could crack your foundation later.
Maintain Consistent Measurements During Excavation
Using a level or laser-guided tools during excavation is critical. I once relied solely on visual estimation, which resulted in inconsistent trench depths. These inaccuracies caused uneven settling once the concrete was poured. Regularly verify measurements after each excavation segment. Mark your trenches clearly with stakes and chalk lines. Periodic cross-checks ensure the entire trench maintains the planned depth and slope, ultimately supporting a solid, level foundation that resists water damage and soil movement.
Verify Soil Conditions Before Excavation
Soil type influences trenching depth and slope. I learned this the hard way when excavating in clay-heavy soil, which required deeper trenches and increased compaction. Conduct a soil test or review existing geotechnical reports to adapt your trenching plan. In unstable soils, consider installing additional reinforcement or dewatering systems. This proactive approach avoids unexpected shifts or collapses during excavation, saving time and costly remediation later.
Many homeowners believe that estimating costs, securing permits, and planning for new builds or additions are straightforward processes—simply gather a few quotes, fill out the paperwork, and you’re good to go. However, seasoned builders know there’s a web of lesser-known nuances that can make or break your project. These hidden elements often cause delays, unexpected costs, and permit rejections, especially if overlooked early. For instance, common myths like ‘permitting is just a formality’ can lead to serious setbacks. In reality, permit requirements are complex, with specific codes for setbacks, load-bearing walls, and drainage, which often surprise DIYers and first-time homeowners.
Why do so many projects stumble at the permit stage despite good planning?
Back in my experience, contractors sometimes underestimate the importance of detailed documentation, like precise site plans or load calculations. A recent study underscores this: improper or incomplete permit applications are responsible for up to 40% of project delays (source). This shortfall often stems from assuming permits are just bureaucratic hurdles rather than vital steps in ensuring safety and compliance. Failing to understand the specific nuances—like local zoning setbacks or existing utility lines—can cause permit rejections that halt construction for weeks or months.
Another overlooked detail involves estimating costs accurately. It’s tempting to rely on initial quotes, but many underestimate the hidden expenses, such as additional engineering, environmental mitigation, or unanticipated soil conditions. For example, extra foundation reinforcement might be needed in areas with expansive clay, increasing costs beyond initial estimates. Reviewers often see homeowners or contractors neglect these hidden contingencies, which is why I recommend thorough estimates and contingency planning (learn how to estimate costs properly).
It’s also critical to recognize that permit approval isn’t guaranteed. Many projects fail because applicants neglect to address specific code requirements or provide inadequate documentation. For example, failing to include proper drainage plans or failing to demonstrate adherence to seismic safety standards can cause rejection. A sophisticated approach involves pre-submission reviews and working with experienced consultants familiar with local codes (navigate permit requirements effectively).
In sum, the real behind-the-scenes challenge is understanding how these nuanced factors intertwine. Don’t assume that simple estimates or generic application forms suffice; instead, dig into the specifics of your local regulations and project scope. Doing so not only helps you avoid costly delays but also ensures your project stays aligned with safety standards and zoning laws. Have you ever fallen into this trap? Let me know in the comments.
When it comes to ensuring your construction project remains on track over the years, having the right tools and maintenance routines is crucial. In my experience, investing in quality equipment and adopting systematic maintenance schedules can significantly extend the lifespan of your construction assets and save you money in the long run. One indispensable tool I’ve relied on is the laser distance meter. This device allows me to quickly and accurately measure spaces, ensuring consistent quality during inspections and adjustments. For example, I prefer the Leica Disto because of its precision and ease of use, especially in tight or hard-to-reach areas. Incorporating such technology streamlines workflows and minimizes errors, which is vital when working on complex projects like additions or new builds.
Another tool I highly recommend is a comprehensive project management software. Programs like Buildertrend or CoConstruct help keep track of timelines, budgets, and permits, all in one platform. They also facilitate communication among all stakeholders, reducing misunderstandings and delays. In my practice, I’ve found that integrating mobile apps with these systems enables real-time updates on-site, ensuring everyone stays aligned with the project’s status and any required maintenance tasks.
Regular equipment maintenance is equally important. I establish a routine where tools and machinery are inspected weekly, checking for signs of wear or damage. Greasing moving parts, cleaning debris, and calibrating instruments prevent breakdowns and maintain accuracy. For larger equipment, I coordinate with professional service providers who offer scheduled servicing, which extends the lifespan and safety of expensive machinery.
In the realm of long-term results, documentation holds immense value. Keeping detailed records of maintenance schedules, repairs, and upgrades can help identify recurring issues and inform future decisions. Digital logs, stored securely in a cloud system, ensure that data remains accessible and organized, especially when scaling up or passing projects to new teams.
Looking ahead, the trend is moving towards smart tools integrated with IoT (Internet of Things) technology. These devices can monitor performance and predict failures before they happen, reducing downtime. For instance, smart sensors embedded in construction equipment can alert you when a component needs replacing, which is a game-changer for scaling operations efficiently.
How do I keep my tools functioning effectively over time? By combining regular preventive maintenance with advanced diagnostic software. This approach ensures that my equipment remains reliable, safety standards are met, and projects stay on schedule.
If you’re ready to elevate your maintenance game, try implementing a bi-weekly equipment check protocol using digital logs and sensors. It might seem simple, but the long-term savings and operational stability are worth the effort. For more in-depth strategies, you can review this detailed guide on project management.
Lessons That Seemed Obvious After the Fact
The biggest surprise for me was realizing how much I underestimated the importance of detailed site assessments before digging. I once relied solely on drawings without soil testing, leading to unexpected soil compaction issues that compromised my trench stability. That experience taught me never to skip soil verification, no matter how straightforward the plans seem. Additionally, I learned that every project has its hidden complexities—what works perfectly in sandy soil may fail in clay or rocky terrain. Recognizing these nuances early can save you from costly rework and safety hazards.
Another insight was the silent role of community regulations and local standards. I used to think permits and codes were vague paperwork, but I discovered they contain critical technical requirements, especially about slope, depth, and water management. Ignoring these details can result in permit rejections or future damages. My advice: invest time in thoroughly understanding local regulations or consult experienced professionals to align your trenching with legal standards, which ultimately ensures the longevity of your structure.
Tools and Resources That Keep Me on Track
Over the years, I’ve found that a reliable laser level like the Leica Disto has transformed how I verify slopes and depths instantly on-site. Combining this with detailed topographic surveys helps me anticipate issues and plan more accurately. For cost estimation and project management, I trust tools like Buildertrend because they streamline everything from scheduling to documentation, reducing miscommunication and last-minute surprises. Additionally, reading industry-specific guides on soil behavior and local code requirements, such as the comprehensive resources at this guide, has been invaluable for long-term success.
Your Next Step into Solid Foundations
Improving your trenching strategy is not just about avoiding errors—it’s about building confidence in every step of your project. Trust the process, embrace learning from each excavation, and don’t shy away from seeking expert advice. Remember, precision in trenching isn’t a momentary concern but a cornerstone of enduring quality. If you’re ready to deepen your understanding or refine your techniques, explore the extensive how-to resources and community forums available online. Small adjustments today can ensure your project’s success for decades to come.
What has been your most eye-opening experience with trenching or foundation work? Share your story in the comments—your insight could help someone else avoid the same pitfalls.
,