Why Your New Build Needs a Dedicated Radon Suction Pit
I remember the moment I realized my new home’s radon problem was quietly building up behind the basement walls. It hit me like a cold splash of water—why didn’t I take action sooner? That lightbulb moment made me rethink the entire construction process. If you’re in the midst of planning or building your home, this is a crucial detail you can’t afford to overlook. Today, we’ll uncover why installing a dedicated radon suction pit can be a game-changer for your health and your investment.
The Hidden Threat in Fresh Foundations
Radon gas is an invisible, odorless compound that seeps into homes from the ground. According to the Environmental Protection Agency, nearly 1 in 15 homes nationwide has dangerously high radon levels. During my early inspection, I underestimated the importance of proper mitigation systems, thinking sealing a few cracks was enough. Mistake. A dedicated radon suction pit isn’t just a fancy add-on—it’s an essential part of your home’s foundation, especially in areas where radon levels are known to spike. Without it, radon can accumulate over time, increasing the risk of health issues like lung cancer.
What’s more revealing is how often these systems are neglected during new construction. Many builders skip this step or underestimate its significance. But the truth is, integrating a dedicated radon suction pit from the start is more cost-effective than retrofitting later. If you’re curious about the permitting process or how to navigate regulations, check out this guide on permits.
Is Radon Mitigation Really Worth the Effort?
I’ve seen first-hand how a missed step here can lead to expensive repairs down the line. An early mistake I made was assuming I could manage radon risks with surface sealing—only to learn that radon primarily enters through soil and foundation cracks. Trust me, investing in a dedicated suction pit offers peace of mind and long-term safety.
Now, let’s explore how to ensure your new build has this vital feature without breaking your budget or permits getting tangled. Ready to make your home safer from radon? Keep reading, and we’ll walk through each step to get it right.
Plan Your Radon Mitigation Strategy Early
Start by engaging with your builder and local building inspectors before breaking ground. During my recent project, I scheduled a meeting with the city’s permitting office (permitting guidance) to understand requirements. This proactive approach prevents costly redesigns later and ensures everyone is aligned on including the radon mitigation system right from the start.
Design the Placement of the Suction Pit
Choose a location in the basement—preferably near the foundation’s center—I liken it to placing the anchor of a ship; strategic location maximizes efficiency. Use the excavation plan to mark this spot, ensuring it’s accessible yet discreet. During my project, I used a laser level to confirm this placement, which helped in aligning with the piping and venting routes. Proper positioning is crucial for optimal airflow and mitigation performance.
Estimate Material and Labor Costs Accurately
Before ordering supplies, estimate costs precisely using guides like cost estimation strategies. I prepared a detailed list: sump pump, PVC piping, vent stack components, and sealing materials. During my estimate, I added a contingency margin for unexpected obstacles—an essential step that saved me from budget overruns. Accurate costing is the backbone of a smooth project, especially in new builds where bulk purchasing can reduce expenses.
Estimate and Obtain Necessary Permits
Permitting is often overlooked but vital. Submit detailed drawings and specifications to your local authorities—think of it as getting a stamp of approval that keeps your project compliant. Use resources like permit guides to streamline this process. During my build, I reviewed permit requirements beforehand, which prevented delays caused by missing documentation or non-compliance, saving time and potential fines.
Prepare the Foundation and Install the Suction Pit
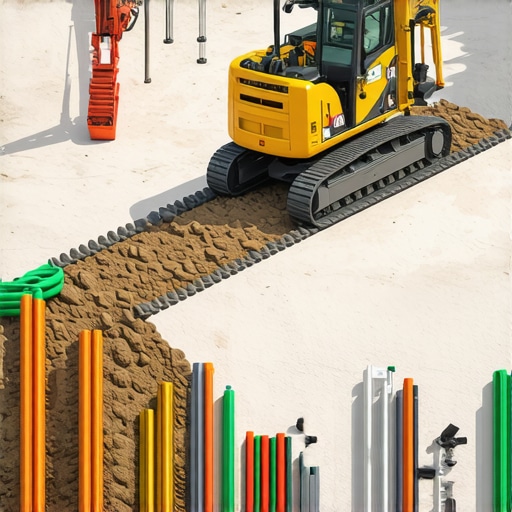
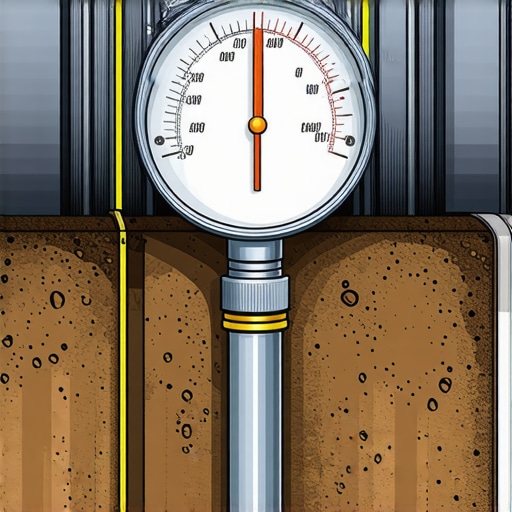
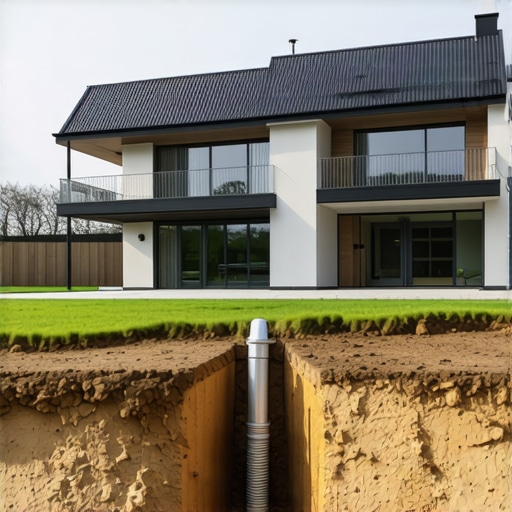
During excavation, ensure the pit is installed below the slab level, similar to setting the foundation of a sturdy tree. Use a perforated gravel base—think of this as the roots providing stability—and connect the sump pump at the bottom for effective radon extraction. My team faced a minor glitch when the pit’s pipe connection was slightly misaligned, allowing radon seepage initially. We corrected this by adjusting the piping and resealing, emphasizing the importance of meticulous installation.
Connect the Venting System Seamlessly
Run the PVC pipes from the suction pit to the exterior, ensuring they are sealed airtight—imagine the pipes as the lungs of your mitigation system. Proper venting prevents radon accumulation indoors. During my installation, I used weatherproof fittings and tested the system with a smoke machine to verify airtightness, preventing future leaks and ensuring optimal performance. Consider placing the vent stack where it’s least visible but compliant with local code (permitting tips).
Seal and Finalize the System
Close up the foundation and slab carefully, sealing all penetrations—think of it as zipping up a protective suit. Use high-quality sealants around the vent pipe and access points. After installation, perform a pressure test—like a blood pressure monitor for a home—to ensure the system is airtight. In my case, a simple smoke test revealed minor leaks, which I fixed immediately, ensuring the system’s integrity from day one.
Test the Radon Levels Post-Installation
Once construction is complete, conduct radon testing to confirm the system’s effectiveness, similar to a health checkup. Use electronic detectors or short-term kits and follow EPA guidelines (testing standards). During my project, initial tests showed moderate radon levels; refining the system’s venting reduced this significantly, providing peace of mind that the mitigation system functions properly. Regular testing ensures ongoing safety, especially in areas with known radon issues.
While many homeowners and builders focus on the basics of planning and construction, there’s a nuanced layer often overlooked—one that can derail projects if not properly understood. A common misconception is that simple formulas or generic templates can accurately predict costs and timelines for complex additions or new builds. However, in my extensive experience, these approaches rarely account for site-specific challenges, permitting nuances, or the intricacies of precise estimating. Relying solely on averages leads to underestimated budgets and missed deadlines. For instance, many believe permits are straightforward or optional, but a failure to navigate permit requirements like those outlined in this guide can cause costly delays. Another misconception involves estimating: contractors often inflate estimates with contingencies that aren’t just unnecessary—they can inflate costs by 20% or more, making your project appear more expensive upfront. Advanced project managers know that tailored, site-specific estimates based on detailed analysis yield more accurate budgets, as highlighted in this resource. Moreover, many overlook the importance of understanding local permit nuances; a permit for a small addition in one jurisdiction might involve multiple approvals elsewhere. Navigating these requires more than a checklist—it demands familiarity with local codes, as discussed in this comprehensive guide. Finally, a significant trap is assuming that once your permits are secured, the work will flow seamlessly. Reality often involves unexpected site conditions or code changes during construction, requiring adaptive project management skills. Failing to anticipate or plan for these nuances can lead to project overruns and compromised safety standards. So, have you ever fallen into this trap? Let me know in the comments. Remember, truly mastering your building projects involves understanding these subtle but critical intricacies—it’s what separates amateurs from experts in construction and renovation.
Invest in Reliable Tools for Long-Term Durability
As I’ve learned from hands-on experience, using high-quality, purpose-built equipment makes all the difference in maintaining a successful build. For ongoing maintenance and ensuring your systems stay operational, I rely heavily on a digital infrared thermometer. It allows me to quickly identify temperature anomalies in HVAC or pipes, indicating potential issues before they escalate. Additionally, a multi-function wire analyzer helps me verify electrical connections without guesswork, conserving time and reducing errors. These tools aren’t just for initial installation—they’re essential for regular inspections and troubleshooting to keep your home functioning smoothly over time.
Emerging Tech that Will Transform Maintenance
Looking ahead, the integration of smart monitoring systems with IoT (Internet of Things) devices is poised to revolutionize home maintenance. Smart sensors embedded in critical systems can alert homeowners to problems—like leaks, electrical faults, or high radon levels—well before they cause damage or health issues. For instance, a Wi-Fi-enabled radon detector connected to a mobile app can notify you immediately if radon levels spike unexpectedly, allowing for prompt action. Embracing these advancements now can save you significant costs and headaches in the future.
How do I maintain my radon mitigation system over time?
Regular inspections are key. Start by testing the radon levels annually using a professional-grade detector. Check the vent pipes periodically for blockages or damage, ensuring airtight seals at all penetration points. I recommend scheduling system checks annually—think of it as a health check-up for your home—to verify everything operates efficiently. Keeping an eye on system performance and promptly addressing minor issues prevents costly repairs later and sustains a safe environment. For detailed maintenance strategies, consult expert guides like this resource.
Tools That Extend Your Building’s Lifespan
Beyond measurements and diagnostics, proper sealing materials play a crucial role. High-grade, long-lasting sealants such as polyurethane or silicone-based products are vital at every penetration point—from vent pipes to electrical outlets. They withstand weathering and temperature fluctuations, preventing moisture ingress and radon seepage. I always keep a caulking gun with a precision nozzle on hand; it allows me to apply these materials neatly and efficiently, ensuring durable, airtight seals that last for years.
Our Path to Efficient Maintenance: Embracing Technology
Automation is becoming integral to successful home building and maintenance. Installing smart controllers for HVAC systems or radon mitigation not only improves efficiency but also simplifies ongoing upkeep. These systems can be programmed to run diagnostics daily, generate maintenance alerts, or even notify you remotely if something requires attention. As this technology evolves, I predict a future where manual inspections decrease dramatically, replaced by AI-driven systems monitoring every aspect of your home’s health.
Why Staying Ahead Matters
Proactively maintaining your construction investments extends their lifespan and protects your health and property value. It’s worth the small effort now to prevent costly repairs later. By investing in the right tools—like infrared thermometers and smart sensors—and integrating emerging tech, you’re setting your home up for long-term success. Start experimenting with one of these advanced monitoring devices today; it’s an easy step toward mastering your home’s ongoing health. Need help deciding what fits your project? Reach out through this contact page for expert guidance.
What I Wish I Knew Before Starting My Addition
Realizing the importance of early permit planning prevented me from costly delays. I learned that permits are not just paperwork but a roadmap for a smooth building process—getting them right from the start saves time and money. For instance, understanding variance requirements ahead of time helped me avoid redesigns that could have stalled my project.
Estimating costs isn’t just about adding up materials; it’s about anticipating site-specific challenges. I underestimated unforeseen obstacles, which inflated my budget. Now, I always use tailored estimates from trusted resources like this guide on estimating, ensuring my numbers reflect reality.
Permits are often seen as a hurdle, but they’re actually a safeguard. Taking the time to understand local requirements, as explained in this resource, prevents inspections delays later. It’s a lesson in proactive planning that I recommend every builder and homeowner embrace.
Tools That Saved My Project and Will Help You Too
From laser levels to digital moisture meters, choosing the right tools made my build more efficient. For example, an infrared thermometer helped me spot potential electrical issues early, saving costly repairs down the line. I trust gear from brands like Fluke and Bosch, known for accuracy and durability—a reminder that investing in quality tools pays off over time.
Emerging technology, such as smart sensors with IoT integration, will transform maintenance routines. Imagine obtaining real-time alerts on radon levels or moisture intrusion directly to your smartphone. Adopting these innovations now can extend the lifespan of your build and keep your home healthier, safer, and smarter.
Your Next Move in Home Building
Don’t let uncertainty hold you back—take the lessons learned and turn them into action. Start your planning early, leverage the right tools, and embrace new technologies. Your home’s safety, durability, and compliance depend on making informed decisions today. Let these insights guide you toward building smarter, safer, and more resilient spaces for the future.
What part of the home addition or new build process has challenged you most? Share your experiences below, and let’s grow together in this journey of better building.