Why your deck post footings need a specific frost depth proof
It was a chilly spring morning when I finally realized my mistake. I was inspecting the new deck I had built last summer, and I noticed tiny cracks forming at the base of the supporting posts. That’s when it hit me—my footing depths hadn’t accounted for our harsh winter frost line. If you’ve ever experienced the sinking feeling of watching your investment wobble or crack, you know exactly what I mean. That moment of realization prompted me to dig deeper into why frost depth matters so much for deck footing stability.
The Hidden Danger of Ignoring Frost Lines
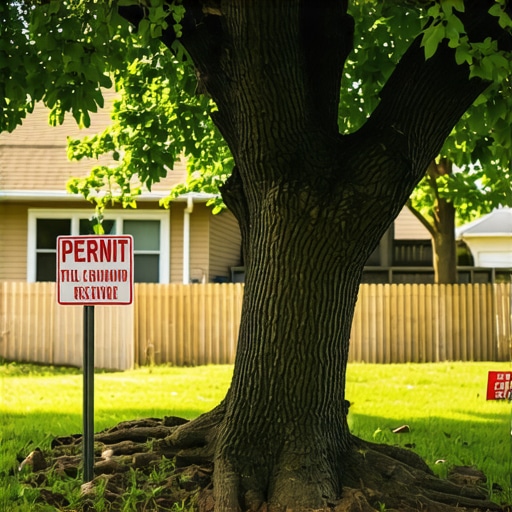
Most homeowners and even some contractors overlook the critical importance of frost depth when installing deck footings. Simply put, frost can cause the ground to heave and shift during cold months, exerting upward pressure on your foundation and leading to uneven settling or structural failure. According to the American Wood Council, improperly set footings are a leading cause of deck failures, often linked to frost heave. This is especially true in colder climates where frost penetration can reach several feet underground. Failing to follow the local frost line requirements isn’t just a technical oversight—it’s a significant safety risk and an expensive mistake.
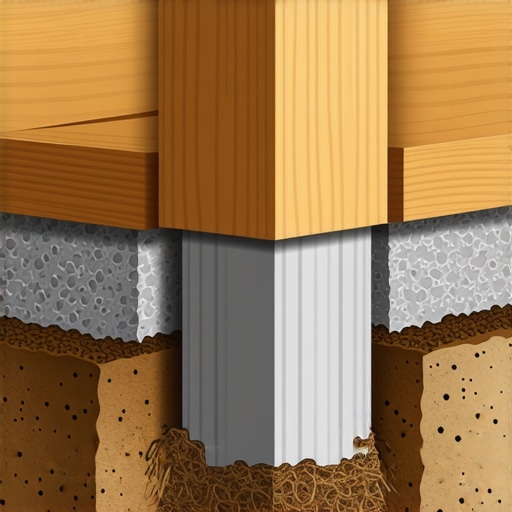
I initially thought I could just dig down a bit and save some effort, but I quickly learned that each region has a specific frost depth that must be adhered to. For example, if your area’s frost line is 36 inches, your footings need to be placed below that mark to prevent future upheaval. Not doing so can result in footings shifting, causing the deck to tilt or even collapse over time. The key takeaway is simple: knowing and following your area’s frost depth is essential for long-term stability.
To make sure you’re on the right track, I recommend checking local building codes or consulting with a structural engineer. Also, considering how the climate has been changing, it’s wise to verify the current frost line for your area rather than relying on outdated information. If you want to avoid headaches later and ensure your deck remains safe and level, you’ve got to incorporate frost line proofing from day one.
Are You Facing This Exact Problem?
If you’ve ever built or planned a deck without considering the frost line, or if you’re just curious about whether your current setup is vulnerable, you’re not alone. Many homeowners are surprised to learn that a simple oversight like this can jeopardize their entire project. Properly identifying and implementing frost-proof footing depths might seem like a small detail now, but it can save you from costly repairs—and even safety hazards—down the line. For a comprehensive approach on planning and estimating your project costs accurately, I recommend reviewing this resource.
Now that you understand why frost depth is such a critical aspect, let’s explore how to set your footings correctly and avoid the pitfalls that caught me off guard. Proper estimation and planning are the first steps toward a sturdy, long-lasting deck—ready to withstand whatever Mother Nature throws your way.
Identify Your Local Frost Depth
Begin by sourcing accurate frost line data specific to your region. I once assumed my area had a shallow frost line and started digging only to hit frozen soil at 18 inches—half of what was necessary. Visit your local building department’s website or consult a seasoned contractor to get precise measurements. This step is crucial; an incorrect depth here is like skipping the foundation in a skyscraper—disaster waiting to happen.
Gather Necessary Tools and Materials
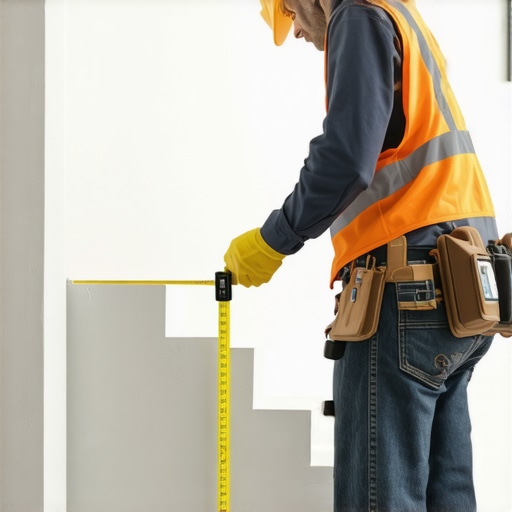
Equip yourself with a digging shovel, a measuring tape, a level, and appropriately sized footing forms. I recommend using a transit level for accuracy—my first attempt lacked precision, resulting in uneven footing heights. Solid tools make the job manageable and ensure your footings meet code specifications and align correctly.
Mark Your Footing Locations
Use stakes and string to outline the perimeter of your deck. Double-check measurements from the house to ensure proper spacing. I made the mistake of relying solely on visual estimates, leading to misalignments. Accurate marking prevents footing misplacement that could undermine the entire structure.
Excavate to the Correct Depth
Dig trenches for each footing down to the depth specified by your frost line data, adding about 3 inches of clearance below frost. Keep the excavations straight and level. I once widened a trench too shallow, which caused my footing to be above frost line—an oversight that caused deck upheaval during winter. Use a level frequently to verify consistency.
Set and Brace Your Footings
Pour a gravel bed at the base for drainage, then place your concrete forms. Tamped gravel prevents frost from lifting the footing. I struggled at first with leveling forms, leading to uneven footings. Bracing forms securely prevents collapsing during concrete pour. Take your time to ensure each form is plumb and level.
Pour Concrete and Cure Properly
Mix and pour concrete into each form, filling completely and smoothing the top. Once poured, let the concrete cure for at least 48 hours, keeping it moist. Rushing curing led to cracks in my footings, compromising stability. Proper curing strengthens the poured footing and ensures longevity.
Inspect and Confirm Compliance
After curing, verify each footing’s depth and alignment with a level and measuring tape. Cross-reference with local building codes or consulting a professional helps prevent overlooked mistakes. I found minor discrepancies after inspection; correcting them early saved headaches later. Remember, a well-executed footing sets the foundation for a safe and durable deck.
When homeowners and even some professionals embark on construction projects, there’s a common misconception that estimating costs, securing permits, and planning are straightforward tasks. However, let’s dig deeper into the nuances that often trip up even seasoned builders. The myth that detailed schedules and budgets are enough overlooks some critical pitfalls that can lead to costly overruns or project delays.
One prevalent mistake is underestimating the complexity involved in integrating new additions with existing structures. Many assume that simply extending walls or adding rooms is a matter of straightforward measurements and approvals, but in reality, nuances like load-bearing considerations, foundation adjustments, and HVAC system compatibility require advanced expertise. Ignoring these factors can result in structural issues or code violations down the line.
Additionally, there’s a widespread belief that permits are merely a bureaucratic hurdle. In fact, improper understanding of permit requirements can cause significant delays or even legal issues. For instance, failing to account for local setbacks, zoning laws, or specific building codes can invalidate approvals or necessitate costly modifications. Experts emphasize the importance of careful permit planning to avoid such pitfalls.
The ‘oops’ factor often manifests when estimators overlook hidden costs or specialized materials—like seismic reinforcements or custom foundation work—that aren’t evident at first glance. A study by the Home Builders Institute highlights that up to 30% of project costs can be unforeseen if detailed estimations aren’t performed. Relying solely on average square footage costs without adjusting for site-specific conditions is a gamble.
For the advanced reader, a key question arises: How can one accurately predict the variables that influence project costs beyond standard estimates? The answer lies in adopting comprehensive estimation strategies, such as detailed site analysis, consulting with engineers early, and leveraging technology for precise modeling. For instance, new build estimation techniques in 2025 focus on integrating geographic data, material fluctuations, and construction supply chain trends.
Avoiding these traps requires a shift from simplistic planning to strategic foresight, ensuring that every nuance—be it permit intricacies or material subtleties—is accounted for. Remember, a misstep in the early planning phase can cascade into expensive corrections later. For a robust approach, I recommend reviewing detailed guides like estimating home additions comprehensively.
Have you ever fallen into this trap? Let me know in the comments.
Keep It Running: Essential Tools for Long-Term Maintenance
Owning and managing a construction project or renovation requires more than just a solid plan—it demands reliable tools and a proactive maintenance mindset. Over the years, I’ve found that leveraging specific equipment, software, and methods not only sustains project integrity but also preempts costly issues. One of my go-to tools is the Laser Distance Measurer. Unlike traditional tape measures, laser tools like the Bosch GLM 50 C provide quick, precise measurements, especially in tight or high-up spaces, reducing human error and saving time. I use mine consistently during inspections to verify that structures retain their correct dimensions over time.
Beyond hardware, software plays a crucial role. I personally rely on PlanGrid, a construction management app that allows me to update drawings, track issues, and communicate with teams in real time. This transparency ensures everyone stays on the same page, and potential deviations are caught early—saving money and reducing project delays. As project complexity increases, tools like Procore or Buildertrend become invaluable for scaling operations without sacrificing oversight.
Regular inspections are another pillar of long-term success. I schedule quarterly check-ups using a combination of digital photos and detailed reports stored safely in cloud services like Dropbox or Google Drive. This practice helps identify wear, cracks, or misalignments before they escalate. For example, monitoring the integrity of load-bearing beams or foundation walls can prevent structural failures that are often hidden until visible damage occurs.
In terms of methodologies, maintain routine documentation of all maintenance activities and adjustments. Over time, this records your project’s health history, making troubleshooting faster and informing future projects. Incorporating a digital maintenance log—whether via a simple spreadsheet or specialized software—organizes information systematically, ensuring nothing slips through the cracks.
What’s the Best Way to Keep Your Structure Safe Over Years?
Investing in quality tools is essential, but pairing them with disciplined routine inspections makes all the difference. Don’t underestimate the power of regular visual assessments combined with technological checks; this proactive approach is the best defense against unforeseen failures. As construction technology evolves, future solutions might incorporate AI-driven predictive analytics to flag potential issues before they manifest physically. Staying current with such trends can give you a competitive edge.
To take your maintenance routines to the next level, I recommend trying out a digital moisture meter for foundation and framing inspections. These devices detect hidden water infiltration, which can cause long-term damage if ignored. Regular use of this tool, combined with your existing inspection schedule, ensures your project remains stable and safe for decades.
By integrating these specific tools, strategies, and practices into your routine, you’ll set a foundation for enduring success. Remember, ongoing maintenance isn’t just an expense—it’s an investment in the longevity and value of your work. For more detailed strategies on managing additions or complex projects, review this guide.
Reflecting on my journey with deck building, the most invaluable lesson I learned was that overlooking the frost line can jeopardize years of hard work. The biggest lightbulb moment was realizing that even a slight misjudgment in footing depth could lead to costly repairs and safety concerns down the line. Additionally, I discovered that trusting outdated local data or skipping professional consultations often results in structural vulnerabilities. Finally, embracing a meticulous, detail-oriented approach to planning—especially regarding soil conditions and climate factors—has transformed my projects from temporary fixes into enduring investments.