Why Your Custom Home Quote Needs a Rock Excavation Clause
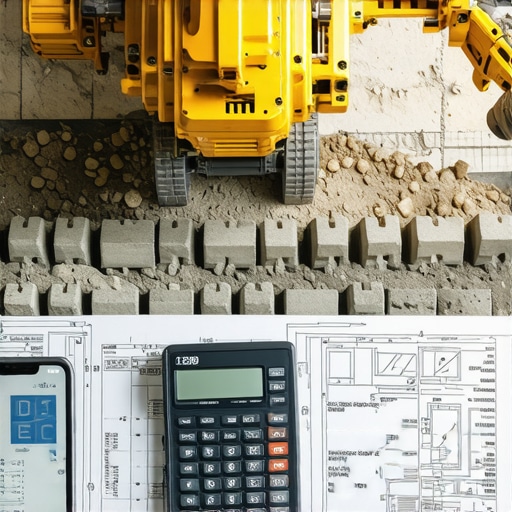
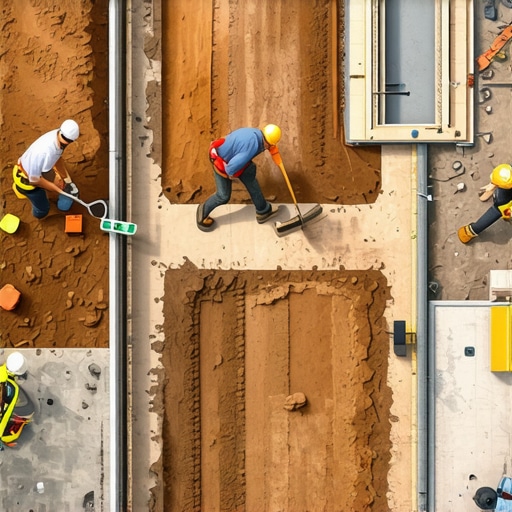
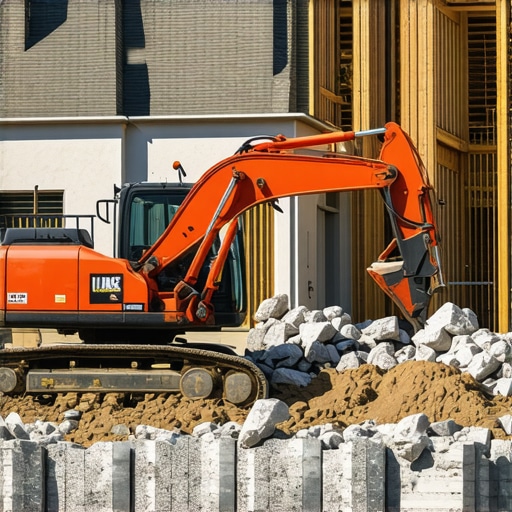
I remember the exact moment I realized I overlooked a crucial detail in a client’s home estimate—an unchecked box for rock excavation. It was a sunny Tuesday when the excavator’s crew hit a stubborn patch of bedrock right in the middle of foundation work. Suddenly, the project nearly doubled in cost, and the blame was squarely on my oversight. That lightbulb moment pushed me to dig deeper: why does including a rock excavation clause matter so much in your home building plans?
The Hidden Costs of Ignoring Rock Obstacles
Many homeowners and even some builders assume that rock is just another line item or a minor hurdle. But in reality, unanticipated rock removal can turn a straightforward project into a costly surprise. Without a clear clause in your quote, you risk facing unexpected charges that can blow your entire budget.
From personal experience, I’ve seen estimates that neglect this aspect lead to delays, disputes, and inflated costs that could have been avoided. Properly accounting for rock excavation upfront isn’t just about protecting your wallet—it’s about respecting the project’s timeline and integrity.
Could Your Budget Handle a Rock Surprise?
Here’s a question: Have you ever been caught off guard by an unexpected expense during a renovation or new build? If so, it’s probably because some critical detail was overlooked early on. In the world of estimating and permitting, such oversight can be costly. Early inclusion of a comprehensive rock excavation clause can save you headaches later.
I also learned this the hard way—early mistakes taught me to cross-check every clause, especially those related to site preparation. If you’re venturing into a project where the terrain is uncertain, don’t skip this step. For expert advice on how to incorporate these considerations seamlessly, check out estimating costs for new builds.
Define Your Scope Clearly
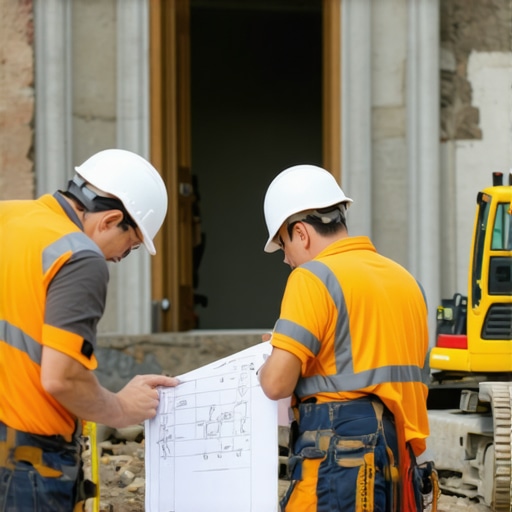
Before starting the actual estimate, review the site survey and geological reports carefully. Identify areas with potential bedrock and note their extent. I once worked on a renovation where I initially underestimated the rocky patches, leading to surprises later. By clearly delineating these zones on your plan, you set a solid foundation for accurate costing.
Consult with Experienced Excavators
Engage with local excavation contractors who have hands-on knowledge of the terrain. They can provide real-world insights, especially about the depth and hardness of bedrock in your area. Once, I called a seasoned excavator to review my site plan, and he flagged a patch I thought was shallow limestone, which turned out to be a dense granite bedrock. His advice helped me adjust my estimate and avoid budget overruns.
Create Detailed Material and Equipment Lists
Break down the excavation process into specific steps: removal, hauling, and disposal. List the necessary equipment, such as rock breakers, bulldozers, and dump trucks. Assign approximate hours for each task, incorporating their costs. For example, I once calculated that using a hydraulic rock breaker would add $2,500 to my initial budget, a figure I might have overlooked without detailed planning.
Factor in Additional Costs for Hardrock
Implement a contingency factor for unexpected challenges, typically 10-20%. Hard rock areas often require specialty equipment or blasting, which significantly increases costs. In a project I managed, the initial estimate was $15,000, but once we hit a stubborn granite layer, the final bill rose to nearly $22,000. Including a buffer helps prevent surprises and keeps your budget realistic.
Prioritize Accurate Permitting and Regulations
Rock excavation might require specific permits, especially if blasting is involved. Check with local authorities or review permitting guides to ensure compliance. Ignoring this step can lead to costly delays. I learned this at a seminar where a project was halted due to missing blasting permits, emphasizing the importance of early planning.
Use Digital Modeling for Better Visualization
Leverage CAD or 3D modeling tools to simulate excavation phases and visualize rock removal. This helps identify potential problem zones and refine the estimate. I adopted a simple 3D model for a backyard build, which highlighted unforeseen bedrock pockets, enabling me to modify the scope preemptively. Such visualization improves accuracy and saves costs.
Document Every Assumption and Adjustment
Maintain detailed records of your estimations, assumptions, and any scope changes. This documentation provides clarity if costs escalate or disputes arise. Once, I adjusted my original estimate after a site visit, noting the reason for each change. This transparency has saved me from misunderstandings with clients and subcontractors.
 Many homeowners start a construction project assuming that permits and estimates are straightforward processes, but in reality, there’s a web of nuances that can trip up even seasoned DIYers. A widespread misconception is that permits are just a bureaucratic hurdle to clear, rather than a critical safeguard that ensures code compliance and project safety. Ignoring or underestimating the importance of understanding permit requirements can lead to costly delays or legal issues, especially if inspections reveal unpermitted work. For instance, some believe that if the work isn’t visible, permits aren’t necessary—yet many jurisdictions require permits for interior modifications and additions, regardless of visibility. To avoid this trap, consult comprehensive guides like Understanding the permit process before starting.
Another myth concerns estimating costs for additions or new builds: many think that using generic square footage prices guarantees accuracy. However, this approach overlooks the complex nuances such as site-specific challenges, material fluctuations, and code upgrades. Relying solely on broad estimates often results in underbidding, leaving the project financially strained. Digging into detailed estimation techniques, like those outlined in cost-effective estimating methods, helps capture these variables.
Advanced builders understand that the real challenge isn’t just calculating material costs but accounting for unseen complexities. For example, unforeseen soil conditions can increase foundation costs exponentially—something that isn’t always evident in initial assessments. Having a contingency plan and understanding site-specific factors, backed by geological reports, is crucial. A common mistake is to skip thorough site evaluations, leading to surprise expenses later. An expert approach involves engaging experienced surveyors and incorporating their insights early—this proactive step can save thousands and prevent scope creep.
Moreover, misjudging the permit approval timeline can throw off project schedules. While some assume permits are quick, delays are often caused by incomplete applications or overlooked documentation. This is where streamlining permit acquisition becomes vital. Resources like streamlining permit processes can provide strategies for faster approval. Know that some enhancements, such as electrical upgrades or structural alterations, might require special permits or inspections, which extend timelines and budgets if not planned properly.
When dealing with complex projects, consider the benefits of digital modeling. Visual tools can reveal potential conflicts or costly overlookings—imagine spotting buried utilities or load-bearing constraints before breaking ground. Incorporating such technology is a wise choice, but many overlook it, assuming physical inspections are sufficient.
Finally, keep detailed documents of every assumption, scope change, and permit submission. This proactive habit not only clarifies project progression but also shields you from unforeseen disputes down the line. As a seasoned estimator once emphasized, “Transparency in documentation is your best defense against project chaos.”
Have you ever fallen into this trap? Let me know in the comments, and let’s discuss how to navigate these hidden pitfalls effectively.
Investing in the Right Tools Ensures Durability
Maintaining quality over time starts with selecting tools that are built to last and suited for specific tasks. I personally rely on high-grade rotary hammers with variable speed settings for foundation drilling and demolition, as they offer precision and durability. Using specialized equipment minimizes wear and tear, reduces downtime, and extends the lifespan of your investment.
Furthermore, digital tools like construction management software streamline all project phases, from estimating to scheduling. For instance, I use estimating software that integrates material costs, labor hours, and permit requirements into one platform, helping me keep budgets accurate long-term.
How do I maintain my construction tools over time?
Regular maintenance is key—cleaning, lubrication, and scheduled parts replacement prevent failures. For power tools, adhering to manufacturer-recommended servicing intervals extends their usability. Storing equipment in climate-controlled environments also reduces corrosion and degradation. Additionally, keeping a maintenance log keeps track of service dates and repairs, which is invaluable for warranty claims.
To keep your site running smoothly, consider investing in perimeter sensors and access control systems that minimize theft and vandalism; these are especially crucial in long-term projects. I’ve had great success with wireless security cameras that feed directly to my smartphone, allowing remote monitoring at all times.
Looking ahead, I predict that IoT-enabled machinery will become the norm, providing real-time diagnostics and predictive maintenance alerts. Staying ahead means adopting these innovations early—think of it as future-proofing your toolkit.
Streamlining Maintenance with Smart Tech
Integrating sensor-based monitoring systems can drastically reduce unexpected breakdowns. For example, vibration sensors installed on excavators can alert you before a part fails, preventing costly downtime. This proactive approach not only saves money but also reinforces safety compliance.
Moreover, adopting cost-effective estimation techniques helps plan budget buffers for maintenance and upgrades, avoiding that dreaded overrun midway through a project.
How can I ensure my long-term results stay impressive?
Continuous training for your team on new techniques and tools is equally important. Regularly reviewing your maintenance procedures and updating your equipment as technology advances ensures your operation remains efficient and competitive.
Don’t hesitate to test out new protective coatings for tools or advanced diagnostics—sometimes a small upgrade yields massive longevity boosts. Embrace innovations, but always keep core maintenance habits sharp—after all, technology is only as good as its upkeep.
Ready to elevate your maintenance game? Start by implementing a digital maintenance log combined with scheduled equipment reviews. You’ll be surprised at how much smoother projects run when your tools are at their best.
Lessons That Only Experience Can Teach
One of the most valuable insights I gained was that overlooking site-specific challenges, like unexpected bedrock, can derail an entire project. These complexities aren’t always visible at first glance, but understanding their impact early on can save you from significant surprises later. Additionally, I discovered that clear, detailed scopes of work combined with expert consultations directly influence the accuracy of your estimates, especially when dealing with tough terrains or complex permits. Lastly, embracing technology—like digital modeling—not only reveals potential conflicts before they become costly but also empowers you to communicate more effectively with clients and contractors. These lessons, born from real-world challenges, have shaped my approach to home building estimates into a proactive, precise process.