Why Your Custom Home Foundation Needs a Perimeter Drain Tile
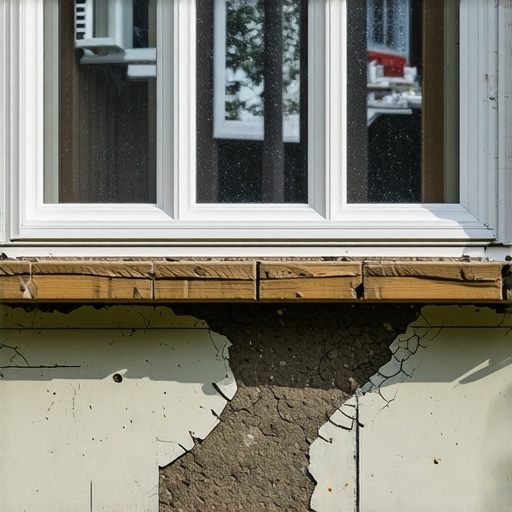
I remember the exact moment I realized I had overlooked something crucial in my own home build—a moment of silent frustration that grew into a lesson I won’t forget. It was after the first heavy rain, when water started seeping in around the foundation, despite what I thought was a sealed, well-designed structure. That lightbulb moment taught me that even the most robust-looking foundations can be vulnerable without proper drainage. Have you ever faced unexpected water issues during a storm or after heavy rain at your site? If so, you’re not alone.
The Hidden Danger of Neglecting Perimeter Drain Tiles
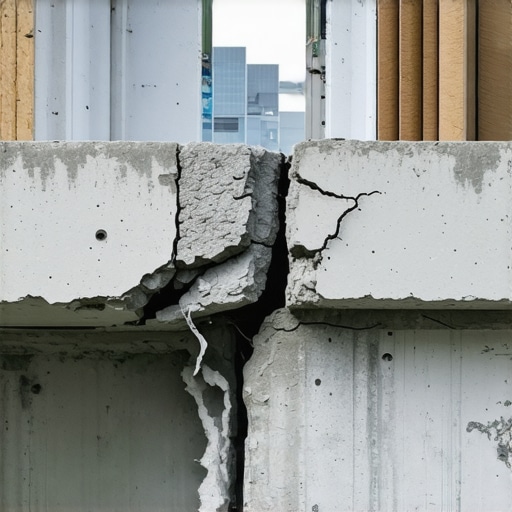
Many homeowners and even construction enthusiasts underestimate the importance of installing a perimeter drain tile around the foundation. It might seem like an unnecessary expense or an optional detail in the grand scheme of building a home. But let me tell you, neglecting this step can lead to costly repairs and serious structural problems down the line. Proper drainage isn’t just about keeping your basement dry; it’s about safeguarding your home’s foundation from water pressure that can cause cracks, shifts, or worse. According to the U.S. Census Bureau, water infiltration accounts for nearly 60% of basement problems, many of which could be prevented with effective drainage solutions.
Is Perimeter Drain Tile the Hype Worth?
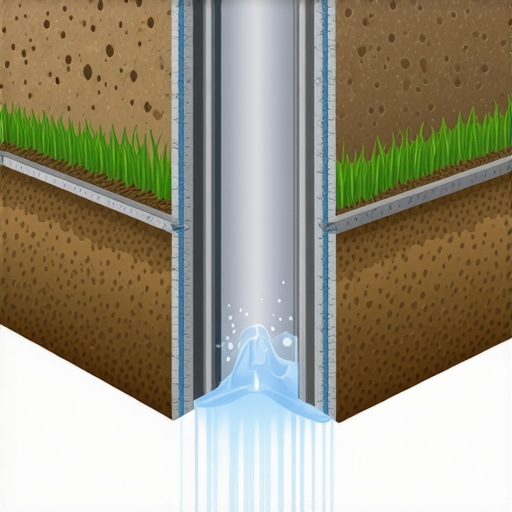
Early in my project, I made the mistake of thinking I could skip the drain tile because my site was on a slight hill. Turns out, gravity isn’t always enough when underground water levels fluctuate—especially with changing weather patterns. When water isn’t properly diverted, it accumulates around the foundation, exerting pressure that can cause costly damage over time. Installing a perimeter drain tile creates a clear pathway for water to flow away from your home, reducing hydrostatic pressure and preventing water intrusion.
If you’re wondering whether it’s worth the investment, consider this: a good perimeter drain tile can save you thousands in future repairs and keep your living space comfortable and dry. For detailed guidance on how to approach your drainage setup, I recommend checking out [this resource](https://constructionedgez.com/adding-value-with-ext…). It covers the benefits and installation tips that can help you make an informed decision.
In the sections ahead, we’ll go over exactly why this small detail packs a punch and how you can ensure your foundation gets the protection it needs from day one.
Lay the Groundwork for Effective Drainage
Start by surveying your property to identify low points and water flow patterns. Clear the area of debris, rocks, and vegetation to prepare for excavation. Mark the perimeter where the drain tile will be installed, ensuring it follows the foundation’s contours for optimal water diversion. I once overlooked this step, which led to misaligned piping and eventual water pooling; a simple site survey would have prevented that mistake.
Excavate the Foundation Edge Correctly
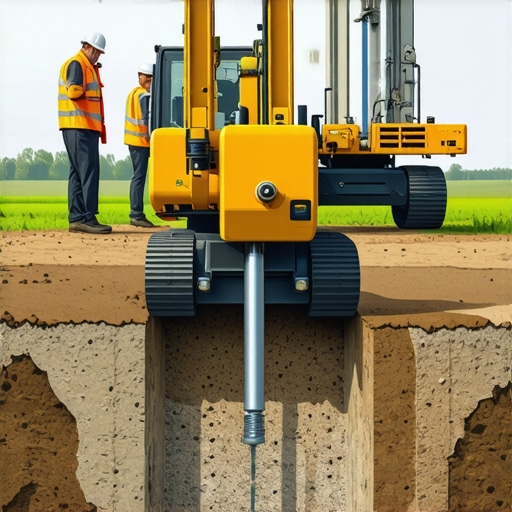
Dig a trench around the foundation, typically 6-12 inches wide and deep enough to accommodate the pipe and gravel bedding. Use a level to ensure the trench slopes away from the house at a consistent rate, generally 1% grade (1 inch per 10 feet). I remember using a laser level for precision, which made the slope uniform, avoiding water stagnation. Any uneven slope risks water backing up into the foundation, so accuracy here is crucial.
Prepare the Trench Bed for the Pipe
Lay a bed of crushed gravel about 2-4 inches deep at the trench bottom. This provides drainage and stabilizes the pipe. Place filter fabric over the gravel to prevent soil ingress that can clog the pipe. I once skipped the filter fabric; within a year, roots and soil had infiltrated the gravel, severely reducing the drain’s effectiveness. Ensuring a proper bedding and fabric is vital for long-term durability.
Install the Drain Tile System Efficiently
Place the perforated pipe in the trench, making sure the holes face downward for optimal water collection. Connect sections securely, and ensure the pipe maintains the slope. Cover the pipe with more gravel, extending at least 6 inches above. Run the fabric over the gravel to seal it from soil and roots. During my last project, I used flexible pipe connectors and meticulous tape sealing, which prevented leaks and made future inspections easier.
Backfill with Care and Verification
Backfill the trench with soil in layers, gently tamping each to prevent future settling. Avoid sharp objects and large rocks that can damage the pipe. Verify the slope visually or with a level during backfilling. In my recent install, I marked the pipe’s level at various points before covering, ensuring the grade didn’t shift. Proper backfilling preserves the flow path and extends the system’s lifespan.
Final Checks and Maintenance
After installation, test the system by running water near the foundation to observe flow and identify any blockages or misalignments. Regularly inspect the surface above the drain for signs of clogging or pooling, especially after storms. During my last review, adding a cleanout access point proved invaluable for maintenance, making troubleshooting straightforward.
Consistency and attention to detail during each step ensure your drainage system remains effective for years. For comprehensive insights into related procedures or estimating costs, explore [this detailed guide](https://constructionedgez.com/the-complete-guide-to-permitting-for-new-builds-and-additions). Staying precise and methodical saves money and prevents future headaches, much like my own experience with water intrusion taught me early on.
While many professionals and DIY enthusiasts focus on the obvious steps of obtaining permits and estimating costs, there’s a layer of nuance that often goes unnoticed, leading to costly mistakes or project delays. One common myth is that permits are just a bureaucratic hurdle, but in reality, they serve as essential safeguards for structural integrity and safety. Overlooking the specifics of permit requirements, such as local zoning variations or special inspections, can result in penalties or forced redesigns. For instance, some assume that permits automatically cover all facets of a project, but nuanced exceptions—like conditional approvals or phased permits—must be understood to avoid surprises.
A significant error in estimating is relying solely on generic square footage-based costs without accounting for unique site conditions, material fluctuations, or labor market shifts. Advanced estimators know that without factoring in these contextual variables, the project budget may be under- or over-allocated, leading to financial strain. Engaging with comprehensive guides, such as [this step-by-step estimating resource](https://constructionedgez.com/how-to-accurately-estimate-costs-for-home-improvements), can help uncover these nuances.
**Why do so many underestimate the complexity involved in new builds and additions?** It’s often because they focus on the visible elements—materials, clearances, and basic permits—while neglecting hidden costs like utility upgrades, foundation reinforcement, or unforeseen site conditions. A perfect example is misjudging the time and expense needed for utility connections, which can vary dramatically by region and existing infrastructure. According to industry expert insights, neglecting these subtle details can cause cascading delays and budget overruns.
Additionally, a common trap is believing that permitting is a one-and-done process. In fact, permits often require ongoing compliance checks, plan revisions, and possibly additional approvals if scope changes occur mid-project. This emphasizes the need for proactive communication with authorities, as detailed in [permitting best practices](https://constructionedgez.com/navigating-permit-requirements-for-additions-in-2025). Ignoring these steps can turn a smooth project into a bureaucratic nightmare.
In my experience, a key advanced mistake is failing to incorporate contingency planning for these hidden factors. A detailed contingency budget—typically 10-20% of total costs—can buffer against unexpected issues like permit delays or material price hikes. Without this, even the most meticulously planned project can face setbacks.
Have you ever fallen into this trap? Let me know in the comments! Remember, digging deeper into permit and estimation nuances isn’t just about avoiding fines—it’s about safeguarding your project’s success from start to finish.Maintaining a construction project requires more than just initial planning; it involves ongoing management, precise tools, and a meticulous approach to adaptation over time. Personally, I rely on a blend of software and physical equipment that have proven their worth in various stages of my projects. For instance, I use **Buildertrend**—a cloud-based construction management software—for schedule tracking, change order management, and real-time communication with subcontractors. It streamlines coordination and minimizes delays, which are often caused by miscommunication or overlooked details. I’ve found its mobile app particularly useful for quick updates on-site, especially when I need to verify if tasks are progressing according to plan.
Another game-changer is **Laser Measure Tools** like the Bosch GLM 50 C. Unlike traditional tape measures, laser tools offer instant, accurate distance measurements up to 165 feet, reducing errors caused by manual measurement. During foundation inspections or when verifying planned layouts, having this device at hand helps me ensure every element stays true to the design. The precision and speed are critical in avoiding costly rework later.
For ongoing site evaluation, I favor **Infrared Thermal Cameras**, such as FLIR E6 or E8. These cameras help detect moisture intrusion, insulation gaps, or electrical hotspots—issues that aren’t visible to the naked eye but can compromise long-term structural integrity or energy efficiency. Using thermal imaging early in the project guarantees that problems are caught before they escalate, saving both money and stress.
In terms of maintenance long after construction, I recommend adopting a **Digital Inspection Log**—a dedicated file or app where all system checks, maintenance dates, and repairs are documented. This habit ensures that everything functions properly over the years, especially as systems age or conditions change.
Looking ahead, I believe the trend is moving toward more integrated smart management systems that combine digital tools with IoT sensors. These innovations will predict wear and tear, notify owners of necessary maintenance proactively, and optimize energy use—making construction and home management more efficient and sustainable.
**Ever wondered how to keep projects running smoothly over the years?** One effective method is to establish a routine for equipment calibration and system testing, especially for critical tools like laser measures or thermal cameras. Regular checks prevent inaccuracies and ensure your project remains on course from start to finish.
Implementing these specialized tools may seem like an investment upfront, but their impact on quality assurance and long-term performance is undeniable. Start by integrating a laser measure into your toolkit—it’s a small step that offers big benefits. For more detailed strategies on maintaining your construction systems, check out [this advanced guide](https://constructionedgez.com/your-project-maintenance-to-ensure-long-term-success).
When I first embarked on my home build, I believed I had prepared thoroughly, only to face surprises that reshaped my understanding of construction essentials. My journey taught me that even small, overlooked details can have significant long-term impacts—especially in permit processing, estimating, and ensuring the durability of a new build.
What I Wish I Knew Before Burning Permits and Budget
One of my biggest lightbulb moments was realizing that permits aren’t just paperwork—they’re safeguards for your project’s success. Skipping or rushing permit application processes can lead to costly delays and legal headaches. I learned early on that understanding local permit nuances, which you can explore in detail at this resource, can save a ton of frustration.
Estimating costs without accounting for site-specific variables can leave you underfunded. I used to rely on generic estimates but found that including contingencies and site assessments, as explained in this guide, prevented unwelcome surprises down the line.
Tools That Changed How I Managed My Build
Investing in tools like a laser measure and thermal camera became game-changers. They allowed me to verify accurate measurements and detect hidden moisture issues early, saving time and money. These tools, recommended in this article, ensure you maintain quality throughout each stage.
Embracing technology and precise methods turned my project from a stressful ordeal into a learning experience I cherish. Remember, the key is continuous learning and not being afraid to ask professionals or dive into resources that demystify complex steps.
Harnessing Knowledge for Future Builds
The lessons I’ve learned underscore the importance of thorough research, planning, and embracing the right tools. Whether it’s permit navigation, accurate estimating, or selecting the best drainage solutions, each detail contributes exponentially to the project’s success.
Taking the time to deepen your understanding now can prevent expensive mistakes later. Think of your build as an ongoing education—every step offers a chance to refine your approach and build confidence.
Share Your Experiences and Keep Growing
Have you ever faced a hidden obstacle that changed how you approach permit processes, estimation, or installation? Your insights and stories can inspire others to build smarter. Join the conversation below and share what you’ve learned along your journey.