The Wind Rating Rule for Pool Cages and Screened Enclosures
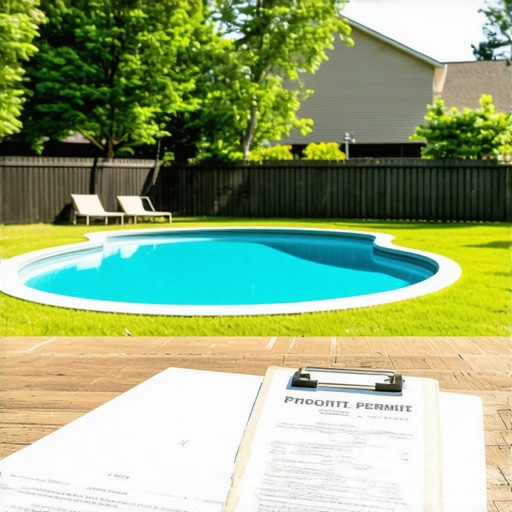
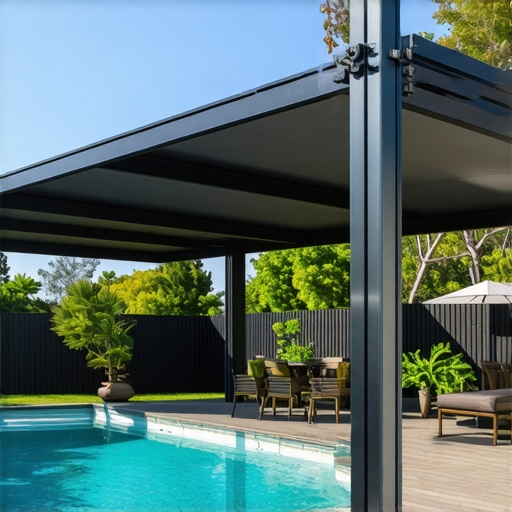
It hit me during a breezy afternoon, watching my new pool cage sway more than it should. I realized I’d overlooked a crucial detail: the Wind Rating Rule. That light gust had revealed a potential problem I hadn’t even considered—how local codes can unexpectedly complicate backyard plans. Ever found yourself scratching your head over permit requirements or wondering if your structure will pass inspection? You’re not alone. I’ve been there, and that’s why I want to share what I’ve learned about navigating the Wind Rating Rule, so your project doesn’t turn into an unnecessary headache.
Why the Wind Rating Rule Can Make or Break Your Pool Enclosure
Before I dove into my own project, I thought straightforwardly about building a sturdy screened enclosure. But the moment I started planning, I stumbled over the Wind Rating Rules that regulate how much wind pressure your structure must withstand. These codes exist because the last thing anyone wants is a half-built cage flying into their neighbor’s yard during a storm. Interestingly, according to the American Society of Civil Engineers, building codes are primarily based on the wind speeds experienced in different regions, which can vary widely. Failing to account for these factors could mean costly modifications or, worse, structural failure.
Initially, I made the mistake of assuming that my existing design was sufficient. I didn’t realize that local regulations require structures to meet specific wind load standards. This oversight could have delayed my project and increased costs significantly. To avoid that mistake, I started researching how to properly estimate the wind load for my screened enclosure. Improving my understanding, I uncovered that many homeowners and even some contractors underestimate the importance of these rules, leading to potential safety issues and permit denials.
Knowing the Wind Rating Rule isn’t just a bureaucratic hurdle; it’s a safety measure. It ensures your screened enclosure stays put during fierce winds, protecting your family and your investment. Understanding these requirements will help you plan smarter, save money, and most importantly, keep your backyard safe. Are you facing uncertainties about your local wind code or permit process? Don’t worry—we’re about to break down exactly how to approach this so your project sails smoothly. Let’s dive into the practical steps that will help you navigate these regulations confidently and avoid the common pitfalls I encountered.
Assess Local Wind Loads with Precision
Start by researching your local building codes and wind zone classifications. Use resources like the permit process guides to understand the specific wind speed requirements in your area. I once looked up my region’s wind maps and found that my neighborhood fell into a high wind zone, which mandated a more robust enclosure design, preventing potential future failures.
Estimate Structural Loads Accurately
Next, calculate the wind pressure your structure must withstand. Think of it like inflating a tire—you need the right pressure to avoid a blowout. Use online calculators or consult local code tables to determine the necessary uplift and lateral load capacities. During my project, I referenced the estimation insights to ensure my structure could handle storm gusts, avoiding costly rework later.
Select Appropriate Materials and Design
Choose materials rated for high wind conditions—such as galvanized steel framing and heavy-duty fasteners. Incorporate design features like reinforced braces and storm anchors. I learned that skipping this step could risk damage or making my project non-compliant. For detailed guidance, check out addition value techniques to see how strategic material choices bolster safety and compliance.
Document and Incorporate Code Compliance into Plans
Develop detailed plans that explicitly address the wind load requirements. Include specifications for materials, anchoring methods, and construction techniques. When I submitted my plans for approval, clearly documenting how I met the wind standards facilitated a smoother permit process, reaffirming the importance of thorough documentation. For an in-depth walkthrough, see permit process understanding.
Conduct Responsible Testing and Site Inspections
Once built, perform or schedule inspections to verify everything aligns with design specs and code requirements. Think of it as a final safety check—similar to a car’s inspection before a long journey. I personally requested an inspection after completion, which helped me resolve small discrepancies early. Employ resources like permit tips for comprehensive guidance on inspections.
Monitor for Storm Readiness and Maintenance
Finally, stay proactive by inspecting your enclosure periodically, especially before storm seasons. Reinforce fasteners as needed, and ensure the design remains compliant with any updated codes. After my first major storm, I found a few fasteners had loosened, which I promptly resecured. This ongoing vigilance extends the lifespan of your structure and maintains safety standards.
 Many homeowners assume that obtaining permits and estimating costs are straightforward steps in a construction project. However, the truth is, these processes are riddled with nuances that can trip up even experienced DIYers. One common misconception is believing that permits are merely a formality—when in reality, they involve complex compliance checks that, if overlooked, can cause delays or even legal issues. For instance, failing to account for local zoning variables or misunderstood setback rules can lead to costly redesigns or permit denials, as highlighted in expert guides like those found at comprehensive permit guides.
Similarly, many underestimate the intricacies of accurate estimation. There’s a popular myth that rough budget figures suffice; yet, as I’ve learned from top estimating strategies, over-simplified estimates often lead to budget blowouts. Advanced homeowners know that detailed, itemized estimates that incorporate hidden costs—like permit fees, design contingencies, and unanticipated site conditions—are crucial for a realistic picture.
A big trap I encountered involved underestimating the importance of site-specific factors. For example, properties with high water tables require more extensive drainage planning and foundation sealing, impacting both costs and timelines. Ignoring such nuances is a recipe for ‘oops’ moments that stall projects and escalate expenses. Experts warn that neglecting to thoroughly evaluate the site and consult specialists can result in structural issues down the line, as discussed in qualitative studies like those on cost estimation.
What about the common mistake of relying solely on online calculators or generic cost lists? While useful as starting points, they rarely account for regional variability, code differences, or material fluctuations. Instead, leveraging local contractor insights and detailed market research ensures your estimate reflects real-world conditions. For instance, a study from the industry experts emphasizes site-specific adjustments in estimating processes.
Finally, advanced builders and homeowners recognize that effective permit management and precise estimation are ongoing processes—not one-time chores. Regular updates, site inspections, and staying informed about changing codes are essential. Failing to do so can lead to costly rework or compliance failures, especially in regions with rapidly evolving building standards. Remember, the more you know about these hidden nuances, the smoother your project will run.
Have you ever fallen into this trap? Let me know in the comments.Keeping your construction projects in peak condition requires more than just a solid initial plan. Investing in the right tools and establishing effective maintenance routines can extend the lifespan of your structures, ensure safety, and save you money in the long run. One staple in my toolkit is a digital moisture meter, like the Tramex Moisture Encounter, which I use to monitor wood framing and prevent mold issues over time. Regularly checking moisture levels helps catch potential problems early, especially in humid environments where wood can deteriorate unnoticed. Additionally, hardware such as high-grade fasteners and corrosion-resistant brackets are crucial for maintaining structural integrity, especially in exterior applications. Using materials rated for local weather conditions guarantees your build withstands seasonal stresses. For ongoing maintenance, I recommend setting quarterly inspections—likening them to a health check for your structures. During these checks, tighten fasteners, inspect seals, and verify weatherproofing measures. Employing digital project management tools like Buildertrend or CoConstruct can streamline tracking maintenance tasks and documentation, making it easier to stay on top of everything. Looking ahead, trends are shifting toward IoT-enabled sensors that monitor structural health in real-time, predicting issues before they become visible. Imagine a future where your home not only signals a needed repair but predicts it. To get started today, try integrating a basic moisture meter into your routine. It’s a small step that pays off by preventing costly repairs down the line.
How do I maintain structures over time without turning it into a full-time job?
Schedule regular, manageable inspections and use reliable tools to catch potential issues early. Remember, proactive upkeep saves money and preserves safety. If you’re interested in making your maintenance more efficient, explore integrated monitoring systems that can alert you to problems remotely—these innovations are becoming more accessible and affordable, according to industry experts at construction management resources. Start small: set reminders for quarterly checks, and prioritize critical components like roofing, seals, and fasteners. Over time, the cumulative benefit is substantial, leading to durable, safe structures that stand the test of time.
Looking back, the most profound insight I gained about permit, estimating, additions, and new build projects was the importance of embracing the unexpected. One of the hardest lessons I learned was that local codes, like the Wind Rating Rule, aren’t hurdles to overcome but safeguards to respect. They can be a game-changer, revealing overlooked vulnerabilities and prompting better planning before pouring concrete or fastening framing. My advice: view these regulations as allies in creating resilient structures rather than obstacles. Understand that every bolt tightened and every permit approved inches you closer to peace of mind when storms roar in. The key is to approach permit and estimating processes with curiosity and tenacity—qualities that can turn potential setbacks into opportunities for smarter, safer builds.