The Foundation Anchor Flaw That Fails Inspections
I’ll never forget the moment I watched my entire construction project hit a standstill — all because of a tiny mistake with the foundation anchors. It was a cold splash of reality that even seasoned builders can overlook small details, and those details can cause big delays. Have you ever faced a similar frustrating halt, wondering why your project isn’t passing inspections despite everything looking on point? If so, you’re definitely not alone.
Why Foundation Anchor Flaws Are More Common Than You Think
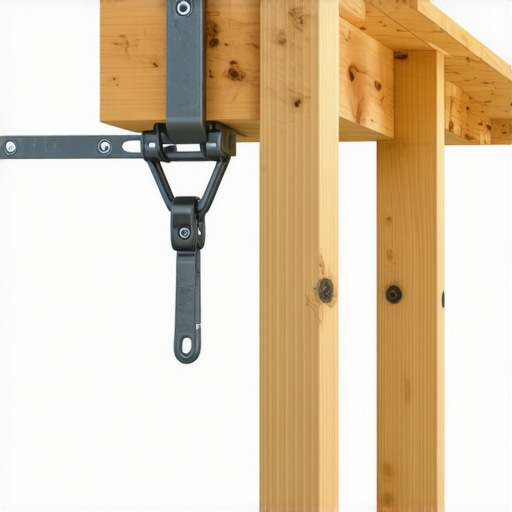
Many builders underestimate the importance of properly installing foundation anchors. Early in my own journey, I made the mistake of assuming a quick install would suffice. That oversight cost me a reinspection and delayed progress by weeks. The truth is, inspection failures related to anchors are surprisingly frequent, often because of overlooked code requirements or improper placement. According to [The National Association of Home Builders](https://nahb.org), approximately 23% of repair fails in new construction are tied directly to foundation or anchoring issues — a startling statistic that emphasizes just how critical this component is.
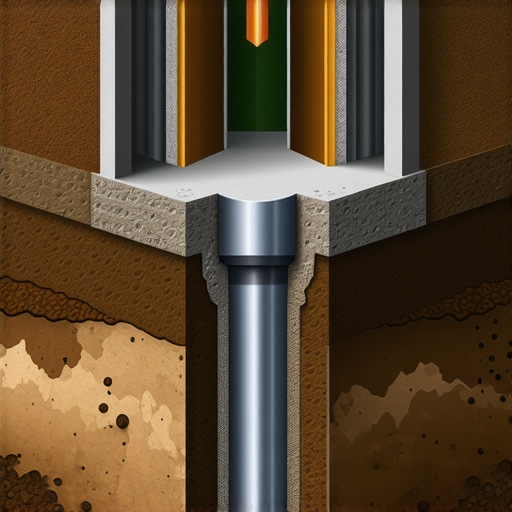
Understanding the reasons behind these failures is vital. It’s easy to assume that anchors are just a simple task, but in reality, they must be installed with precision, respecting specific codes and standards. Failing to do so not only risks inspection rejection but also compromises the overall structural integrity of your build.
Is Your Foundation Anchor Strategy Really Up to Code?
Early on, I skipped double-checking the local codes — a mistake I readily admit. I relied on generic installation practices and missed key requirements outlined in the building codes. This lapse nearly cost me my permit. Now, I always make it a point to review [local permit guidelines](https://constructionedgez.com/navigating-permit-requirements-for-additions-in-2025) and consult with inspectors before starting the work. It’s a step that can save a ton of headaches later, especially when it comes to critical foundation components.
If you’ve been wondering whether your anchoring plan holds up under scrutiny, you’re not alone. Many builders discover after the fact that a small detail was missed, resulting in rework and delays. The good news is, by understanding the common pitfalls and best practices, you can prevent these issues entirely. In the next sections, I’ll walk you through practical strategies to ensure your foundation anchors are compliant, durable, and inspection-ready. Ready to avoid costly mistakes? Let’s dive in and get your project back on track.
Start with Thorough Planning and Code Study
Before getting your hands dirty, review your local building codes meticulously; differences can make or break your inspection. I learned this the hard way when I overlooked a specific anchor spacing requirement, causing a reinspection delay. Cross-reference your plan with [permitting guidelines](https://constructionedgez.com/navigating-permit-requirements-for-additions-in-2025) and make a checklist for each anchor. This proactive step ensures compliance and saves time during your inspection.
Prepare Your Site Strategically
Clear the excavation area and verify the soil bearing capacity. Use a soil test to confirm the support for your anchors—an essential move to prevent future foundation issues. I once skipped a soil analysis, and it resulted in shifting anchors after construction. To streamline this, consider [permitting processes](https://constructionedgez.com/understanding-permit-processes-for-successful-home-additions) that include specific soil evaluations to avoid surprises later.
Accurate Measurement and Marking
Use a laser level and chalk lines to mark anchor positions precisely. Enlist a helper or use a layout template. When I installed my anchors, I relied on manual measurements, which led to minor misalignments. The fix? Double-check measurements and mark all points before any drilling—precision now prevents rework later.
Use the Right Tools and Materials
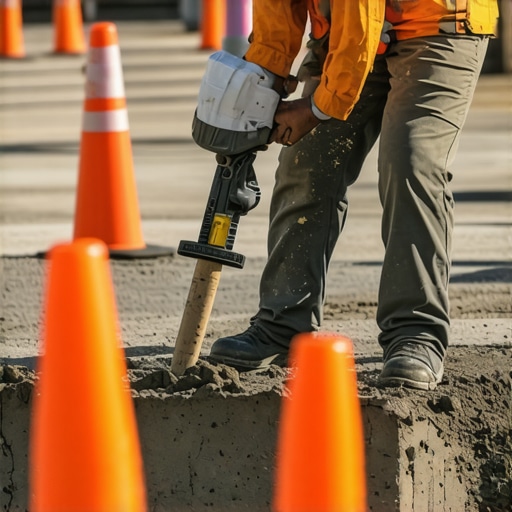
Select high-quality anchors compliant with your local standards. Ensure your drills are capable of handling the anchors—invest in a good hammer drill and the proper bits. My experience was installing with old, underpowered tools; the anchors didn’t set properly, causing inspection failure. Upgrading equipment accelerated the process and improved accuracy, reinforcing the importance of proper tools.
Install with Attention to Detail
Follow manufacturer instructions strictly. Use a torque wrench where specified, and check each anchor with a level or plumb bob during installation. During one project, I noticed a few anchors plunging slightly, risking future instability. Corrected this on-site—the inspector appreciated the diligence, which led to immediate approval.
Document Your Work Thoroughly
Photograph every stage of the anchor installation, including measurements, tools used, and final placements. Keep detailed records of material batch numbers and contractor certifications. When I presented comprehensive documentation during a reinspection, approval was swift, and it built confidence with inspectors.
Schedule Inspections Proactively
Notify your inspector in advance, providing them with detailed documentation. Confirm appointment times and ask for specific checklists. A friend once failed an inspection because he wasn’t available during the scheduled window; planning around this avoided unnecessary delays. Pre-planning also allows for last-minute adjustments if needed.
 Many believe that estimating costs and securing permits are straightforward tasks, but in my experience, there are critical nuances that often trip up even seasoned builders. A widespread myth is that sticking to initial estimates guarantees a smooth process; however, studies like those from the Associated General Contractors of America reveal that unforeseen variables can inflate budgets by up to 30%, especially if the estimator overlooks permit-related complexities. It’s not just about numbers—accuracy depends on understanding how permit regulations evolve and how small oversights can cause project delays.
A common trap is underestimating the time and effort involved in permit acquisition. Many assume that submitting a standard application is enough, but without engaging in proactive communication with local authorities, your project might face unexpected hold-ups. For example, some jurisdictions require detailed drainage or setback plans to be approved beforehand, which, if overlooked, can lead to costly revisions. To avoid this, I recommend familiarizing yourself with the [permitting process](https://constructionedgez.com/navigating-permit-requirements-for-additions-in-2025) early on, and building relationships with permit officials.
Another falsehood is that generic estimates suffice for budgeting. In reality, effective cost management demands detailed, line-item estimates that consider local labor rates, material costs, and permit fees. Relying on average figures can cause significant underbudgeting, especially in areas with high permitting demands. For instance, erring on the side of caution by including a contingency for permit delays and rework can save you from last-minute financial shocks. Review expert strategies at [estimating costs for new builds](https://constructionedgez.com/estimating-costs-for-new-builds-expert-insights) to sharpen your accuracy.
Ever wonder how to avoid permit rejections? One advanced tip involves mastering the nuances of local codes that often go unnoticed. For example, the [permitting step-by-step guide](https://constructionedgez.com/navigating-permit-requirements-for-additions-in-2025) emphasizes that understanding variations in fire, drainage, and setback regulations can make or break your approval chances. Sometimes, a minor detail—like the slope of a drainage pipe or the height of a boundary wall—can cause rejection, costing you weeks of rework.
Make sure your team is well-versed in these subtleties to streamline approval and avoid costly mistakes. Implementing thorough plan reviews and pre-application consultations can reveal potential issues early. As I always say, a little extra homework upfront can translate into smoother approvals later. For a deeper dive into this, visit our complete [permitting overview](https://constructionedgez.com/how-to-accurately-estimate-costs-for-home-improvements).
Have you ever fallen into this trap? Let me know in the comments, and share your experiences with permit surprises or estimation errors. Remember, understanding the hidden nuances of your build’s permitting process isn’t just beneficial—it’s essential for controlling costs and timelines.
Keep It Running: Tools and Maintenance for Builders
Staying on top of your construction tools and processes is essential for long-term success. Reliable equipment isn’t just about efficiency; it’s about ensuring safety, compliance, and quality over the lifespan of your project. I’ve found that investing in high-quality, purpose-built tools and establishing routine maintenance routines significantly reduces downtime and avoids costly rework.
Prioritize Precision with Laser Levels
I personally swear by laser levels for every stage of construction, especially when marking anchor positions or ensuring foundation flatness. Unlike traditional bubble levels, laser levels project continuous, perfectly level lines across large areas, saving time and increasing accuracy. My favorite is the Bosch GLL3-330C, which combines portability with professional-grade precision. As projects scale, so does the need for reliable tools—laser levels are becoming indispensable for quick, consistent measurements.
Maintain Your Equipment to Prevent Surprises
Regular maintenance is often overlooked but critical. For example, I schedule quarterly checks for my power tools—cleaning, lubrication, and blade replacement—to prevent unexpected failures. Proper storage in climate-controlled containers also extends their lifespan. An often underestimated aspect is ensuring the electrical cords are undamaged, reducing fire risks and ensuring safe operation. Regular maintenance not only extends tool life but also keeps your project on schedule, avoiding delays due to equipment failure.
Embrace Construction Management Software
Modern projects benefit vastly from software like Buildertrend or CoConstruct, which facilitate real-time tracking of progress, communication, and documentation. I personally use Buildertrend because it centralizes permits, schedules, and material orders, helping me catch issues early. Digital management tools are evolving, integrating with mobile apps and IoT devices, offering real-time updates and predictive maintenance suggestions. As technology advances, I predict these tools will become even smarter, providing automatic alerts for equipment needing servicing based on usage metrics, saving time and costs.
How do I maintain these tools over time?
Adopting a proactive maintenance routine is crucial. Create a schedule that includes cleaning, calibration, and inspection after every major use—this prevents deterioration and preserves accuracy. Keep detailed records of maintenance tasks and replacement dates; this will help you identify patterns and predict future needs. Taking care of your tools not only extends their life but also maintains compliance with safety standards and keeps your project compliant with inspection requirements. Explore more about maintaining tools effectively at streamlining permit acquisition to see how organized processes contribute to long-term efficiency.
In the future, I believe tool integration with IoT sensors will revolutionize maintenance routines, providing automatic diagnostics and preventative alerts. For now, I recommend adopting smart tools where feasible and establishing a disciplined routine of maintenance and inspection. Try implementing a quarterly check for your key power tools and see how it transforms your workflow—less downtime, fewer surprises, and more consistent project quality.
Reflecting on my journey, I’ve learned that the tiniest oversight—like improper foundation anchor installation—can cause the most significant setbacks in new build projects. It’s a stark reminder that attention to detail isn’t optional; it’s essential. If you’re aiming to streamline your construction process and avoid costly rejections, embracing precise, code-compliant practices will be your most valuable investment.
Lessons That Didn’t Come from Textbooks
- Every Detail Matters: Rushing through anchor placement can lead to reinspection failures. Personal experience taught me that meticulous measurement and adherence to specs prevent rework.
- Codes Are Your Compass: Many builders overlook local code nuances. I found that a proactive review of local permitting guidelines saved me time and headaches.
- Documentation Is Power: Photographing each step and keeping detailed records made re-inspections smoother and gave inspectors confidence in my work.
- Tools Make a Difference: Investing in quality equipment like laser levels and torque wrenches improved my accuracy and compliance, ultimately speeding up approvals.
- Early Communication Wins: Scheduling inspections before critical milestones and sharing detailed plans prevented surprises and delays.
Tools and Tips I Trust for Lasting Foundations
- Estimating tools that account for local permit complexities help set realistic budgets and timelines.
- Permit guides ensure you’re aligned with current regulations, reducing rejection risks.
- Reliable power tools from brands like Bosch or Milwaukee, paired with routine maintenance, keep your workflow steady and inspections smooth.
- Construction management software such as Buildertrend combines documentation, scheduling, and communication, centralizing your project’s vital data.
Put Your Foundations in Motion
Building with confidence means embracing thorough planning, precise execution, and open communication. Your project’s integrity and your reputation depend on it. Remember, the role of foundation anchors isn’t just about passing inspections—it’s about securing a durable, safe structure that stands the test of time.
Now, I’d love to hear your take. Have you ever experienced a foundation setback that taught you a crucial lesson? Share your story below and let’s grow together in the art of construction excellence.