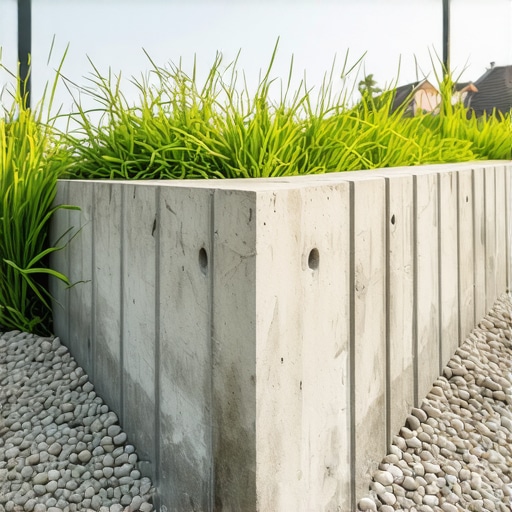
Why Your Retaining Wall Needs an Engineering Stamp
I remember the moment it hit me: standing in my backyard after a heavy rainfall, watching my newly built retaining wall lean just a tad more than it should have. The panic was immediate. It was a flat-out mistake—one I made early in my DIY project that could’ve led to disastrous consequences. That unsettling experience became the lightbulb moment that pushed me to really understand the importance of having a proper engineering stamp on retaining walls.
Your Home’s Safety Could Depend on It
Let’s face it—building a retaining wall isn’t just about aesthetics or freeing up space. It’s about safeguarding your property and loved ones from potential collapses or damages. The tricky part? Not everyone realizes that an un stamped wall might be just as risky as one that’s poorly designed. When I first started, I thought a good-looking wall sufficed—until mine didn’t hold during that storm. That’s when I learned the hard way that proper engineering reviews are essential. The good news is, with the right knowledge, you can avoid my mistake and ensure your project is built to last.
Is Skipping the Stamp Really a Risk Worth Taking?
Early on, I underestimated the value of an engineer’s stamp, assuming it was just an extra cost or bureaucratic hoop to jump through. But I quickly realized that skipping this step could compromise structural integrity, especially on walls over four feet tall or those on uneven terrain. A seasoned engineer’s stamp isn’t just a formality—it’s a guarantee that your wall has been assessed for soil pressures, drainage, and load-bearing capacity. Trust me, I learned the importance of this the hard way, and it’s a mistake I don’t want you to make.
If you’re contemplating building or renovating a retaining wall, ask yourself: have I considered all safety factors? Have I consulted with an engineer or checked if my local code requires a stamped review? It’s worth taking the time now, saving you from costly repairs—or worse—catastrophic failure down the line.
In the next sections, we’ll explore how to determine if your project needs an engineer’s stamp, how to choose the right professional, and the steps you can take to ensure your retaining wall complies with all safety standards. Ready to make your wall both beautiful and safe? Let’s dive in.
Assessing Your Project’s Need for a Professional Stamp
Begin by evaluating the height and location of your retaining wall. If you’re planning a structure over four feet tall or on unstable terrain, a professional engineer’s stamp is mandatory. I once thought my 3-foot wall was simple enough to skip this step—until it started leaning after heavy rain. Always verify local building codes and consult with a licensed engineer for clarity. For detailed insights on permit requirements, visit this guide.
Choosing the Right Engineering Professional
Research licensed civil or structural engineers specializing in retaining walls. Check their credentials and past projects to ensure expertise. I contacted a local firm, explained my project, and received a detailed assessment and stamped plans. This not only saved me from potential failure but gave me confidence in the build process. Remember, a qualified engineer isn’t just an expense—it’s an investment in safety and durability. Need help finding an expert? Use our contact page.
Submitting Plans and Securing Permits
Once you have engineering plans stamped, submit them to your local building department. Preparing accurate documentation speeds up approval. I learned this the hard way when my first submission was rejected due to minor missing details. After reviewing permit requirements, I revised my documents and resubmitted, resulting in swift approval. Proper documentation is crucial to avoid delays or rework.
Overseeing Construction with Compliance in Mind
During construction, ensure your contractor follows the engineer’s plans precisely. Regular inspections help catch deviations early. I hired a structural inspector familiar with retaining walls, which proved invaluable when I noticed inconsistent measurements. Consulting this resource helped me understand inspection protocols and stay compliant. This proactive approach protects your investment and guarantees the integrity of your wall.
Final Inspection and Validation
After completion, schedule a final inspection with local authorities. Their confirmation ensures your wall meets all safety standards and that the engineering stamp is properly recorded. My inspector praised the adherence to the stamped plans, giving me peace of mind. Don’t forget, keeping all documentation accessible simplifies future evaluations or potential resale checks.
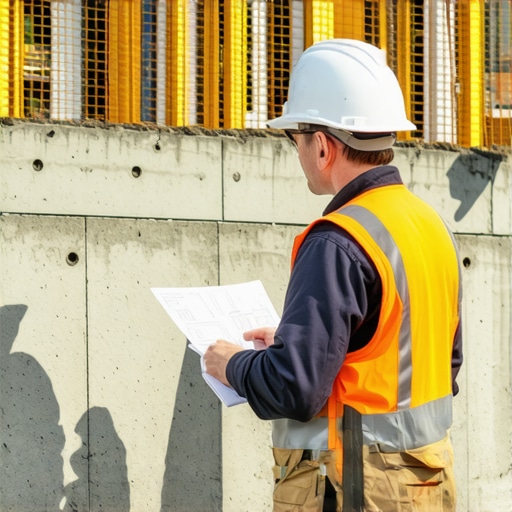
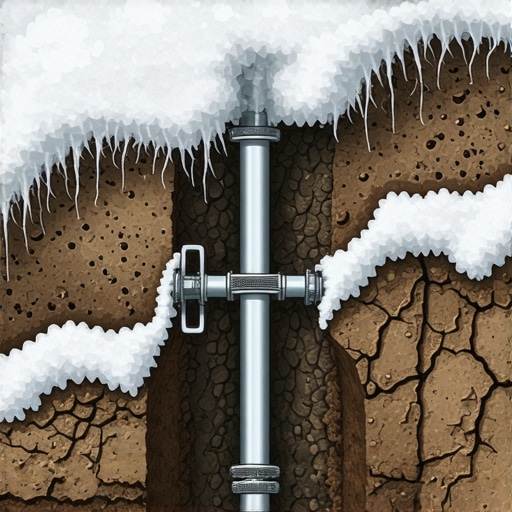
Adding a visual reference, this diagram shows how proper soil assessment and engineer-approved design contribute to a durable retaining wall, emphasizing the importance of each step in the process.
While many assume permits and accurate estimates are straightforward, beneath the surface lie nuances that can derail your project. A prevalent myth is that permits are merely bureaucratic hurdles, but in reality, they are safeguards ensuring safety and compliance. Overlooking the importance of detailed, expert-driven estimates often leads to budget overruns, as homeowners underestimate hidden costs like utility adjustments or structural reinforcements. An advanced mistake I’ve seen repeatedly is relying solely on initial quotes without accounting for contingencies or possible permit modifications, which can cause significant delays. According to a study by the Construction Industry Institute, projects with diligent pre-planning and thorough cost analysis are 30% less likely to experience budget creep. Additionally, many get caught in the trap of assuming that a straightforward addition is immune to zoning setbacks or easements, which can halt progress unexpectedly. It’s crucial to consult local codes and expert advice early on, rather than waiting until plans are halfway drawn. A common misconception is that home additions require only a general contractor’s oversight, but involving licensed engineers for complex aspects—like structural load calculations—can save thousands and avert safety risks. When estimating for new builds or additions, including all potential permit fees, utility upgrades, and unforeseen site conditions is essential. For precise, comprehensive budgeting, review our guide on [how to accurately estimate costs for home improvements](https://constructionedgez.com/how-to-accurately-estimate-costs-for-home-improvements). Remember, the devil is in the details, and thorough planning distinguishes successful projects from costly failures. Have you ever fallen into this trap? Let me know in the comments.Maintaining your construction projects over time requires the right tools and consistent upkeep. From digital software to physical equipment, selecting reliable resources can make all the difference in ensuring longevity and efficiency. One essential tool I personally rely on is **ProEst**, a construction estimating software that not only helps me create detailed budgets but also tracks changes and updates throughout the project’s lifecycle. Its integration capabilities streamline communication with clients and contractors, reducing errors that could lead to costly repairs later. For physical maintenance, I recommend always investing in a **multi-purpose cordless drill**, specifically the Makita XDT16 model. Its brushless motor and quick-charging battery allow me to handle drilling, screw-driving, and socket-driving tasks without interruption, which is crucial for routine inspections and minor repairs. Predicting future trends, I believe that the integration of IoT devices—like smart sensors for structural health monitoring—will become standard in long-term maintenance plans, providing real-time data on soil stability or wall integrity.
How do I maintain this equipment over time?
Regular calibration and cleaning are key. For software, keeping your programs updated ensures compatibility with new features and security patches, reducing vulnerabilities. Physical tools like drills benefit from routine lubrication and battery care, which extend their lifespan. Additionally, adopting a digital maintenance log—perhaps through tools like **Asset Panda**—helps track service intervals, repairs, and replacements. Consistent upkeep not only preserves your equipment but also minimizes unexpected downtimes that could compromise project safety or delay completion. Planning for scalability now means investing in modular, adaptable tools that can grow with your projects. As construction techniques evolve, staying on top of maintenance routines and utilizing advanced tools will undoubtedly save you costs and stress in the long run. For guidance on managing additions efficiently from concept to completion, check out this resource. Start implementing a scheduled maintenance plan today, and experience the difference in your project’s durability and your peace of mind.
Looking back, one of my biggest lessons was realizing how crucial a proper engineering stamp is—it’s not just bureaucratic red tape, but a vital safeguard for your project’s safety and longevity. Skipping this step can lead to costly repairs or even structural failure, as I painfully learned from my own experience. Trust me, the extra effort to involve licensed engineers and secure the necessary permits is well worth the peace of mind it affords. Don’t cut corners on safety; your home and loved ones depend on it.
Another insight I gained was the importance of detailed pre-planning and realistic budgeting. Overestimating costs for unforeseen issues, like utility adjustments or soil conditions, saved me from surprises that could have derailed my project. Remember, diligent estimates and understanding permit requirements set the foundation for smooth construction and compliance with local codes. Investing in proper planning from the start helps you avoid delays and expense spirals, making your build experience much more enjoyable.
Finally, maintaining open communication with professionals—be it engineers, inspectors, or contractors—proved invaluable. Regular oversight during construction ensured adherence to plans and standards, preventing potential failures. Documenting every step, from stamped plans to inspections, became my safety net. If you’re embarking on a similar project, prioritize collaboration, stay informed about permit processes, and never underestimate the value of expert guidance. This approach transforms a daunting task into a rewarding achievement.
Lessons I Didn’t See Coming That Changed Everything
- Underestimating Soil Risks: I thought my backyard soil was straightforward—until heavy rains revealed drainage issues, emphasizing soil assessment’s true importance.
- Overlooking Permit Details: Missing minor permit requirements delayed my project, proving thorough research saves time and money.
- Ignoring Structural Nuances: Failing to consult an engineer early led to reinforcement challenges later—an expensive lesson in planning ahead.
Tools and Resources That Made a Difference
For anyone tackling permit, new build, estimating, or additions, I recommend leveraging top-tier tools and guides. Accurate estimating software like ProEst helped me stay on budget and track changes seamlessly. Project management resources kept my timeline tight and communication smooth. Additionally, reading expert guides on permits and cost estimation deepened my understanding, empowering me to make informed decisions. These resources are invaluable for turning planning stress into strategic action.
Take Action and Make It Happen
Now’s the moment to apply these lessons, ask the right questions, and seek out the expertise your project deserves. Building or renovating with proper permits and engineering stamps isn’t just about compliance—it’s about creating a foundation that lasts and keeps your family safe. Each step you take toward thorough planning and expert collaboration brings that vision closer to reality. Ready to start your own safe and successful project? Dive in with confidence — your future self will thank you.
What’s been your biggest challenge with permit processes or estimating costs? Share your story below, and let’s learn together!