The Plumbing Vent Rule That Rejects Kitchen Island Permits
It happened when I was mid-refresh on my kitchen remodel, feet wet, planning the perfect island to top off my dream space. Then, out of nowhere, the permit reviewer flagged a seemingly minor detail—the plumbing vent routing—and suddenly, my permit was rejected. I felt that sinking feeling, realizing I’d overlooked a crucial code detail that could halt my entire project. Like many homeowners tackling renovations, I learned the hard way that understanding local plumbing vent rules isn’t just paperwork; it’s the key to preventing costly delays.
Why Knowing the Plumbing Vent Rule Can Save Your Project
If you’re like me, you might think that permits are just bureaucratic hurdles—annoying roadblocks in the way of a beautiful upgrade. But in reality, they’re designed to ensure safety, functionality, and compliance. The tricky part is that some rules, especially those related to plumbing vents in kitchens with islands, aren’t obvious. Misinterpreting them can lead to rejection, fines, or even needing to rip out completed work. My early mistake was assuming that venting for an island sink could be handled just like any other kitchen fixture—big mistake. After digging through local codes and consulting experts, I realized that most residents accidentally overlook certain venting rules, especially the ‘Plumbing Vent Rule That Rejects Kitchen Island Permits.’
Did you know that improperly vented plumbing can cause sewer gases to enter your home or lead to slow draining? According to a recent study, improper venting is a common issue that accounts for nearly 30% of plumbing-related inspections failures (source: Construction Edgez). That’s why a thorough understanding of these rules not only streamlines your permit process but also safeguards your health and your wallet. I’m here to guide you through this maze.
Could a Simple Mistake Derail Your Entire Renovation?
One of my biggest early errors was assuming that city plumbing codes were uniform everywhere. Wrong. Every jurisdiction has nuances, and overlooking these can be disastrous. I almost paid the price, but once I learned the specifics—like how to properly vent a kitchen island sink based on local rules—I managed to correct my mistake without halting my project. This learning curve is common, but knowledge is power—so let’s dive into the core rules so you can avoid the pitfalls I faced. Want to make your permit process smoother? Stay tuned for the practical steps that will help you navigate the Plumbing Vent Rule and get that kitchen addition approved without issue.
Determine Local Plumbing Codes
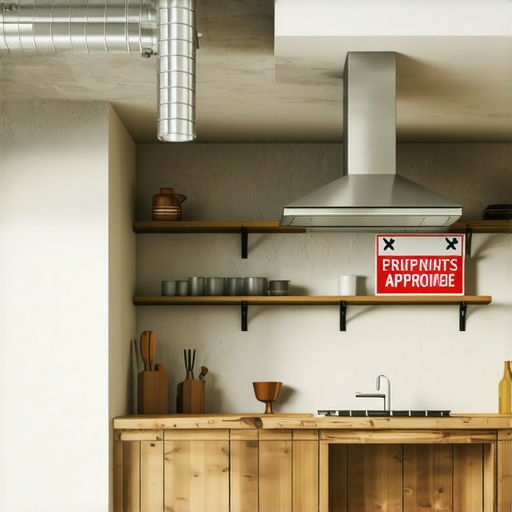
Start by researching your city or county’s specific plumbing vent regulations. Visit your local building department’s website or schedule a consultation with a licensed plumber who understands the local nuances. I once almost submitted my permit without checking if my jurisdiction required an additional vent stack for an island sink—turns out, I needed a specialized venting configuration, or risk rejection. Confirm whether the code mandates a vent connection directly to the main stack, an air admittance valve, or an alternate venting method.
Design with Code in Mind
Create your plumbing plan adhering strictly to these rules. Use a detailed diagram illustrating vent paths, pipe diameters, and vent termination points. When designing my kitchen, I drew multiple options and checked each against local code requirements. This prevented costly reworks later. Remember, a proper vent must prevent sewer gases from entering your home and ensure smooth drainage. If unsure, consult a professional to verify your plans before proceeding.
Select the Right Venting Method
Choose an approved venting technique based on your space and code constraints. Options include traditional vent stacks, AAVs, or special air-admittance valves if permitted. I learned that in my neighborhood, using an AAV simplified installation, but only after confirming it met code standards. Keep in mind that some jurisdictions ban certain methods for kitchen islands, requiring extra clearance or specific pipe placements.
Install Vent Properly — Avoid Common Pitfalls
Place the vent pipe so it terminates above the roofline, following distance and height rules, typically at least 6 inches above the highest opening. Ensure that the vent is directly connected to the fixture drain without excessive bends or restrictions. When I installed my vent, I initially angled it incorrectly, which caused slow drainage and prompted a re-inspection. Using a flexible piping system helped me adjust the vent path to meet code without tearing out existing work.
Get Professional Help When in Doubt
If the rules seem complex or your design is unconventional, coordinate with a licensed plumber or permit expeditor. They can review your plans and ensure compliance, saving you time and money. I experienced a setback when my permit was rejected due to minor venting misplacement; a quick consultation with a professional resolved the issue. For detailed guidance, consider reviewing this comprehensive resource on permit processes and requirements: Understanding Permit Processes.
Document Your Compliance
Keep detailed records of plans, photos during installation, and correspondence with inspectors. If your permit is questioned, having clear documentation speeds approval. When I submitted my final inspection, I provided comprehensive drawings and photos confirming my venting system adhered to code, which facilitated a smooth approval process. Remember, precise documentation reflects your professionalism and preparedness, making future inspections or modifications easier.
 Many homeowners and even seasoned contractors fall into the trap of oversimplifying how they estimate costs, secure permits, or plan for new construction. A common misconception is that following the checklist and mimicking typical designs will suffice. However, this approach misses critical nuances that can cause costly delays or project failures. The truth is, every project has unique aspects rooted in local regulations, structural requirements, and unforeseen site conditions. Overlooking these can lead to significant miscalculations and frustrated timelines. For example, many assume permit processes are universally straightforward, but jurisdictions vary greatly, and understanding these subtle differences is key to avoiding permit rejection.
Are Your Estimates Underestimating Real Costs?
Contrary to popular belief, initial estimates rarely reflect the true scope of a project. Hidden costs often lurk in permit fees, unexpected site prep, or structural reinforcements required due to soil conditions. For instance, a minor addition might seem simple on paper, but neglecting local soil testing requirements or overlaying zoning restrictions can cause project pauses. A 2023 study highlights that inaccurate estimates contribute to about 35% of home renovation delays, emphasizing the importance of detailed, location-specific calculations (Expert insights on estimating costs). For consistent success, consider adopting comprehensive estimation techniques and consulting experienced professionals early in your planning process. This proactive step can prevent the ‘oops’ moments that come from hidden surprises later.
Moreover, many underestimate the importance of detailed documentation during the permit phase. Properly prepared plans, backed by accurate assessments, streamline approvals and reduce revisions. When I first started, I thought a simple schematic was enough, but I learned that detailed structural drawings and site analysis significantly cut down approval times. If you’re feeling overwhelmed by local permit intricacies, checking out resources like streamlining permit acquisition can make a difference.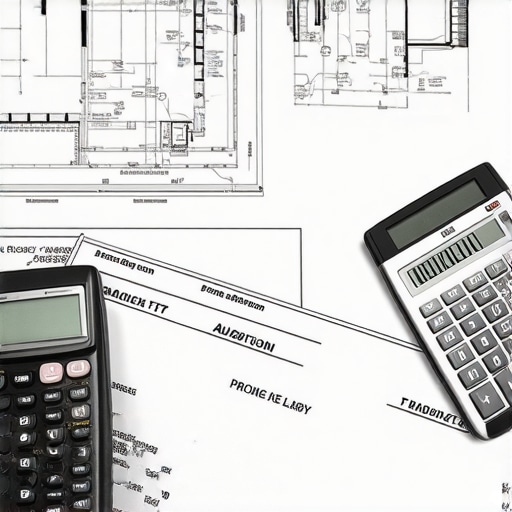
Remember, investing time in nuanced planning and estimation pays off by keeping your project on track and within budget. Don’t let overlooked details turn your dream into a nightmare. Have you ever fallen into this trap? Let me know in the comments.
Tools You Can Trust for a Smooth Build
When it comes to home renovations and additions, having the right tools and maintaining them properly can make all the difference between a project that runs seamlessly and one plagued with setbacks. Personally, I rely on a combination of high-quality power tools, digital planning software, and regular maintenance routines to ensure my projects stay on track. For example, I swear by my laser distance measurer, a Bosch GLM 50 C, for quick, accurate measurements that save me hours on-site. Regularly calibrating this device prevents measurement errors, which can cascade into costly rework.
Another essential element I recommend is a robust quality level, like the Stabila 37800, to guarantee that your framing and alignments remain true. The importance of precise leveling becomes even more apparent over time, especially when scaling projects or adding new sections to existing structures. Keep your tools clean and stored in a dry, organized space—neglecting this leads to rust and decreased accuracy, or worse, tool failure mid-project.
Investing in reliable safety gear, such as dust masks and ear protection, also contributes to long-term productivity. Safety isn’t just about compliance; it’s about ensuring you can work consistently without health setbacks. I’ve found that routine inspections for power cords and safety switches can prevent dangerous short circuits or equipment failures.
How do I keep my tools in top shape for ongoing work?
Establish a regular maintenance schedule—cleaning and lubricating moving parts, checking batteries, and replacing worn-out blades or bits. For power tools, I follow the manufacturer’s recommendations diligently, which extends their lifespan significantly. For software like estimating tools and permit management platforms, I ensure updates are installed promptly, reducing bugs and improving security. In fact, staying current with software updates can streamline your permit acquisition process, making sure you’re not delayed by compatibility issues (learn how to streamline permits here).
Looking ahead, I predict that smart tools with IoT connectivity will become standard, offering real-time diagnostics and maintenance alerts. This integration will further simplify upkeep, especially for those scaling operations or managing multiple projects simultaneously. By adopting these advanced systems early, you’ll position yourself ahead of the curve.
One practical tip I suggest trying today is setting up a digital maintenance log using a tablet or cloud platform. Recording each tool’s service history allows you to anticipate failures before they happen, saving time and money. Don’t wait until a critical tool fails—proactively maintaining your gear is key to long-term success. Want more insights on managing your tools effectively? Reach out via our contact page for personalized advice.
When I first embarked on my home addition journey, I believed that a well-drawn plan and a fair estimate would suffice. However, I quickly discovered that permits, local nuances, and precise cost estimations are the invisible threads holding everything together. My biggest breakthrough was realizing that beyond the blueprints and budgets, understanding the unique quirks of my area’s building codes transformed my project from a potential nightmare into a smooth sail. This personal lesson underscored the importance of diving deep into local ordinances and permits—it’s like having a secret map in a complex maze. If you want to avoid costly delays and ensure your home addition aligns perfectly with regulations, invest in learning the ins and outs of local permit processes and estimation techniques. Trust me, this knowledge becomes your greatest ally.