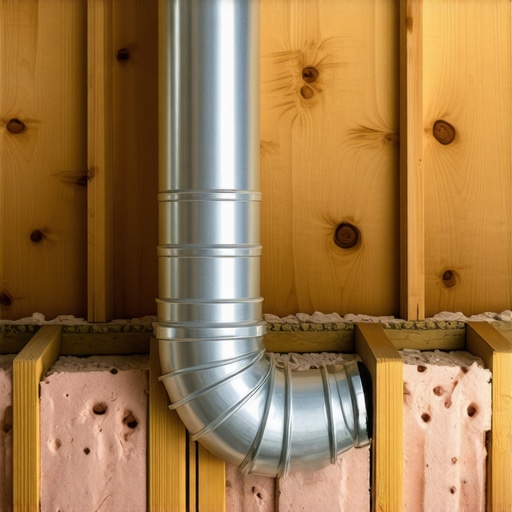
Why your plumbing vent needs a specific offset for attic builds
It was a morning like any other when I went upstairs to check on a recent attic build, only to find my newly installed plumbing vent had shifted — right where I didn’t want it. That lightbulb moment hit me hard: I hadn’t accounted for the attic’s unique structure, and now I was faced with a costly rework. If you’ve ever wrestled with a similar issue, you know how frustrating and time-consuming it can be, especially when permits and inspections are involved.
Getting the Vent Right the First Time: My Personal Discovery
In my early days of working on attic additions, I overlooked the importance of calculating the proper offset for plumbing vents. I assumed that as long as the vent pipe reached above the roofline, it was fine. Let me tell you, that couldn’t be farther from the truth. Proper venting isn’t just about height but also about alignment and positioning relative to the attic’s framing. Aligning the vent correctly ensures it functions properly, prevents future leaks, and keeps inspection headaches at bay. I learned this lesson the hard way, making a costly mistake early on that delayed my project and increased expenses.
But here’s the good news — this problem has a solution that I wish someone had shared with me sooner. In fact, understanding and implementing the correct offset for your plumbing vent can save you from unnecessary rework, delays, and permit issues. And it’s not as complicated as it might seem. Once you grasp the principles, you can confidently plan your attic build, knowing your plumbing vent will meet code requirements and function flawlessly.
If you’ve encountered that confusing moment where your vent pipe just doesn’t seem to line up, or you’re concerned about future inspection surprises, stick around. We’re going to dive into the why behind needing a specific offset for attic installs and how to get it right from the start.
Is Plumbing Vent Offset Just a Fad or Really Necessary?
Early on, I made the mistake of dismissing this detail as overkill. Turns out, neglecting an appropriate offset can lead to vent blockages, foul odors, and even failed inspections. Building codes explicitly specify vent positioning to ensure proper airflow and prevent backdrafts, as supported by plumbing standards outlined by organizations like the International Plumbing Code. Trust me, overlooking this detail costs more than just a little extra effort — it can jeopardize your entire project.
Now that I’ve shared my experience, let’s explore why this offset matters so much and how you can incorporate it into your attic build plans seamlessly.
Determine Your Vent Path and Necessary Offset
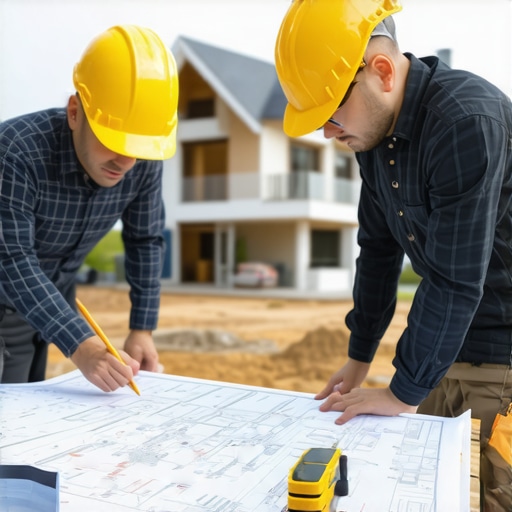
Start by inspecting your attic space to identify the existing framing elements and the eventual roofline. Use a detailed diagram or sketch, marking the planned vent route from the sewer line to the roof. During my project, I realized that without a clear visual, I was mistaken about the necessary length and angle of my vent pipe, which led to misalignment and delays. Measure the distance from your connection point to the roof and account for obstructions or framing members that may impact the pipe’s path. This step is crucial to prevent rework and ensure the vent will meet code requirements.
Calculate the Correct Offset and Pipe Angles
Once your path is mapped, determine the offset needed to clear framing and follow the permissible slopes. Use a level or digital angle finder to establish the correct pipe incline, typically around 1/4 inch per foot for proper drainage. I once underestimated this slope, resulting in a partial clog that caused foul odors in my attic. Remember, a precise calculation avoids unnecessary pipe bends and ensures smooth airflow, which is essential for proper ventilation and inspection approval. For detailed technical guidance, consult https://constructionedgez.com/estimating-home-additions-a-step-by-step-guide-for-2025.
Select Suitable Vent Pipe Fittings and Materials
Pick the right fittings, such as 45 or 90-degree elbows, to accommodate your calculated offset. Use PVC or ABS pipes compatible with your local building codes. During my last project, I opted for flexible couplings to adapt to slight miscalculations, saving time and avoiding re-piping. Ensure fittings are rated for vent use, and plan for cleanouts if needed. Proper material selection prevents leaks and future inspection failures.
Install and Secure the Vent Pipe with Precise Alignment
Begin installing from the connection point, employing a level to maintain proper slope. Use appropriate fasteners and supports to secure the pipe to framing members, preventing shifts during building. I once neglected to support a horizontal run properly, which caused sagging and eventual leaks. Pay close attention to the pipe’s alignment at each stage, adjusting as necessary to keep it on planned slope. This meticulous approach minimizes issues during inspection and ensures a long-lasting installation.
Inspect and Adjust the Setup Before Finalizing
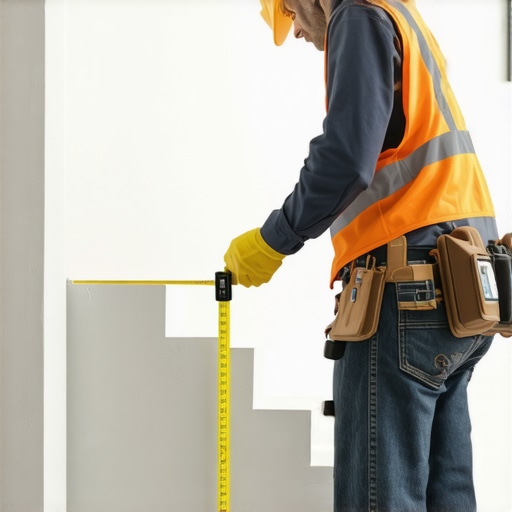
Before sealing everything up, double-check the pipe’s angle, clearance from framing, and vent terminus height. Use a level and measuring tape for verification. I learned this the hard way when a slight misalignment failed inspection, leading to costly adjustments. Confirm the vent extends above the roofline with the correct clearance to prevent water intrusion and code violations. Proper inspection at this stage saves weeks of delays and potential rework.
When I first started in construction, I believed that permits were just a bureaucratic hurdle, an expense to be minimized. However, experience taught me that there’s a complex layer of nuances most homeowners and even contractors overlook. For example, many assume that obtaining a permit is a straightforward process, but in reality, permits often involve detailed inspections, specific code adherence, and sometimes unexpected requirements that can trip up even seasoned professionals. Oversimplifying this process leads to costly delays and design modifications, especially if you aren’t aware of regional nuances. For instance, a study by the National Association of Home Builders highlights that 65% of permit-related delays are due to misinterpretation of local regulations, which emphasizes the importance of thorough research and expert guidance.
A common myth is that estimating costs is a matter of adding up material prices and a fixed labor rate. In truth, estimating involves understanding intricate factors such as permit fees, inspection costs, potential redo of work, and changes due to unforeseen site conditions. Many underestimate the hidden costs, especially in dense urban environments where permits can trigger additional city fees or require special considerations like environmental assessments. Using detailed estimations from reliable sources, like this comprehensive guide on [estimating home additions](https://constructionedgez.com/estimating-home-additions-a-step-by-step-guide-for-2025), can help avoid this trap.
When it comes to new builds, a prevalent mistake is neglecting the importance of zoning and setback regulations early in the planning process. This oversight can cause significant rework, forcing changes to foundation layouts or building height that delay projects and increase costs. For example, failing to account for encapsulated easements and setback requirements can result in legal issues and the need to redesign extensive portions of your plans. To navigate these complexities, consult resources such as [permitting tips for new builds](https://constructionedgez.com/permits-for-new-builds-essential-tips-for-your-project) and ensure your design aligns with local restrictions.
Now, consider the advanced question: How can understanding nuanced permit processes give you a strategic advantage in fast-tracking your project? Well, mastering local permit procedures, including preparing comprehensive documentation and pre-approvals, can significantly reduce approval times and unexpected hold-ups. Builders who leverage insights from expert guides, like [streamlining permit acquisition](https://constructionedgez.com/streamlining-permit-acquisition-for-faster-construction), often find that proactive planning transforms permit delays from a nightmare into a manageable step.
In summary, embracing the complexity of permits and estimating isn’t just about avoiding mistakes — it’s about gaining control over your project’s timeline and budget. Don’t fall into the trap of thinking these are simple check-box tasks; instead, see them as integral parts of your overall strategy. Want to dig deeper? Explore more about [mastering new build estimation](https://constructionedgez.com/mastering-new-build-estimating-essential-tips-for-success) and see how nuance can be your secret weapon. Have you ever fallen into this trap? Let me know in the comments.
Keep It Running: Essential Tools for Sustainable Construction
When managing home additions or new builds, investing in the right tools can make all the difference in maintaining quality and efficiency over time. One tool I swear by is the Laser Distance Meter. I personally prefer the Bosch GLM 50 C because it provides quick, accurate measurements without the hassle of tape measures, especially in tight attic spaces where precision is critical. Accurate measurements ensure that subsequent adjustments, like vent offsets or framing placements, remain consistent during renovations, drastically reducing long-term maintenance issues.
Another indispensable gadget is a Digital Level. Unlike traditional bubble levels, a digital level like the KAPRO DigiLevel offers precise slope readings, which is crucial for installing plumbing vents and ensuring proper drainage slopes, as discussed in detail at https://constructionedgez.com/estimating-home-additions-a-step-by-step-guide-for-2025. Regularly checking these levels during installation prevents future leaks or blockages, saving time and repair costs down the line.
Software That Keeps Projects on Track
For estimating and project management, I rely heavily on Buildertrend. This cloud-based platform allows me to track costs, schedule tasks, and communicate with clients seamlessly. It’s especially helpful when managing permit acquisition timelines, as I’ve uncovered from https://constructionedgez.com/streamlining-permit-acquisition-for-faster-construction. By keeping everything documented and in one place, I reduce the risk of delays caused by miscommunication or overlooked permit conditions, which are common pitfalls in the building process.
Additionally, I recommend PlanRadar for field issues and inspections. It lets you record problems directly on digital plans, ensuring that inspections are smooth and issues are addressed proactively, helping maintain long-term compliance and reducing callbacks.
Adopt Routine Maintenance for Enduring Results
Once your build or addition is complete, routine maintenance becomes paramount. I suggest setting up a seasonal inspection checklist—checking for water intrusion, verifying the integrity of vent pipes, and ensuring insulation remains effective. Regularly inspecting your vent systems, as explained in https://constructionedgez.com/how-to-accurately-estimate-costs-for-home-improvements, prevents minor issues from escalating into costly repairs. Implementing preventative measures based on these assessments extends the lifespan of your systems and maintains energy efficiency for years to come.
How do I maintain my installation over time?
Consistent upkeep involves scheduled inspections, using your digital tools to spot potential issues early, and staying informed about evolving building codes. For instance, regularly updating your knowledge on permit requirements and code changes, as outlined at https://constructionedgez.com/understanding-permit-processes-for-new-building-projects, helps adapt your maintenance protocols accordingly. Investing in good-quality materials during initial installation also reduces long-term wear and tear, which pays dividends over decades.
Looking ahead, I believe the trend will lean heavily toward smart monitoring systems that automate maintenance alerts—think IoT-enabled sensors on critical systems like vents and water lines. Integrating these technologies now can give you a strategic advantage, catching minor problems before they turn into emergencies. For a practical start, try installing a simple moisture sensor near your vent piping or water systems to receive early warnings of leaks or blockages, saving you both stress and money in the future.
Throughout my journey in construction and home renovation, I uncovered truths that often go unspoken in the industry. One of the most valuable lessons I learned is that meticulous planning and an understanding of hidden details can make or break your project. For example, overlooking permit nuances or underestimating costs can lead to months of delays and unexpected expenses. I found that investing time upfront to grasp the intricacies of local regulations and accurate estimation pays enormous dividends. Another lightbulb moment was realizing that consistent communication with authorities and contractors simplifies compliance and keeps projects moving smoothly. Embracing these insights transformed my approach from reactive problem-solving to proactive mastery, ensuring successful outcomes and peace of mind.