Pass the seismic bracing check without overpaying for hardware
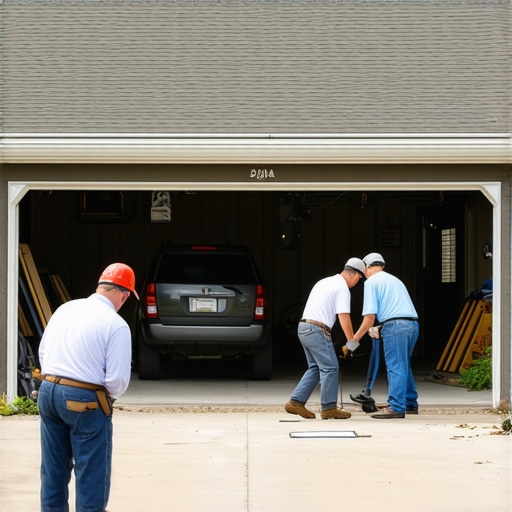
I remember the moment vividly—standing in my cluttered garage, staring at the seismic bracing requirements and feeling a mix of frustration and doubt. It struck me then that I was about to spend hundreds of dollars on hardware I barely understood, just to get through the permit process. That lightbulb moment hit hard: there had to be a smarter way to meet seismic standards without breaking the bank.
Why Doing It Right Matters—Without the Overpay
In my early projects, I made the classic mistake of assuming that meeting seismic bracing requirements always meant expensive, specialized hardware. Turns out, that’s not necessarily true. Missing out on easy, cost-effective solutions can lead you down a rabbit hole of overpaying and unnecessary delays. Imagine spending more than you need to on simple structural reinforcements—something I learned the hard way early on. Today, I want to share what I’ve learned so you can avoid that pitfall.
Is Passing Seismic Checks Overhyped or Really Critical?
Here’s the honest truth: I used to think that seismic bracing was optional or at least overstated in significance. That misconception almost cost me in failed inspections and unnecessary expenses. But after digging into local codes and consulting with an expert, I realized that adherence isn’t just bureaucratic red tape—it’s vital for safety and compliance. An early mistake I made was underestimating the importance of proper hardware placement, which could have led to re-inspections and project delays. You can find more insights on [understanding permit processes](https://constructionedgez.com/understanding-permit-requirements-for-successful-home-additions), which underscore how crucial these details are.
Do you find yourself stuck wondering whether your hardware choices are overkill or underperforming? If so, you’re not alone. Many builders and homeowners face the same dilemma—trust me, there’s a way to navigate this without overspending while still passing with flying colors.
The good news is, with the right knowledge and approach, passing seismic bracing checks can become a straightforward step rather than a financial burden. Stick with me, and I’ll guide you through practical solutions that balance safety, code compliance, and affordability. Ready to ditch the guesswork and get your project moving smoothly? Let’s dive into the core strategies that made all the difference for my projects—and can do the same for you.
Assess Your Requirements Accurately
Start by reviewing local building codes to understand the specific seismic bracing standards applicable to your project. I once spent hours researching generic standards, but a quick call to the local building department clarified that my project’s zone required only moderate reinforcement, saving me hundreds in unnecessary hardware. Use this information to create a checklist of required hardware and placement to avoid overbuying.
Plan Your Hardware Selection
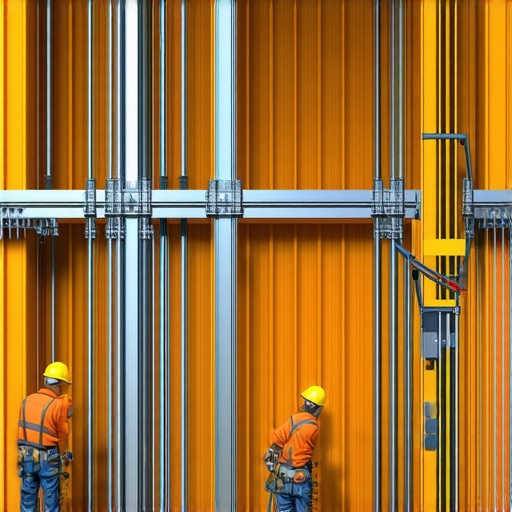
Next, choose hardware that meets code but isn’t overengineered. For instance, instead of opting for costly seismic straps, I discovered that bridging certain joists with standard steel brackets sufficed in my low-risk zone. This approach parallels choosing a reliable, proven recipe instead of expensive specialty ingredients. Document your selection criteria and cross-reference with [cost-saving techniques](https://constructionedgez.com/cost-effective-estimating-techniques-for-new-builds-and-additions) to ensure you’re optimizing budget.
Measure and Map Structural Elements Precisely
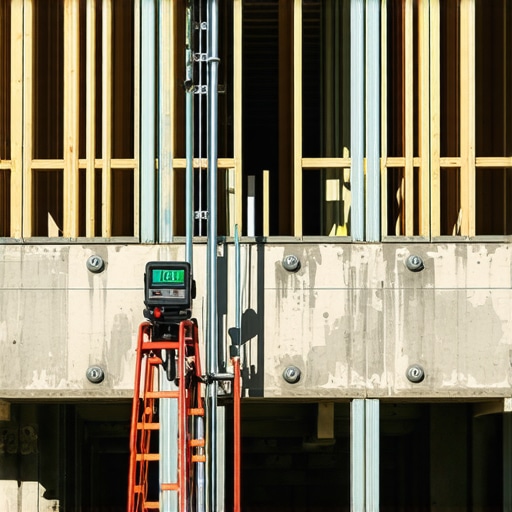
Use detailed measurements and site plans to determine exact hardware placement. I used a laser measure to pinpoint the locations on my framing, which prevented unnecessary hardware from being installed in non-critical areas. This precision avoids waste and ensures full compliance. Think of this as the GPS of your building process—guiding your hardware exactly where it needs to be. For detailed measurement techniques, see [estimating costs](https://constructionedgez.com/estimating-costs-for-new-builds-expert-insights).
Source Hardware Without Overpaying
Buy from reputable suppliers offering bulk discounts or local stores with competitive pricing. I checked online marketplaces and local hardware stores, comparing prices for the same brackets. Purchasing in bulk or during sales can cut costs significantly. Remember, sometimes a generic brand that meets standards performs just as well as premium options without the hefty price tag.
Execute Installation with Precision
Follow manufacturer specifications meticulously during installation. I used detailed instructions from the hardware manufacturer, ensuring proper anchoring and placement. A sloppy install can compromise safety and lead to re-inspections, causing delays and extra costs. Consider scheduling a quick review with a structural engineer if unsure—it’s an investment in peace of mind.
Document and Inspect Before Submission
Photograph your hardware installation and review it against code checklists. I documented my work with photos to demonstrate compliance during the inspection. This proactive step can speed up approval and avoid costly rework. For a comprehensive overview of permit processes, visit [navigating permits](https://constructionedgez.com/navigating-permits-a-step-by-step-approach-for-builders).” alt=”Seismic bracing hardware installed on framing” title=”Seismic hardware installation snapshot”/>While most newcomers focus on the basics of estimating and permit acquisition, many overlook the subtle complexities that can make or break a project. In my experience, a common myth is that detailed estimates and proper permits are enough—yet, the true mastery lies in understanding the nuanced pitfalls that even seasoned builders often miss. One of these is the assumption that local code requirements are static; in reality, regulations evolve, and failing to stay updated can lead to costly rework or permit delays. An advanced mistake I see frequently is underestimating the impact of hidden site conditions, such as soil variability or unseen easements, which can inflate costs unexpectedly. For example, a typical soil test might suffice in most cases, but in areas with complex geology, advanced geotechnical assessments are crucial—neglecting this can compromise foundation integrity and result in future damage. According to a study by the National Association of Home Builders, projects that incorporate comprehensive pre-construction evaluations face 20% fewer delays and cost overruns, emphasizing the importance of thorough upfront analysis. Have you ever fallen into this trap? Let me know in the comments. Additionally, many underestimate the importance of detailed documentation during the permitting phase. This isn’t just busywork; precise records and photos of your work can prevent disputes and accelerate approvals. For complex projects, engaging with a specialist or experienced permit consultant can be a game-changer—something I highly recommend checking out through [this guide on mastering permit strategies](https://constructionedgez.com/mastering-new-build-estimating-essential-tips-for-success). Remember, navigating the permitting process is akin to a strategic game—you need to anticipate potential hurdles and have a well-planned approach. Overlooking these nuances can turn a straightforward build into a prolonged nightmare, so it’s worth investing the time and effort to master the details. By honing your understanding of these often-ignored aspects, you’ll not only save money and time but also gain peace of mind knowing your project complies fully and withstands the test of unforeseen challenges.Maintaining a construction project over time requires precision, reliable equipment, and a well-structured plan. One of my go-to tools is the Laser Distance Meter, such as the Bosch GLM 50 C, which I personally use for accurate measurements during framing adjustments and layout revisions. Its speed and precision save me hours that would otherwise be lost double-checking measurements manually, especially on larger sites. For project management, I rely heavily on software like Buildertrend, which allows me to track progress, assign tasks, and manage budgets from anywhere. In my experience, integrating real-time updates reduces miscommunications and ensures everyone stays aligned, ultimately avoiding costly rework. As the trend towards digital integration evolves, expect these tools to become even more intelligent—perhaps incorporating AI-driven analytics to predict project delays before they happen, based on historical data. How do I maintain my tools over time? Regular calibration of measuring devices is key, along with consistent software updates to patch vulnerabilities and improve features. I also recommend establishing a routine cleaning schedule to prevent hardware malfunctions caused by dust or debris. For software, backing up data weekly ensures smooth continuity if technical issues occur. These practices have consistently helped me keep projects on track and within budget. If you’re looking to optimize long-term results, I highly suggest adopting a combination of precise measurement tools and robust project management software, and making calibration and backups part of your routine. Want to see how these methods work in your project? Consider trying out a laser measure like the Bosch GLM 50 C and setting up automated backups for your project files—it might just be the upgrade your workflow needs. Start small: measure a challenging space with the laser, then update your project plan accordingly, and observe how much smoother things run. For more detailed strategies, check out [cost-effective estimating techniques](https://constructionedgez.com/cost-effective-estimating-techniques-for-new-builds-and-additions) to further streamline your process.
What I Wish I Knew When I Started Building
One of the most valuable lessons I learned is that bending codes to save money often backfires, leading to costly rework and delays. Early in my projects, I tried to cut corners on seismic hardware without understanding the nuances; now, I know that compliance isn’t just bureaucratic box-ticking but a safeguard for everyone’s safety. Recognizing the importance of thorough research into local adjustments has transformed my approach and saved me thousands.
Another lightbulb moment was realizing that more expensive hardware doesn’t always mean better safety. Sometimes, simple, code-compliant solutions are enough, provided they’re correctly installed. This understanding has empowered me to make smarter, more budget-conscious decisions without risking non-compliance or safety issues.
Lastly, I discovered that detailed documentation—photos, measurement logs, and correspondence—can be your best defense during inspections. This proactive habit minimizes surprises, accelerates approval, and boosts confidence that your project adheres to all seismic standards.
My Go-To Arsenal for Building Confidence
Every builder needs a trusted toolkit. For precise measurements, I swear by the Bosch GLM 50 C laser distance meter—its speed and accuracy are unmatched, and it helps prevent costly mistakes. When sourcing hardware, I lean on reputable suppliers like [ConstructionEdgez](https://constructionedgez.com/contact-us) that offer quality pulp and bulk discounts, ensuring safety without overspending.
On the educational front, reading resources such as Mastering New Build Estimating has been a game-changer. They give practical insights on balancing safety and budget, guiding me to make informed decisions that stand up to scrutiny.
For project management, cloud-based tools like Buildertrend keep my documentation organized and accessible—crucial during inspections and permit reviews. These digital solutions streamline workflows, reduce miscommunication, and keep compliance front and center throughout the build.
Your Next Step in Building Smarter
Embarking on or refining your new build projects with a clear understanding of seismic requirements can save you time, money, and stress. Remember, the mastery lies in combining accurate knowledge, strategic sourcing, and diligent documentation. Your project’s safety and efficiency depend on it—and you can do it, one step at a time. Curious about how to customize these lessons to your specific project? Reach out via our contact page and start a conversation that could change the way you build forever. Have you ever encountered a hidden challenge in seismic compliance? Share your story below—I’d love to hear your experience.