How to Spot Inconsistencies in Your Flooring Square Footage
I vividly remember the moment I realized I had been duped by my own flooring estimate. It was late at night, and as I was finishing a quick walk-through of my renovation project, I noticed that the actual square footage of my space didn’t quite match the numbers on the blueprints or the contractor’s estimate. That sinking feeling? It hit me hard. How could something so seemingly straightforward—measuring my own floors—be so complicated? If you’ve ever had that lightbulb moment, you’re not alone. Many homeowners find themselves questioning whether their project’s scope matches the reality of what’s on the ground.
Why Verifying Your Flooring Area Really Matters
Flooring isn’t just about aesthetics; it directly impacts the budget, permit approvals, and overall success of your renovation or new build. Early miscalculations can lead to costly delays and surprises that no one wants. When I first started, I trusted my contractor’s measurements implicitly, assuming they’d double-checked everything. However, I soon learned that even seasoned pros can slip up or use assumptions that don’t hold up once you get into actual measurement.
Inaccurate square footage measures can cause issues with permits, especially since many local regulations strictly relate to the size of additions or renovations—and errors here could mean failing inspections or needing costly adjustments later on. Recent studies suggest that up to 15% of construction estimates contain inaccuracies, often stemming from measurement errors or miscommunications about space dimensions. That’s a staggering number, emphasizing how crucial it is for homeowners to arm themselves with knowledge about how to verify these figures.
Are you concerned about whether your measurements are accurate? Do you suspect there might be discrepancies in your project’s scope? If so, you’re in the right place. Today, I’ll walk you through practical, tried-and-true methods to identify inconsistencies in your flooring square footage before they turn into bigger headaches.
Is Double-Checking Your Space Worth the Hassle?
Let me be honest—initially, I thought measuring my floors was a tedious chore. I thought, “What’s the point? My contractor knows best.” But I made a classic mistake early on: trusting without verifying. That oversight cost me additional time and money. As per the National Association of Home Builders, homeowners who actively engage in verifying measurements save an average of 10-15% on project costs compared to those who rely solely on estimates.
In the sections ahead, I’ll share simple yet effective ways to measure, cross-check, and confirm your flooring square footage—tools and techniques that will give you peace of mind and strengthen your negotiations. Because, after all, knowledge is power when it comes to your home.
Let’s start by looking at how to take accurate measurements showing you don’t have to be a professional contractor to get it right.
Measure Multiple Points for Precision
Start by drawing your floor plan on graph paper or using digital tools. Measure each wall twice—once at the top and once at the bottom—to catch any irregularities. I once sketched my living room, measured every wall at different points, and discovered a 2-inch discrepancy that could have skewed my total area. Accurate measurement minimizes errors and prevents costly surprises.
Use the Right Tools and Techniques
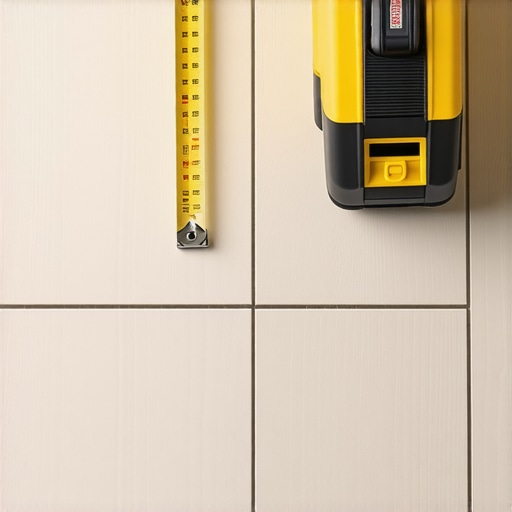
Equip yourself with a good quality tape measure, a laser distance meter, and a level. For larger spaces, a laser meter speeds up the process and improves accuracy. Set up a measuring baseline—like a reference wall—and measure all other walls from that point. When I did this in my bedroom, the laser provided readings within millimeters, giving me confidence in my calculations.
Account for Nooks, Closets, and Unusual Shapes
Break down complex spaces into simple shapes like rectangles and squares. Measure each section and sum the areas. For irregular areas, I used a string to outline the shape and then measured the length of the string. This method helped me get an exact area for a bay window nook, avoiding overestimation.
Cross-Check Your Results
Compare measurements taken at different times or by different methods. For instance, I measured my dining area twice—once with my tape and once with the laser—and cross-checked the figures. Discrepancies indicated I needed to re-measure specific sections. This step ensures consistency and catches errors early.
Verify Against Blueprints and Contractor Estimates
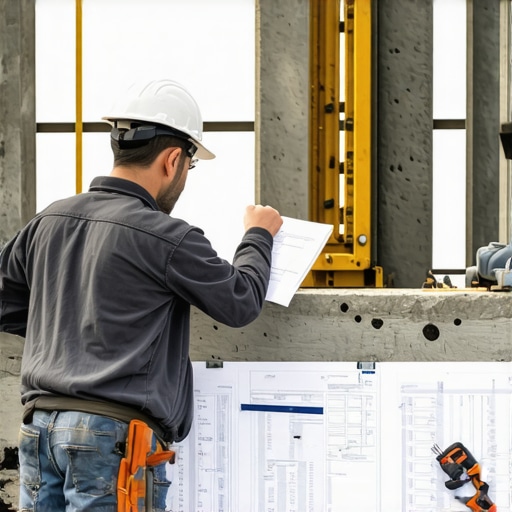
Compare your measurements with the blueprints or initial estimates provided by your contractor. If discrepancies arise, discuss them proactively. Recently, I found my measurements differed by 5%, leading me to update my estimates and discuss the variance, ensuring the project scope matched reality.
Understand the Impact on Permits and Estimates
Accurate square footage influences permit applications, especially for additions or new builds. Authorities often base approval criteria on precise measurements, much like how permit processes depend on reliable data. Inaccurate measurements could trigger delays or permit rejections, so taking the time to verify now saves headaches later.
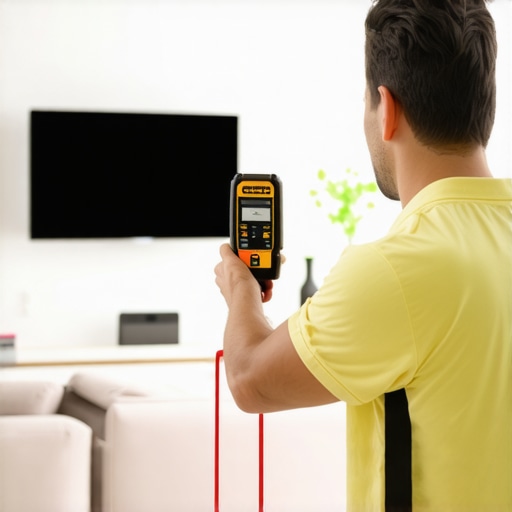
Use a laser distance meter for quick, precise measurements in complex spaces.
Many homeowners believe that the permitting process is a straightforward hurdle easily cleared with a simple application, but in reality, there’s a lot more nuance that can trip up the unprepared. A prevalent myth is that once your permit is approved, all costs and timelines are guaranteed, yet the reality is that permits often surface unexpected requirements or delays, especially if your initial estimates didn’t account for local nuances. For example, not understanding the specific permit requirements can result in costly rework or delays that vastly inflate your project budget. According to experts at Construction Edgez, navigating the permit process requires a thorough understanding of local codes, historical zoning restrictions, and even seasonal restrictions that aren’t immediately obvious.
Another common misconception involves the accuracy of initial estimates. Many assume that a good contractor’s quote inherently accounts for all variables, but in my experience, estimates often underestimate costs due to overlooked factors like site conditions, material lead times, or code compliance costs. During a recent project, I learned that missing these hidden nuances led to a 20% increase in my total budget. The key is the difference between a ballpark figure and an accurate estimate, which involves detailed analysis and contingency planning. I recommend reviewing comprehensive guides such as Estimating Home Additions to ensure you understand the complexities involved.
A critical mistake that catches many off guard involves neglecting to verify existing site conditions before permit application or estimation. Rocky soil, underground utilities, or historical structures can significantly alter foundation costs and permit requirements, yet these factors are often only discovered during construction. Skipping these evaluations can lead to expensive surprises and permit denials, prolonging your timeline. It’s wise to employ a professional site survey or soil test upfront, a step detailed in many expert resources.
Have you ever fallen into this trap? Let me know in the comments.
Finally, understanding the specific requirements for your project—such as setbacks, height restrictions, and easements—is vital. These elements influence both the permit process and your project’s scope. Overlooking a small easement can mean redesigning your entire plan or, worse, facing legal complications. As outlined in Construction Edgez, thorough preparation and professional guidance can prevent these pitfalls and streamline your project from start to finish.Maintaining the health and progress of your construction projects requires precision, reliable tools, and a bit of strategy. Over the years, I have honed a toolkit that ensures my estimates stay accurate, permits are secured swiftly, and long-term maintenance isn’t a headache. Utilizing the *right equipment* and *software* not only saves time but significantly reduces costly errors down the line.
One absolute essential is the **Laser Distance Meter**. I personally rely on the Bosch GLM 50 C for its exceptional accuracy and user-friendly interface. Unlike traditional tape measures, which can be inconsistent due to human error, this device provides measurements accurate to within millimeters, making it invaluable when verifying floor areas or awkward spaces. Plus, its Bluetooth capability allows me to sync measurements directly to my project spreadsheets, minimizing data entry errors.
Another game-changer is **Construction Management Software** like Buildertrend or CoConstruct. I prefer Buildertrend because of its comprehensive features—allowing me to track budgets, schedule inspections, and communicate seamlessly with clients and subcontractors. These platforms offer real-time updates, which are crucial for staying ahead, especially when managing additions or ongoing builds. They streamline documentation, making it easier to reference past decisions and ensure that maintenance plans are based on accurate records.
For long-term upkeep, I recommend investing in **Preventive Maintenance Apps** such as UpKeep or MaintaiNow. These tools remind you about routine inspections and early repairs—key to avoiding major issues later. I’ve set up custom alerts for HVAC, roofing, and foundation checks, which helps in extending the lifespan of investments and reduces unexpected breakdowns.
Looking ahead, I believe integration between **measurement tools** and **project management platforms** will become more seamless, possibly through AI-driven analytics that flag discrepancies or forecast maintenance needs before problems escalate. This synergy will make project scaling and maintenance more intuitive and less labor-intensive.
**How do I maintain my project data over time?** Consistently update your measurement inputs and inspection logs within your management apps. Regularly reviewing these details helps identify patterns, predict future needs, and verify that your project stays aligned with initial estimates.
Finally, I encourage you to try calibrating your laser meter before your next measurement session. Keeping your tools in top shape is a small step that pays massive dividends in accuracy. Remember, a well-maintained tool set and smart software integrations are your best allies for long-term project success and maintenance!
Lessons I Wish I Learned the Hard Way in Permitting and Estimating
One of the most impactful insights I gained was that even the most seasoned contractors can overlook details, leading to costly discrepancies. Trusting initial estimates without cross-verifying can silently sabotage your budget. I discovered that taking your own measurements, no matter how intimidating it seems at first, is a small step with monumental benefits—saving money and preventing delays.
Another lesson was realizing that building codes and permits aren’t just bureaucratic hurdles—they’re crucial guides ensuring safety and compliance. Diving deep into local regulations can reveal requirements that might not be obvious, ultimately safeguarding your project from future legal or safety issues.
Finally, I learned that integrating the right tools early—like laser distance meters and project management software—transformed my approach from reactive to proactive. These not only boost measurement accuracy but also streamline documentation, creating a transparent trail that’s invaluable when negotiating with suppliers or inspectors.
Tools and Sources That Changed My Approach to Home Building
My go-to device is the Bosch GLM 50 C Laser Measure. Its precision and ease-of-use saved me countless headaches, especially in irregular spaces. For project oversight, I rely on Buildertrend. This platform keeps my estimates, schedules, and documents organized, making complex projects manageable. Lastly, preventive maintenance apps like UpKeep have helped me stay ahead of future repairs, preserving the integrity of my investment.
Your Next Step in Home Project Success
Don’t let underestimated measurements or overlooked regulations derail your home ambitions. Embrace the detailed, disciplined approach—your future self will thank you. Remember, mastering accurate flooring measurement is not just about numbers; it’s about empowering your entire project journey.
What’s been your biggest challenge when estimating or managing permits for your home improvements? Share your experiences below—I’d love to hear and learn together!