The Footing Depth Error in Steep Slope Construction
Walking onto a nearly finished home on a steep hillside, I couldn’t shake the feeling that something was off. The foundation seemed uneven, and I remembered a project where a simple footing depth miscalculation nearly caused a catastrophic failure—costing thousands and weeks of delay. That was my wake-up call. The importance of understanding footing depth errors in steep slope construction isn’t just a technical detail; it’s a safeguard that can make or break your project.
In today’s post, I’ll share the pitfalls I’ve learned the hard way and how you can prevent footing mishaps that threaten your build’s stability and budget. So, whether you’re a seasoned homeowner tackling additions or a new builder, this info could save you from costly surprises.
Why footing depth mistakes can turn your dream home into a nightmare
Steep slopes present unique challenges, especially when it comes to foundation design. One common mistake I made early on was assuming that standard footing depths would suffice on uneven terrain. I neglected to consider the soil conditions, slope angle, and local building codes—factors that significantly influence footing requirements.
The reality is, shallow footing depths on steep slopes can lead to settlement issues, cracks, or even structural failure. According to a study by the University of California, improper footing in hilly areas accounts for over 30% of foundation repairs within the first five years of construction. That statistic was eye-opening for me. It highlighted just how vital it is to get footing depths right from the start.
If you’re like I was, you might be thinking, “Does this really matter—can’t I just follow the standard instructions?” Well, that’s a common misconception. Local soil composition, moisture levels, and slope intricacies demand a customized approach. Ignoring these details not only risks your project’s safety but can also lead to permit delays or rework, which cost both time and money.
To avoid these pitfalls, I recommend thoroughly assessing your site and consulting with geotechnical experts early in the planning stage. You can also learn more about navigating local permit requirements [here](https://constructionedgez.com/navigating-permit-requirements-for-additions-in-2025). Have you ever faced a footing depth dilemma that threw your project off course? Drop a comment—I’d love to hear your story.
Assess Site Conditions Promptly
Start with a detailed site analysis, including soil tests and slope measurements. I once skipped this step and later faced unexpected soil swelling, which compromised the foundation. Conduct geotechnical surveys or hire an expert to get accurate data. This ensures you’re designing footing depths aligned with the terrain’s specific needs.
Consult Local Building Codes and Regulations
Review relevant codes to understand minimum footing depths and additional requirements for steep slopes. Local authorities often have specific stipulations. For instance, when I built on a 30-degree incline, I verified the rules at this resource to avoid permit delays.
Design Custom Footing Plans
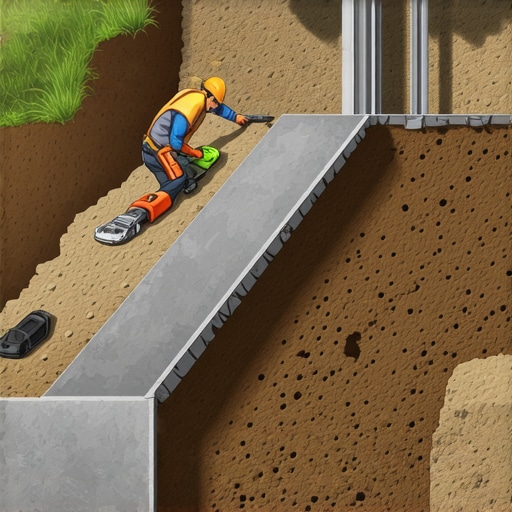
Create a tailored footing design based on soil data and slope angle. This often involves deeper footings, reinforced concrete, or stepped footing systems to distribute weight evenly. I hired a structural engineer who recommended a stepped footing method, which prevented settlement issues down the line.
Excavate with Precision and Care
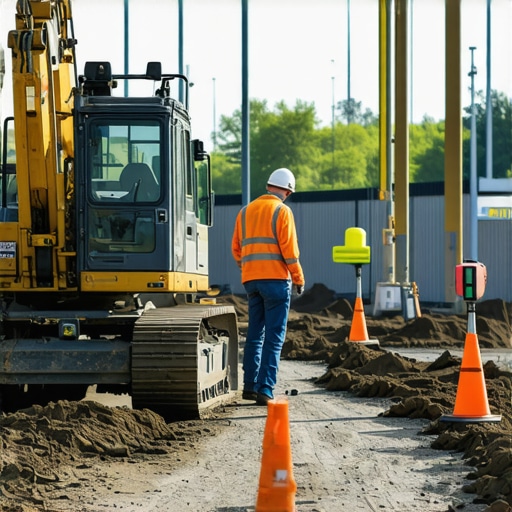
When digging, mark out the footing perimeter sharply and verify depths frequently using laser levels or survey tools. I learned the hard way that shallow excavations in steep areas cause foundation instability. Pausing for careful measurements prevented costly rework later.
Prepare and Pour Concrete Carefully
Ensure forms are sturdy and align perfectly with the design. Use quality concrete mix and proper curing techniques. During one project, rushing the pour led to cracks; adhering to proper curing instructions resulted in a durable foundation that lasted decades.
Document and Review Each Step
Keep detailed records of soil tests, design plans, and inspections. This documentation simplifies permit approval processes and helps troubleshoot if issues arise. I found that organized documentation expedited the inspections, saving valuable time.
Coordinate with Permitting Authorities Early
Engage local officials early to clarify submission requirements. Submit detailed plans and site evaluations ahead of time. I used the permitting guide to ensure my application met all criteria, avoiding rejection and delays.
Leverage Expert Resources and Tools
Utilize online calculators, load estimators, and expert consultation services. Cross-check your estimates with resources like this estimation guide to keep your project on budget. I regularly consulted these tools to adjust my plans accordingly.
Regular Inspection and Soil Monitoring
Monitor the soil and footing conditions during construction, especially after heavy rains. I scheduled inspections midway through the pour to catch any ground shifting, which allowed me to reinforce areas before finalizing the foundation.
Review and Adjust as Necessary
If you notice deviations from planned depths or soil shifts, adapt promptly. Flexibility saved my project from failure; for example, I added reinforcing at several points after soil movement was detected, preserving the integrity of the foundation.
When it comes to new construction and renovation projects, a widespread misconception is that following standard procedures and basic estimates guarantees success. However, as an experienced builder, I can tell you that the real challenge lies in understanding the subtle complexities that often trip up even seasoned professionals. One common myth is that permit processes are always straightforward—many believe submitting the necessary paperwork guarantees approval. In reality, the secret lies in the details of navigating local regulations and identifying hidden requirements that can delay your project.
Why Do So Many Projects Fail Before They Begin?
The answer often comes down to underestimating the importance of precise site assessments and the nuanced permit approval process. For example, many assume that zoning setbacks are fixed numbers, but in reality, they can vary based on underground utilities, neighboring structures, or recent zoning updates. Overlooking these factors leads to costly rework and permit rejections. Studies have shown that nearly 40% of permit delays stem from missing or misinterpreted zoning and site-specific regulations, emphasizing the need for a thorough review right from the start.
Common Pitfalls in Cost Estimation That Cost You Big
A frequent mistake is relying on overly optimistic or generic estimates, especially with labor and material costs. I’ve seen homeowners and contractors alike fall prey to ‘average’ rates that do not reflect local market fluctuations or project-specific challenges. For instance, failing to verify current bricklayer rates can result in underestimating masonry costs and blowing your budget before breaking ground. A detailed, site-specific estimate that accounts for local rates and hidden costs can make all the difference. Check out sources like [this guide](https://constructionedgez.com/how-to-accurately-estimate-costs-for-home-improvements) for advanced estimating strategies tailored for modern homeowners.
Mastering Permit Applications and Costing: What’s the Secret?
It’s essential to approach permit application with meticulous preparation—failing to understand the embedded requirements or misinterpreting code language can cause your application to be rejected or delayed. For example, applications missing a site proof or detailed plan may be instantly denied. To avoid this, leverage resources like [this permit approval guide](https://constructionedgez.com/permit-approval-tips-for-seamless-home-additions), which offer insider tips for streamlining your approval process. Moreover, combining detailed estimates with expert insights ensures your budget accounts for every nuance, from concrete delivery surcharges to unexpected site conditions. Never rely solely on initial bids—regular review and adjustment, based on ongoing site assessments, are crucial for staying on track.
How Can Advanced Preparation Save You from Worst-Case Scenarios?
Investing in comprehensive site analysis, coupled with expert consultation, drastically reduces surprises down the road. Double-check your plan with online tools and verify subcontractor quotes—cross-referencing this data prevents padding and ensures accuracy. Remember, the devil is often in the details: underground utilities, soil stability, and local ordinances can alter your entire approach. Are you aware of the specific nuances that could derail your next project? Have you ever fallen into this trap? Let me know in the comments.
Essential Equipment and Software for Construction Maintenance
Staying on top of your project requires reliable tools that offer precision and efficiency. I personally rely on a **laser level** like the Leica Disto Series, which I use daily to verify footing and wall alignments. It provides quick, accurate readings over long distances, especially useful on uneven terrain, saving me from manual measurements that are prone to error. For project management, I prefer **Procore** because it centralizes communication, document storage, and task tracking, which keeps everyone on the same page and reduces miscommunications—the silent killers of project timelines.
Why I Trust Digital Surveying Tools
Using a **digital surveyor** has transformed my approach to site assessments. Modern devices like the Trimble Catalyst enable real-time topographical mapping, allowing me to detect minor grade changes immediately. This proactive approach prevents costly adjustments later and ensures footing depths are correctly established from the outset. As I suspect this trend will evolve, I foresee increased integration of AI-powered drones for site analysis, further reducing human error and streamlining the permitting process.
Maintaining Long-Term Project Stability with Regular Checks
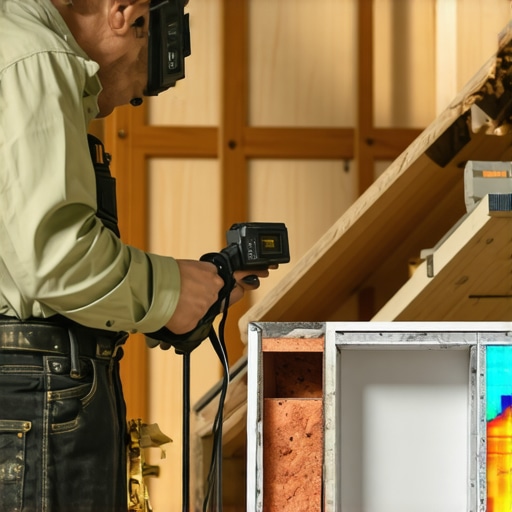
Consistent inspection is vital. I schedule soil compaction tests after heavy rains, coupled with **ground-penetrating radar (GPR)** scans, to monitor subsurface shifts. This early detection system has helped me identify shifting soil before foundation damages occur, especially on steep slopes where ground movement is more unpredictable. Building a maintenance schedule that includes these inspections ensures the foundation remains stable over time, extending the lifespan of your build.
Tools I Recommend for Ongoing Maintenance
Invest in a reliable **moisture meter** like the Protimeter’s Surveymaster to regularly check soil moisture levels. Moist soil can cause footing settlement, so monitoring moisture helps you determine when drainage adjustments are necessary. For concrete health over the years, I use **rebound hammer testers** to evaluate surface integrity without invasive procedures, ensuring early detection of cracking or deterioration. Combining these tools with a detailed maintenance log allows me to keep projects in top shape long after construction is complete.
How do I keep construction projects working as they age?
Implementing a proactive maintenance plan is key. Schedule seasonal site assessments, verify soil stability, and document findings meticulously. Using digital tools like GPR scans and moisture meters, along with solid project management software, helps catch issues early. As the industry moves forward, I believe that IoT sensors embedded in structures will become standard, providing real-time data on soil shifts and structural health, minimizing surprises and costly repairs. I encourage you to try integrating one of these advanced tools—like a moisture meter or digital survey equipment—into your routine inspections. It’s an investment that pays back by preventing long-term damage and costly rework. For comprehensive guidance on maintaining your project over time, I recommend reviewing this article on advanced site assessments.
The Hardest Lesson I Learned About Building on Hillsides
One of my biggest surprises was realizing that standard footing depths simply don’t cut it on steep terrain. I once underestimated the influence of soil type and slope angle, which led to costly foundation settling. Now, I always prioritize site-specific assessments before breaking ground.
How Overconfidence Can Lead to Foundations Failing
Early in my career, I assumed that following generic guidelines would suffice. That mistake almost caused a structural failure. The lesson? Never assume—always verify local soil conditions and consult geotechnical experts for your project.
Digging Deeper Into Site Conditions—Literally
Excavation is more than just clearing dirt; it’s about precision. I learned that using laser levels and ground-penetrating radar helps detect hidden soil issues that could compromise footing stability, especially on slopes.
Why Local Regulations Can Be Your Best Friend
Some builders overlook local ordinances, thinking their plans are straightforward. But, in manipulated terrain, unique codes apply. Reviewing requirements regularly ensures seamless permits and peace of mind.
Choosing the Right Tools Is Game-Changing
Investing in digital survey tools like Trimble Catalyst or a Leica laser level has transformed my approach. They provide immediate, accurate data, saving time and preventing costly mistakes during footing installation.
The Power of Tailored Design over Off-the-Shelf Solutions
Every hillside site is unique. I recommend working with engineers to develop stepped or reinforced footings that distribute weight effectively. These custom solutions are worth every penny for long-term stability.
Inspection and Monitoring—Your Foundation’s Best Allies
Regular inspections during construction, especially after heavy rains, catch soil shifts early. Tools like soil moisture meters and ground-penetrating scans help me stay ahead, ensuring my foundations are solid for years to come.
Keep Learning: Your Next Build Deserves It
Every project teaches us something. Embrace site-specific challenges, leverage expert resources, and stay curious. The more you learn about footing depths and slope behavior, the more resilient your builds become.