Why Your New Build Site Needs a Designated Washout Area
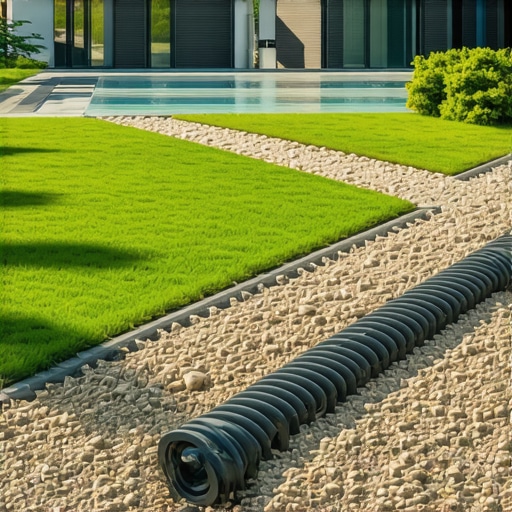
I remember the first time I watched a construction crew pour concrete, only to realize their equipment was just a few feet away from my freshly laid sod. The muddy mess and scattered debris made me think, “There has to be a better way.” That moment was a lightbulb, revealing a familiar problem many homeowners and builders face: managing runoff, debris, and contaminated water during a build. When you’re investing in a new site, cleanliness and safety shouldn’t be afterthoughts—they’re essentials.
How a Simple Washout Spot Can Save Your Project—and Your Sanity
Imagine this: your project progresses smoothly until runoff from concrete or paint contaminates your landscape or nearby water sources. Not only does this create environmental concerns, but it can also lead to costly permit violations or project delays. Early on, I made a classic mistake—failing to designate a wet area for cleaning tools and disposing of excess materials. It seemed minor at first, but it quickly turned into a logistical nightmare, with muddy footprints tracked into the house and discarded waste spilling into unintended areas. That experience was a wake-up call: having a dedicated washout area isn’t just a neat idea; it’s a fundamental part of responsible site management.
The good news? Establishing a designated washout zone is straightforward and offers long-term benefits. It contains pollutants, keeps the site cleaner, and can even accelerate inspection processes. In our upcoming sections, I’ll guide you through how to set up your own washout area effectively. If you’re tired of dealing with unnecessary messes or worried about permit hiccups, this simple step could be a game-changer.
Have you ever faced a situation where runoff or waste from your site caused a problem? Let me know in the comments below or reach out through our contact page.
Is a Washout Area Really Necessary for My Build? The Truth About Site Management
Early mistakes often stem from underestimating the importance of basic site organization. While some might see a designated washout as optional, the reality is that it helps prevent environmental violations and project delays. According to the EPA, improper disposal of construction runoff can lead to water pollution and hefty fines—so why take the risk? Setting up a washout isn’t just (a good idea) but a practical necessity, especially considering recent regulation updates that favor stricter environmental compliance, such as those detailed in permit requirements for 2025. I learned this the hard way, and I want you to avoid the same pitfalls. Now, let’s dive into how you can create your own efficient washout station.
Determine the Ideal Location Quickly
Start by choosing a spot at your site that’s downhill from your concrete pours, paint jobs, and other runoff sources. Picture it as guiding water to a designated sink rather than letting it spread uncontrollably across your yard. I once placed a makeshift washout near the front driveway, which resulted in muddy ruts and pollution onto adjacent land. That mistake taught me to select a location that’s both accessible and appropriately positioned for runoff control.
Establish a Durable Containment System
Next, create a containment barrier using high-density polyethylene or heavy-duty tarps supported by wooden stakes or concrete blocks. This acts like a bathtub that keeps contaminated water from seeping into the soil or reaching water bodies. I personally installed a 4-foot-high barrier with plastic liners, which effectively contained runoff during a busy project, preventing environmental violations and cleanup headaches.
Set Up Proper Drainage and Filtration
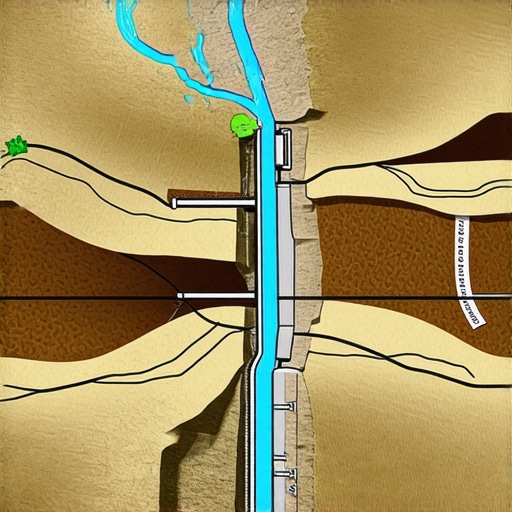
Attach hoses or pipes to direct water from the washout area to a holding tank or approved disposal site. Incorporate a filter—like a silt sock or sediment basin—to trap debris before water exits your containment. During a recent project, I added a sediment trap after observing sediment washing into the drain; this simple addition saved me from potential permit issues and made inspections smoother.
Implement Covering and Signage for Safety
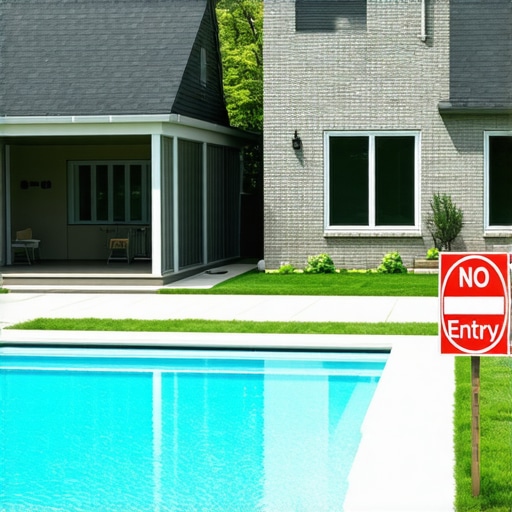
Cover the washout with rigid lids or tarps to prevent debris from becoming airborne and to keep rainwater from overflowing the containment. Clearly mark the zone with signs explaining its purpose. In my experience, proper signage reduced accidental trespassing and ensured workers adhered to site protocols, maintaining safety and compliance.
Develop a Routine for Cleaning and Maintenance
Regularly inspect your washout area for leaks or damage, especially after heavy rains or prolonged use. Clean out accumulated debris and replace filtration media as needed. During one project, weekly checks prevented overflow issues, ensuring consistent quality control and rapid permit compliance. This proactive approach minimizes environmental risks and keeps your project on schedule.
Coordinate Disposal According to Regulations
Once the contamination is contained, follow local regulations to dispose of wastewater or solid waste properly. Use authorized disposal sites or contact environmental agencies if unsure. I learned to confirm disposal procedures beforehand, avoiding costly fines for improper waste handling. For detailed guidance, you can consult permit guidelines for new builds.
Many homeowners and even seasoned contractors fall prey to misconceptions when it comes to permits, estimating costs, and planning new builds or additions. Let’s dig deeper into some hidden nuances that can make or break your project, beyond the basic advice most people hear. A common myth is that permits are merely a bureaucratic hurdle that you can circumvent with informal approvals. In reality, skipping or rushing permits often leads to costly delays and legal trouble, as revealed in multiple case studies documented by industry experts. Establishing a false sense of security here can be your biggest oops.
Another assumption is that estimating costs is straightforward—simply tally up materials and labor. However, overlooking hidden factors such as soil conditions, local regulations, or permit fees can turn a seemingly accurate estimate into a budget buster. For example, inadequate soil drainage testing might save money upfront but cause major expenses later if you face unexpected foundation issues. As I discuss in accurate estimating guides, factoring in these nuances is essential.
People often believe that new builds are purely about design and construction phases, but in my experience, the permitting and estimation process involves many layers of nuance that only an expert knows how to navigate. Missing these details can cause project delays or compliance failures. For instance, ignoring updated regulations like those outlined in permit requirements for 2025 can set back your timeline significantly.
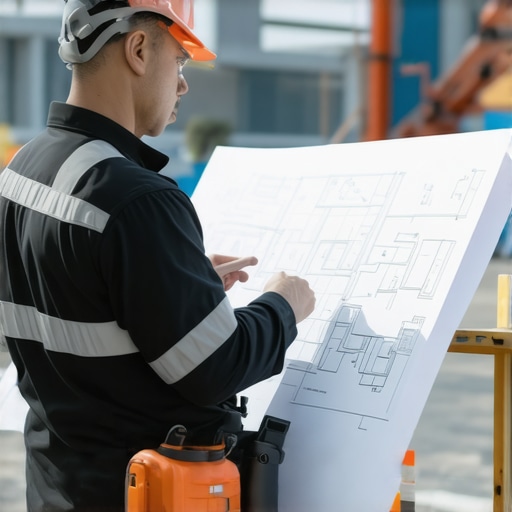
One advanced mistake is underestimating the impact of shared property lines and easements on your plans. Overlooking easements can restrict construction zones or require costly adjustments, which most amateurs might not anticipate until they hit a real problem. To prevent this, a proper property survey and legal review are crucial early steps—something I emphasize in my comprehensive planning approach.
But here’s the kicker—many believe that once permits are approved and estimates are set, their projects will proceed smoothly. In truth, continual monitoring and flexibility are vital, as unforeseen site conditions or regulatory changes can still throw a wrench into your plans. Regular communication with experts and thorough documentation are your best defenses against costly surprises.
Have you ever fallen into this trap? Let me know in the comments or reach out through our contact page. Remember, understanding these hidden nuances ensures your project stays on track, within budget, and compliant with all regulations.Maintaining efficiency on your construction site requires more than just quality materials and a solid plan; it hinges on the right tools and disciplined practices. One tool I personally rely on is the Laser Distance Meter. Unlike traditional tape measures, a laser device allows me to quickly verify distances, ensure accurate measurements for framing, and save time—especially when working alone. I recommend models like the Leica DISTO series for their reliability and ease of use, which directly impacts my ability to keep projects on schedule and within budget.
Another essential tool is a Digital Level. Precision is critical when ensuring surfaces are perfectly horizontal or vertical, preventing issues like uneven flooring or tilting walls. I prefer the Bosch GLL3-330CG because it offers a clear cross-line laser and Position IQ technology, making alignment straightforward, even in poorly lit conditions.
For project management, Construction Management Software such as Procore or CoConstruct has revolutionized my workflow. These platforms centralize communications, document sharing, and scheduling, helping me keep tabs on every aspect of the build in real-time. They also facilitate seamless permit tracking and compliance documentation, reducing delays caused by administrative oversights. You can explore some of these strategies at this guide on estimating and planning for new builds.
How do I maintain progress over time?
Consistent monitoring and routine checks are key to long-term success. I schedule weekly tool audits and site walkthroughs, making adjustments before small issues escalate. Using a Waste Management Plan ensures debris disposal stays compliant, preventing permit problems down the line. Incorporating technology, like real-time project dashboards, provides ongoing visibility, allowing me to react swiftly to any disruptions.
Looking ahead, I believe the trend will lean heavily toward integrated IoT devices—such as smart sensors for structural integrity and environmental conditions—helping us catch potential problems early. Staying ahead means investing in these advanced tools now, giving you a competitive edge.
For a proactive approach, I recommend adopting a digital level combined with laser measurements for monthly inspections. This simple step can dramatically improve your site’s accuracy, prevent costly rework, and ensure your build stays on track. If you’re interested in diving deeper into effective site management tools, don’t hesitate to reach out through our contact page.
One of the most overlooked yet critical aspects of construction is establishing a robust foundation for environmental compliance and site management. Through my experience, I’ve uncovered insights that go beyond standard checklists, revealing the importance of strategic planning and proactive measures to avoid costly mistakes.
Lessons That Sneak Up on Even the Savviest Builders
- Permits Are Your Best Friends, Not Obstacles: I once thought rushing permit approvals would save time, but I learned that early, thorough permit research prevents delays. Staying updated with regulations like those outlined in permit requirements for 2025 is essential.
- Cost Estimations Require a Detective’s Eye: Initial estimates can be deceptively simple, but soil conditions, hidden easements, and regulation fees can catch you off guard. Resources like estimating guides help refine accuracy.
- Regulations Outpace Your Assumptions: Ignoring updates or nuances—such as drainage or setback rules—can delay your project. Regularly consulting detailed resources ensures compliance and smooth progression.
- Shared Property Considerations Matter More Than You Think: Overlooking property line easements can derail plans. Early property surveys and legal checks, as discussed in shared fence agreements, save headaches later.
- Consistent Monitoring Trumps Guesswork: Routine site checks and documentation prevent minor issues from becoming major setbacks. Investing in digital tools accelerates this process and keeps everything transparent.
My Toolbox for Navigating Permit and Estimating Challenges
- Construction Management Software: Platforms like Procore have transformed project oversight, making compliance tracking seamless.
- Precision Measurement Devices: Laser distance meters and digital levels have increased accuracy and efficiency, reducing rework—saving both time and money.
- Expert Resources and Guides: Continuous learning from reputable sources, such as permit process guides, keeps me ahead of regulatory changes.
- Community and Professional Feedback: Sharing lessons and asking questions on forums or through professional networks often uncovers shortcuts and potential pitfalls I hadn’t considered.
Your Path to Smarter Building Starts Now
What I’ve discovered through years of hands-on experience is that success in permit, estimating, and new builds hinges on meticulous planning, staying informed, and embracing continuous learning. The moment you see beyond the checklists and anticipate hurdles, your projects become smoother and more predictable. Remember, every challenge you face now is an opportunity to sharpen your skills and ensure your next build is even better.
Are there specific hurdles you’ve encountered in your construction projects? Share your story below or reach out directly. Let’s grow together in mastering site management and building smarter.