Why Your Floor Plan Needs a Direct Sunlight Study
I still remember that sinking feeling when I realized I overlooked the importance of sunlight in my latest home project. We had gone through permits, budget estimates, and design choices, but it was only after moving in that I noticed how gloomy some rooms felt, especially during those crucial afternoon hours. It was a lightbulb moment—literally. This overlooked factor affected not just comfort, but also energy efficiency and even the value of the property. Since then, I’ve learned the hard way that ignoring a sunlight study can lead to costly surprises down the road.
How sunlight exposure can make or break your home’s comfort and value
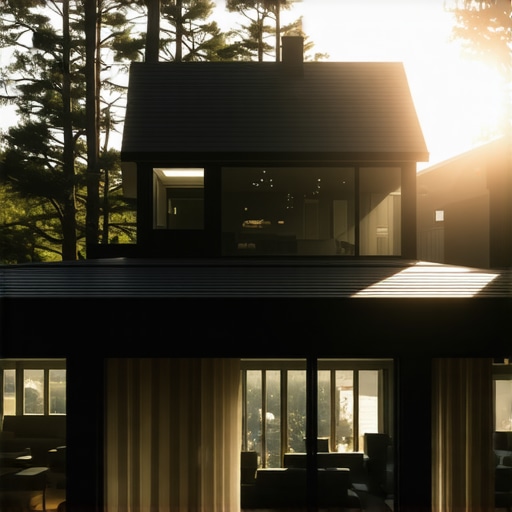
Think about it. A well-lit space isn’t just about aesthetics; it’s about your daily mood, the health of your plants, and your heating and cooling bills. When I built my last addition, I naively assumed that placement and windows would naturally maximize sunlight. Turns out, that was my first mistake. I didn’t consider how existing structures—like trees, neighboring buildings, or even the local topography—could cast shadows during different times of the day. Consulting a sunlight study beforehand could have saved me from pouring money into electrical lighting and artificial warmth.
Research supports this: studies show that homes with optimal sunlight exposure sell faster and at higher prices. The National Association of Realtors points out that natural light is a top feature buyers seek. Yet, many homeowners and builders neglect this aspect early in the planning process, leading to spaces that are either too dark or uncomfortably bright at certain hours. It’s not about chasing sunlight for vanity; it’s about creating a livable, energy-efficient space that enhances your quality of life.
Is a sunlight study really worth the extra effort and cost?
Early on, I made the mistake of thinking that a quick glance at the sun’s path would suffice. That’s like trying to navigate without a compass. A proper direct sunlight study provides precise data—showing how sunlight moves across your site during different seasons and times of day—so you can position windows, patios, and even landscaping for maximum benefit. If you’re sketching your floor plans without this info, you’re essentially guessing—and guesswork is expensive when it comes to good design.
But I get it. Some folks worry that such studies are cumbersome or add to the project’s cost. I’ll admit, I hesitated at first. However, the investment pays for itself by preventing costly modifications later, reducing energy bills, and improving your overall happiness in your new space. Want to see how I integrated sun studies into my project? Check out more about the permitting process and how to avoid delays [here](https://constructionedgez.com/permits-for-new-builds-essential-tips-for-your-project). If you’ve faced similar frustrations or overlooked this step, let’s talk about how to get it right from the start.
Pinpoint the Best Sunlight Routes Now
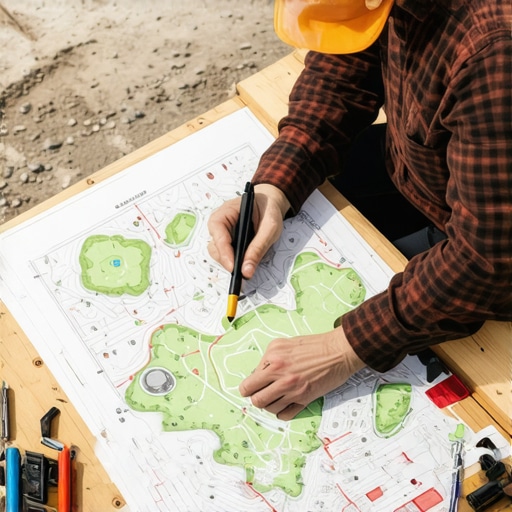
Kick off by observing sunlight patterns at different times over a few days, ideally during early morning, noon, and late afternoon. Use a simple digital camera or smartphone to record shadows and light intensity. Remember, static observations can be misleading—note how nearby structures or trees cast shadows, especially during different seasons. When I did this for my own project, I documented my findings with photos and notes, which later helped me identify which window placements maximized natural light without causing glare or overheating.
Use Tools that Simulate Sunlight Paths
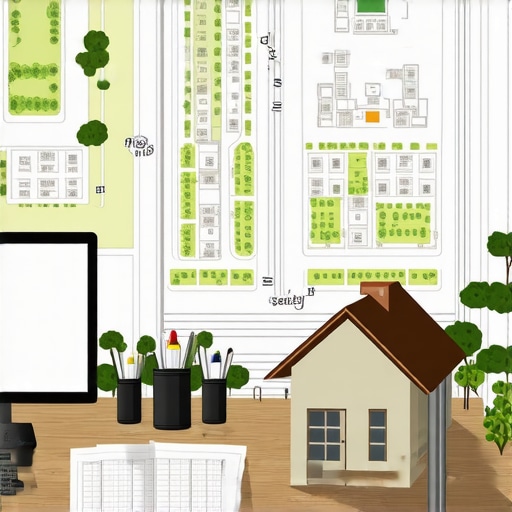
Invest in or rent sunlight simulation software—these tools can generate detailed sun path diagrams specific to your site. These models illustrate how sunlight moves across your property through the year, revealing ideal window sizes and positions. For my last build, I used such software, and it directly influenced my window placement, saving me thousands in energy costs. Incorporating these digital models into your planning ensures you’re making data-driven decisions instead of relying on estimates or assumptions.
Incorporate On-Site Sunlight Testing
Set up temporary measures like reflective surfaces or simple light meters on-site to test sunlight during different times and seasons. For example, I placed a lightweight reflector on my porch to see how sunlight changed during the day and to test shading options. This hands-on approach provided immediate insights, revealing overlooked shadow patterns or overly bright spots that I hadn’t anticipated. Complement this with physical markers to record shadow lengths and angles—these real-world tests help validate and refine your digital and observational data.
Document Results and Integrate Into Plans
Compile all your observations, photos, and test data in a centralized document. Mark key points—such as peak sunlight hours, shadow casting objects, and potential shading solutions. When I compiled my data, I created a layered plan that included window placements, shading devices, and landscaping suggestions aligned with sun exposure. This detailed mapping became critical during permit application phases, as it clearly demonstrated how your design optimizes natural light and energy efficiency. Accurate documentation also fortifies your case when discussing designs with contractors or local authorities.
Coordinate with Professionals Early
Share your collected data with architects or sunlight study specialists early in your design process. They can interpret your findings with advanced modeling tools and advise on adjustments to improve sunlight exposure or shading. When I involved a sunlight analysis expert, they pinpointed a overlooked patio spot that could benefit from a shade structure, enhancing usability without sacrificing sunlight. Early collaboration prevents costly reworks, speeds up permit approvals, and ensures the project aligns with local regulations and community standards. To navigate the permit process efficiently, learn more about permit requirements for home additions.
Many homeowners and even seasoned builders often fall prey to misconceptions about the complexities of new builds, permits, and additions. A common myth is that estimating costs is straightforward—simply tally up materials and labor. However, this oversimplification ignores the nuanced realities of project-specific variables like site conditions, permit requirements, and code compliance. Misjudging these factors can lead to significant budget overruns and permit delays, issues I’ve encountered firsthand.
One critical mistake is underestimating the importance of detailed site analysis early in the planning phase. For example, overlooking local zoning restrictions or hidden easements can halt a project before it even begins. The trap here is believing that permits are merely bureaucratic hurdles, rather than integral components of thoughtful planning. Consulting the guide on understanding permit processes can help you avoid these costly missteps.
A false belief many have is that permits are optional or can be filed at the last minute. The reality is that permit approval is often a game of meticulous compliance and timing. Missing a minor detail—like inadequate setback documentation or failing to meet fire safety codes—can cause permit rejections, adding weeks or even months to your timeline. In fact, some experts suggest proactively engaging with local authorities during the initial design phase to streamline approvals.
Now, for those of you delving into estimating costs, beware of the hidden nuances that can trip up even experienced estimators. Technique matters as much as the numbers; lazy estimates that ignore site-specific factors such as soil stability or existing infrastructure often lead to underbudgeting. For instance, unforeseen foundation strengthening needs can double your initial costs, turning what seemed like a minor addition into a budget-busting project.
What about common myths surrounding professional estimation? Many assume that hiring a high-priced estimator guarantees accuracy. But without a thorough understanding of the local market rates and hidden extras—like permit fees or debris removal charges—even the best estimator can miss key expenses. For a detailed look at modern estimation strategies, check out this resource.
A question that often puzzles experienced builders is: How can I ensure my estimates truly reflect reality? The answer lies in rigorous data collection—documenting every site analysis, markup, and contingency—and cross-referencing these with trusted industry benchmarks. Incorporating digital tools and software models to simulate site conditions can elevate your accuracy. For professionals seeking advanced insights, the article on estimating costs for new builds offers invaluable strategies.
Remember, the devil is in the details. For example, understanding the specific soil tests needed for your site, as discussed here, can prevent costly foundation failures. And, as always, early and continuous communication with permits and estimation experts tremendously improves your project’s success rate. Have you ever fallen into this trap? Let me know in the comments.
Smart Tools for Long-Term Success
One of my go-to devices is the digital laser measure. It’s not just about quick measurements; I rely on it for verifying dimensions during framing and even when checking the stability of scaffolding. Trust me, manually measuring can lead to small errors that cascade into costly mistakes later. Using laser tools ensures precision and saves me time, especially when scaling projects or planning additions. Predicting future trends, I see digital measurement tools becoming more integrated with augmented reality (AR) — envision verifying your building plans against real-world sites via your smartphone, reducing errors even further.
Equally vital are software programs like estimating tools. I prefer ones that allow custom inputs based on site conditions, so I can tweak costs and see real-time impacts. These advanced software solutions also help track ongoing expenses and adjust estimates, which is crucial for managing large projects or multiple builds.
How do I keep my tools functioning over time?
Proper maintenance is essential. For digital tools, regular calibration—especially for laser devices—is non-negotiable. I keep my laser measure in a protective case, check batteries regularly, and calibrate against known distances every few months. For software, routine updates ensure compatibility with new operating systems and security patches, preventing glitches that could delay work. Also, establishing a dedicated digital workspace keeps your data backed up and accessible, reducing the risk of loss due to hardware failure. Investing time in maintenance prolongs your tool lifespan, ensuring they remain reliable for future projects.
Document Every Step During Construction
Keeping meticulous records of measurements, inspections, and adjustments is a game-changer. I photograph critical stages and note any discrepancies from plans, then cross-reference these with your permits and estimates. This habit not only helps in troubleshooting but also streamlines compliance during audits or when passing inspections. I recently learned that using cloud-based project management platforms can centralize this information, making collaboration with professionals much smoother—expert insights emphasize how digital documentation reduces costly rework.
Scaling Up? Prepare Your Maintenance Regimen
As your projects grow, so does the complexity of maintaining tools and processes. Implementing routine checklists, scheduling calibration and updates, and training team members on proper device usage are fundamental. In the future, I predict AI-driven maintenance alerts, which notify you when calibration or software updates are due, will become standard. This predictive approach minimizes unexpected downtimes and ensures everything runs smoothly—saving time and money over the long haul. If you’re looking for a starting point, try integrating a dedicated maintenance schedule that aligns with your project milestones; it’s a simple step that yields significant dividends.
Ready to harness these advanced strategies? Start by testing a digital measuring device combined with a reliable estimation software. The initial investment pays off quickly through improved accuracy and reduced errors. Looking for more detailed guidance? Reach out via our contact page and let’s discuss the best practices tailored to your projects.
The Hardest Lesson I Learned About New Builds and Permits
One of my biggest realizations was how underestimated the complexity of site-specific factors truly is. I once thought a straightforward plan would suffice, but overlooking local zoning nuances or underground utilities led to costly delays. This experience taught me that thorough preliminary research and consultation can prevent project halts and ensure smoother permits.
3 Myths About New Build and Permit Success That Could Cost You
Many assume that permits are just bureaucratic hurdles, or that consultant costs are optional. I used to believe I could handle everything solo, but collaborating early with professionals and understanding real permit requirements made all the difference—saving time and money. Busting these myths early turns costly surprises into predictable milestones.
The Unexpected Value of Sunlight Studies That Changed My Approach
Initially, I thought sunlight exposure was a minor aesthetic detail. However, integrating detailed sunlight studies into my planning revealed perfect window placements that improved energy efficiency and indoor comfort—without extra appliances. This lesson underscores the importance of data-driven design decisions for lasting value.
Smart Strategies That Prevent Budget Blowouts
From experience, I’ve learned that detailed site analysis and verified estimates are your best defenses against unexpected costs. Using digital tools like sun path diagrams and precise measurement devices minimized waste, while early collaboration with experts avoided rework. These strategies keep projects on track financially and in schedule.
Unlocking Construction Success with Trusted Resources
Over the years, I’ve relied on certain tools and sources that truly make a difference. For estimating, I swear by resources like modern estimation strategies because they incorporate latest market insights. For permit guidance, permits that navigate local regulations have been invaluable. Leveraging these ensures you’re informed and prepared for each step.
Take the Next Step Towards Confident Building
Building or renovating is inherently complex, but the right knowledge transforms challenges into opportunities. Embrace data, collaborate early, and use trusted resources to realize your vision smoothly. Your future self will thank you for laying this strong foundation today.
What’s been your biggest obstacle so far in managing permits or estimating costs? Share your experiences below—I’d love to hear and help!