The Plumbing Manifold Error That Fails Initial Inspections
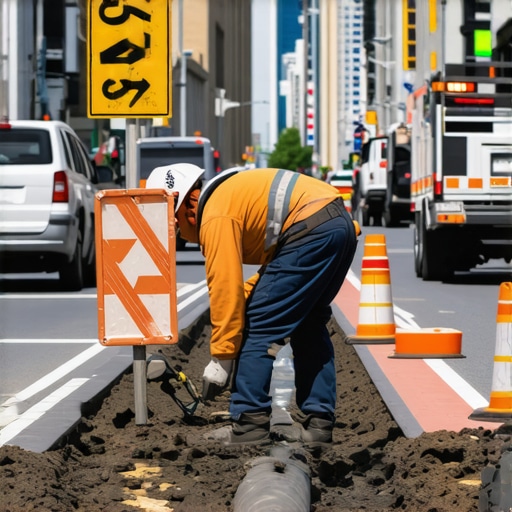
I remember the first time I faced a plumbing manifold error during a home addition project. It was late in the game, paperwork ready, permits approved, and I thought I had everything under control. But then, during the initial inspection, there it was—an unexpected rejection. The inspector pointed out a manifold configuration mistake that I hadn’t even considered. That moment felt like a slap in the face, forcing me to scramble and spend extra days correcting issues that should have been caught early.
Why Fixing Plumbing Manifold Mistakes Early Matters More Than You Think
In the world of home renovations and additions, plumbing — especially the manifold setup — can be a tricky part. Not every inspector is a fan of complex manifolds, especially if they’re not configured correctly from the start. Why does this matter? Well, a misconfigured manifold can cause your entire permit to be delayed or even rejected. It’s a frustrating setback that can turn a smooth build into a costly headache.
One thing I wish I’d known earlier: many of these errors aren’t random. They often stem from simple, fixable mistakes. According to industry experts, a key reason permits get held up is improper manifold placement or connection issues, which can be avoided with proper planning (source: ConstructionEdgez).
If you’ve ever been halfway through a project and faced a similar rejection, you know exactly how disheartening it can be. But the good news is, with the right knowledge, these errors are completely avoidable. Today, we’re diving into what you need to know to ensure your plumbing manifold setup passes inspection on the first try.
By the end of this post, you’ll have clear, actionable steps to sidestep this common pitfall—and get your project moving forward without unnecessary delays. So, let’s get into it.
Plan Your Manifold Layout Before You Cut
During my last renovation, I drew a comprehensive plumbing diagram on graph paper, mapping each fixture’s connection to the manifold. This step is crucial—think of it as laying out a road map before hitting the road. It prevents costly detours or dead ends during installation.
Use a Digital Plumbing Design Tool
I transitioned from paper plans to a digital tool that simulates water flow and pipe routing. Investing time here helps identify potential bottlenecks or misplacements, much like how a GPS reroutes around traffic jams. This proactive approach saves time and reduces material waste.
Verify Manifold Placement Relative to Fixtures
In one project, I initially placed the manifold under the floor, but realized it was too close to the wall, making future access difficult. By measuring fixture distances and placement constraints, I ensured the manifold was accessible and compliant with local codes, similar to laying out furniture to maximize space.
Maintain Proper Elevation and Clearance
During installation, I kept the manifold at a height that allowed for ease of maintenance and met code specifications. Consider it like setting up a workstation at the right height—you reduce strain and prevent future issues. Consult local regulations through permit process guides to confirm requirements.
Connect Each Fixture Carefully and Correctly
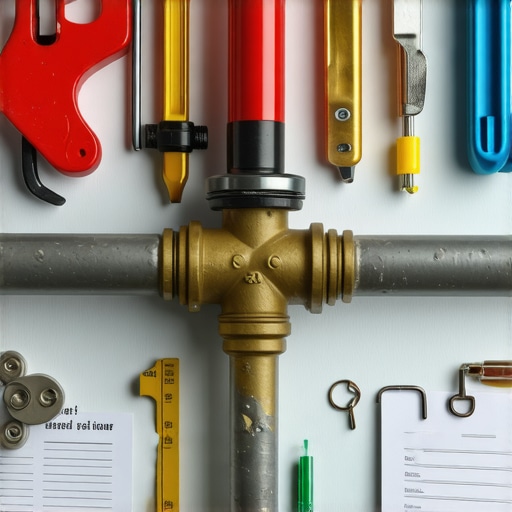
Using high-quality fittings, I carefully connected each fixture to the manifold, ensuring tight seals and proper alignment. Think of it as designing a secure chain—each link must be strong to withstand the water pressure. Leverage an adjustable wrench and thread sealant to prevent leaks.
Double-Check Connections Before Covering
I performed a pressure test by closing the system and running water through each fixture. Any drops in pressure indicated a connection issue, prompting me to tighten fittings or replace faulty components. This step acts as a fail-safe, akin to testing a bridge’s stability before heavy traffic.
Document Everything for Permitting and Inspections
After installation, I documented the layout with photos and detailed notes, including measurements and materials used. Proper documentation simplifies the permitting process and demonstrates compliance—similar to keeping receipts for warranty claims. When ready, reference permit tips for seamless approvals to streamline inspections.
Schedule a Pre-Inspection Review
Before the official inspection, I requested a walkthrough with a professional plumber or inspector. This proactive step uncovers minor issues early, much like a rehearsed play, ensuring a smooth approval process. Remember, thorough preparation reduces delays and rejections.
When it comes to estimating costs for new builds and additions, many assume that the biggest challenge lies in simply summing up materials and labor. However, in my experience as a seasoned contractor, the real trap is in overlooking the nuanced details that can make or break your project budget and timeline. One common myth is that estimates should be static once computed; in reality, they require continuous refinement, considering factors like fluctuating material prices, permit complexities, and unforeseen site conditions.
A significant mistake many make is relying solely on generic estimates or average costs from online calculators, which often ignore local regulations and unique site factors. For example, a study by the National Association of Homebuilders reveals that up to 30% of underestimated costs are due to overlooked permit fees or zoning requirements. These hidden expenses can swiftly escalate if not accurately accounted for early on.
Don’t fall into the trap of underestimating the permit process itself. Many assume permits are a mere formality, but in areas with strict zoning laws, environmental restrictions, or special-design overlays, permits become complex, time-consuming, and costly. A common error is neglecting the time and fees associated with this, leading to project delays and budget overruns. My advice? Always review the local building codes and permit requirements meticulously—better yet, consult with local experts or agencies directly. You can find detailed guides on navigating these processes at ConstructionEdgez.
Now, for the sophisticated builder, here’s a question that often gets overlooked: How can integrating digital modeling tools refine your estimation accuracy and permit approval chances? The answer is, by leveraging 3D models and BIM (Building Information Modeling), you gain precise insights into site-specific challenges, utility placements, and structural considerations. These tools can help you visualize potential permit hurdles and address them proactively, saving time and money in the long run. A recent paper published in the Journal of Construction Engineering emphasizes that projects using BIM saw a 20% reduction in cost overruns and permit delays. If you’re serious about avoiding surprise costs and rejections, exploring advanced modeling techniques might be your next smart step.
Ultimately, the key is deep structural understanding combined with meticulous planning—never settle for generic estimates or assumptions about permits. Instead, incorporate local regulations, utilize technological tools, and stay adaptable to changes. Doing so will give you a technical edge, prevent costly ‘oops’ moments, and ensure your project progresses smoothly.
Are you aware of all permit fees in your area? Have you ever underestimated hidden costs? Share your experiences in the comments below! For detailed strategies on precise estimating and permit navigation, visit this comprehensive guide.
Keep It Working: Essential Tools for Reliable Construction
One of the biggest challenges in maintaining a home addition or new build over time is ensuring that all systems—plumbing, electrical, HVAC—continue functioning flawlessly. To achieve this, I rely heavily on specific tools and methods that allow me to identify issues early and perform effective maintenance.
Invest in a Digital Inspection Camera
This small, handheld device has revolutionized the way I check behind walls, inside pipes, and behind electrical panels. Its high-resolution camera allows me to spot leaks, corrosion, or insulation damage without invasive procedures. In my experience, regularly inspecting critical areas prevents costly repairs down the line. For long-term results, I schedule quarterly visual checks, especially before seasons with extreme weather changes.
Leverage Building Management Software
Modern construction projects benefit from dedicated software platforms that track maintenance schedules, system warranties, and service histories. I use ConstructCheck– a cloud-based system that integrates with my project management tools. It reminds me when to service HVAC filters or check plumbing fittings, ensuring that everything stays in top shape. Incorporating such digital tools streamlines maintenance and extends the lifespan of critical systems.
Use a Multi-Function Tool for Quick Repairs
Having a versatile oscillating multi-tool can save hours during routine upkeep. Whether I need to replace a damaged drywall patch, tighten loose fittings, or trim new framing, this all-in-one device adapts to various tasks. My favorite is the Fein MultiMaster, which combines power and precision. Regularly maintaining fixtures—like tightening connections or cleaning out drainage—can prevent minor issues from escalating.
Future Trends in Maintenance and Tools
Looking ahead, I predict that automation and IoT (Internet of Things) will play a bigger role in home maintenance. Smart sensors embedded within plumbing or electrical systems will alert owners and contractors of leaks, cracks, or overloads before they become emergencies. Embracing these innovations now can reduce downtime and repair costs significantly.
How do I stay on top of long-term maintenance?
By establishing a routine that combines high-tech monitoring with manual inspections, I ensure that systems remain efficient. Using digital management tools helps me keep detailed logs, while physical inspections with inspection cameras and multi-tools catch issues early. Incorporating these practices not only prolongs system longevity but also saves money and stress over time.
If you’re serious about maintaining your build’s performance, I recommend trying a digital inspection camera. It’s an affordable investment that pays for itself through early problem detection. For comprehensive guidance on planning maintenance routines tailored to your project, visit this detailed guide. Remember, consistent proactive maintenance is the best way to keep your investment lasting for decades to come.

Over the years, I’ve learned that the key to smooth home additions isn’t just about following checklists—it’s about embracing the unexpected and turning mistakes into lessons. The hardest lesson I learned about estimating new builds and permits was realizing that even small configuration errors in plumbing manifolds could cascade into costly delays, halting projects entirely. I once thought I had everything under control, only to face a permit rejection due to a simple manifold placement mistake—a reminder that attention to detail is vital from start to finish. Additionally, I discovered that relying solely on generic cost estimates can lead to surprises; overlooking local regulations and permit complexities often inflates budgets and causes avoidable setbacks. But perhaps the most valuable insight was understanding the benefit of proactive planning—drawing detailed diagrams, verifying placements before installation, and performing pressure tests—each step significantly reduces rework and improves approval chances. Finally, I realized that embracing technological tools like digital modeling and maintenance software can elevate your project’s reliability, helping you stay ahead of potential pitfalls and ensuring long-term system performance. These lessons aren’t just theoretical; they’re the difference between a project that stalls and one that thrives, turning potential frustrations into gateways for success.