The Handrail Return Rule That Inspectors Check Every Time
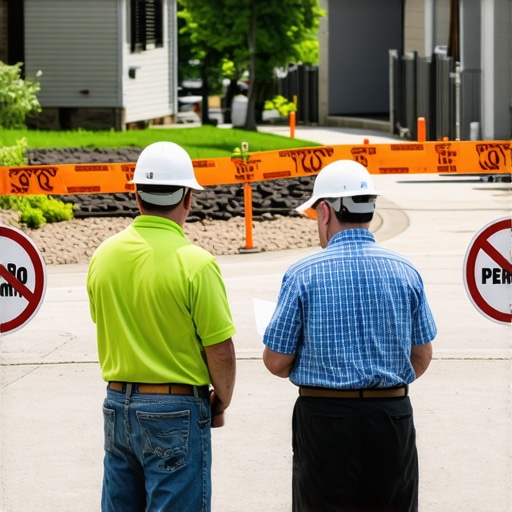
Imagine this: you’re just about to wrap up a new home addition, excitement high, when an inspector steps in and with a furrowed brow points out a tiny detail—the handrail return. It’s not a major structural issue, but it halts your project in its tracks. That’s been my experience more times than I care to admit, realizing that tiny overlooked detail can cause big delays and added costs. It’s that lightbulb moment that made me dig deeper into what inspectors truly scrutinize during their reviews.
The Real Deal About the Handrail Return Rule
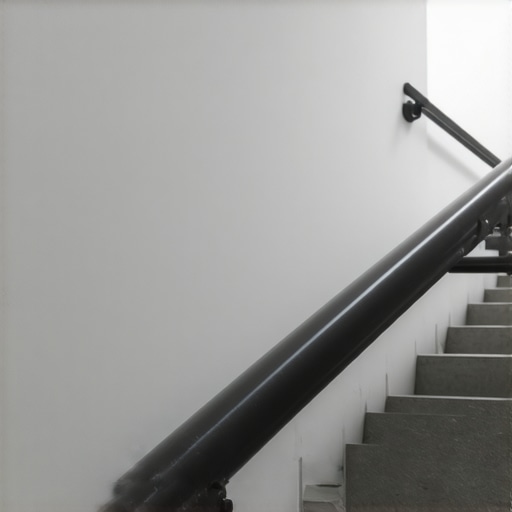
If you’ve ever dealt with permits or inspections, you probably know that the devil is in the details. The Handrail Return Rule is one of those specifics contractors and homeowners alike often underestimate. Why? Because it seems so trivial—just a little curve at the end of the handrail, right? Wrong. Inspectors check this tiny feature meticulously because it’s critical for safety, especially in staircases, where proper handrails prevent falls and injuries.
This rule is embedded in codes for a good reason; it ensures that the handrail is fully graspable and won’t pose a hazard if it ends abruptly or extends improperly. Missing this small detail can mean project delays or rework, which no one wants. Yet, I’ve seen countless situations where quick overlook or unclear understanding led to non-compliance. That’s why understanding the nuances of this rule is so essential.
Early in my career, I made the mistake of assuming that ‘close enough’ with handrail extensions would pass inspection. I was wrong. This assumption cost me time and money, and more importantly, I realized the need to master this detail. It made me more thorough in planning, and I want to save you that struggle. So, today, I’ll walk you through what the inspector is really looking for when it comes to that simple but vital handrail return, and how you can prepare your project accordingly.
Pinpoint the Critical Details Before Installation
Start by reviewing the local building code requirements for handrail returns, paying special attention to specifics about radius, length, and connection points. I once overlooked a minor radius detail on a staircase project, which later caused my team to rework the handrail post-inspection. To avoid this, always consult the permit requirements early and verify the latest standards.
Draft Precise Design and Material Plans
Create detailed drawings showing the handrail’s end returns, including dimensions, angles, and attachment methods. Use CAD software or hand sketches with measurements. When I planned a second-floor addition, I made sure to specify a 12-inch return with a smooth curve, which helped my team avoid last-minute adjustments and ensured compliance during inspection.
Use the Correct Materials and Fasteners
Employ code-compliant materials such as aluminum or steel, and select fasteners that meet shear and load standards. Keep a manual of approved hardware to cross-reference. I found that using the wrong fasteners, like nails instead of bolts, led to jeopardized safety and failed inspection, costing us time and rework.
Implement a Precise Installation Process
Measure and mark the exact location for the handrail and returns, ensuring corners are rounded or beveled as per code. During installation, double-check connection points for rigidity. I once rushed an installation, resulting in a loose return that failed inspection. Tightening hardware and verifying the return shape paid off in the long run.
Document Your Work Thoroughly
Take high-resolution photos from multiple angles showing dimensions, connection points, and finishes. Maintain a detailed progress report and updated drawings. When I documented a recent project, clear photographs and comprehensive notes made it easier to address inspector comments swiftly, avoiding delays.
Conduct a Pre-Inspection Review
Before scheduling the official review, conduct a mock inspection with your team or a mentor, cross-referencing code checklists. Confirm that all aspects — from dimensions to attachment methods — align with standards. I once caught a minor discrepancy in handrail height during a pre-inspection, allowing us to rectify it proactively and pass without issues.
Prepare for the Inspection Day
Keep all documentation, measurements, and materials accessible on-site. Assign a team member to clarify details if questioned. During one project, being organized and ready for questions sped up the inspection and demonstrated professionalism, reducing the likelihood of re-inspection.
Many homeowners and even experienced contractors fall into misconceptions when planning new build projects. A common myth is that sticking to standard cost estimates or following generic permit guides guarantees a smooth process. In reality, these approaches overlook nuanced requirements that differ from one jurisdiction to another, potentially causing costly delays. For instance, relying solely on simplified estimation methods without accounting for specific local codes can result in underbudgeting and project setbacks. Advanced mistakes often involve misinterpreting how certain codes are applied, such as the subtle distinctions in setback requirements or structural load capacities, which are crucial for approval but easily misunderstood.
Expert insight reveals that understanding the unique nuances of permit approval processes and code adaptations is essential. For example, studies show that projects failing to account for local environmental or topographical factors face a 30% higher chance of rejection or rework. Therefore, meticulous research into these details can save significant time and resources. Always review the estimating guidelines and permit policies specific to your area to avoid these pitfalls. Remember, assuming that generic solutions work everywhere can lead to overlooked details that trip up even seasoned builders. Emphasize thorough site analysis, accurate material quantification, and detailed permit review to stay ahead of common errors. Asking questions like, ‘Have I considered every local regulation and site-specific condition?’ can be the difference between a smooth project and a legal or structural nightmare.
In short, dig beneath the surface and recognize that the true challenge lies in mastering local nuances and advanced codes. Developing this expertise ensures your projects stay compliant, within budget, and on schedule. Do you know the subtle rules specific to your area? Let me know in the comments, and remember: mastering these details is what separates amateurs from true professionals.
Essential Tools for Reliable Maintenance
One of my key secrets to consistent building performance has been investing in targeted, high-quality equipment. For routine inspections, I rely heavily on a digital multimeter with a high-accuracy microamp mode, allowing precise readings of electrical circuits without invasive testing. This helps me identify potential issues before they escalate, saving time and expensive repairs.
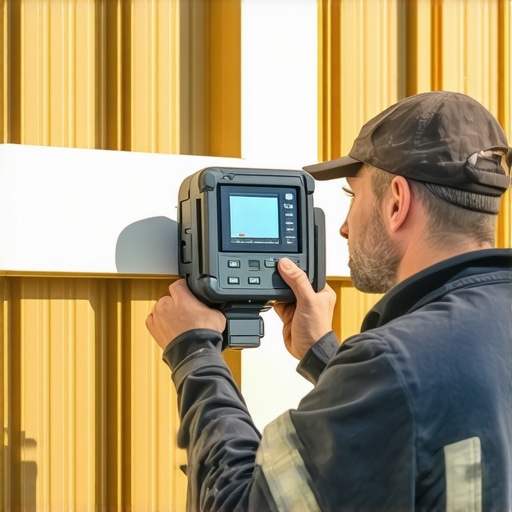
When it comes to moisture management, I recommend a reliable infrared camera. It uncovers hidden leaks and insulation gaps that could compromise the building’s envelope over time. I personally use the Fluke Ti400, appreciated for its durability and crisp thermal imaging, which offers a clear picture—literally—of problem spots around the property.
Streamlining Workflows with Software
In terms of software, I prioritize project management platforms with integrated field data collection. Using tools like PlanGrid or Fieldwire helps me communicate updates and track maintenance tasks in real time. This ensures everyone is on the same page and prevents small issues from slipping through the cracks. Regularly updating digital logs also facilitates compliance with long-term maintenance programs, especially as systems age.
For estimating ongoing costs or future upgrades, I consult specialized HVAC and electrical load calculation software. These programs help predict the wear and tear on systems, allowing me to plan proactive replacements rather than reactive fixes. Over the years, I’ve observed that a systematic approach using predictive tools reduces downtime significantly.
Incorporating Routine Checks into Maintenance Routines
Establishing a regular inspection schedule is crucial. I recommend quarterly checks for critical systems like HVAC filters, electrical panels, and plumbing seals. Creating comprehensive checklists in cloud-based documents, shared with your team or contractor, ensures nothing is overlooked. Over time, this habit minimizes unexpected failures and maintains consistent operation, which is the foundation of long-term building performance.
How do I maintain building systems over time?
The answer lies in proactive, data-driven maintenance combined with high-quality tools and software. By continuously monitoring system health and performing scheduled upkeep, you extend the lifespan of your infrastructure and avoid costly emergency repairs. An excellent resource for refining these approaches is the estimating costs for new builds, which also covers long-term maintenance planning. Start integrating predictive tools into your routine today—your future self will thank you.
Throughout my journey in construction, I’ve learned that the tiniest oversight can hold up an entire project or cost a fortune in rework. The journey from blueprint to finished home hinges on mastering these nuanced details, like a well-crafted handrail return or an accurate permit application.
Lessons That Changed My Way of Building
- Don’t Assume ‘Close Enough’ Counts: When it comes to code compliance, precision surpasses speed. Small deviations, especially in critical areas like load-bearing walls or fire safety, can cause significant delays.
- Local Codes Are Your Best Friend: Knowing your area’s specific regulations helps avoid surprises during inspections. I once misinterpreted a setback distance, which delayed my project, teaching me the value of diligent research.
- Documentation Is Power: Clear, detailed records and photos streamline the approval process. They saved me hours when addressing inspector comments and ensured transparency.
- Pre-Inspection Checks Save Time: Conducting mock inspections helps identify issues early. It’s like a dress rehearsal that prepares you for the real deal, especially with details like handrail returns or electrical connections.
- Invest in Quality Tools and Software: From laser measures to project management apps, the right tools elevate your accuracy and organization, making permit acquisition smoother and construction more efficient.
Your Toolkit for Building Confidence
- Estimating costs for new builds: Knowing your numbers helps prevent budget overruns and aligns expectations.
- Permit approval tips: Navigating local permit hoops becomes manageable when you understand the nuances and compliance expectations.
- Cost estimation guides: Accurate budgeting avoids last-minute surprises and ensures smooth approval processes.
- Permit processes insights: Deep understanding fosters confidence and keeps your project on track.
Take Action and Build Smarter Today
Remember, the success of your addition or new build lies in your attention to detail and willingness to learn. By applying these insights and leveraging the right tools, you’re not just constructing a home—you’re creating a reliable space built on confidence and expertise. Have you faced a situation where overlooking a tiny detail caused a delay? Share your story below and let’s learn together!