The Gas Line Depth Requirement That Adds Labor to Your Quote
It happened to me on a project I was estimating last year. We had the perfect design, all permits in hand, and then I remembered the gas line depth requirement. Suddenly, what should have been straightforward turned into a labor-intensive nightmare. I underestimated how much extra digging and coordination it would take, and my quote ended up way over budget. That lightbulb moment taught me a valuable lesson: overlooked code requirements can silently inflate costs and delay projects.
A Hidden Cost That Can Break Your Budget
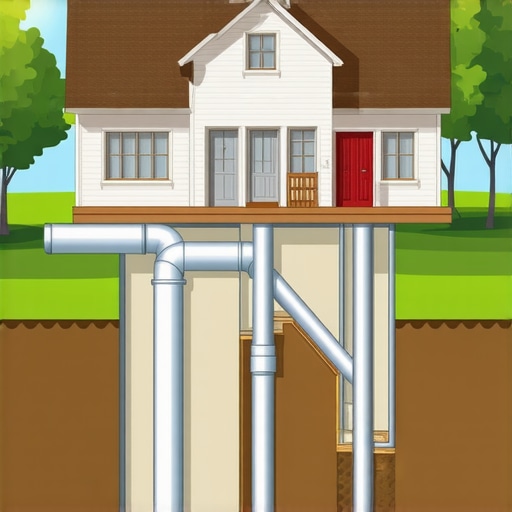
Gas line depth isn’t just a minor detail—it’s a critical factor that can add unforeseen labor and costs if you’re not careful. The requirement for gas lines to be buried below a certain depth is meant for safety, but it often catches contractors and estimators off guard. If you’re planning a new build or an addition, understanding this requirement from the start can make all the difference in keeping your project on track and within budget. Trust me, I’ve learned this the hard way, and so have many others who didn’t account for these depth regulations early enough.
Are You Prepared for the Extra Digging?
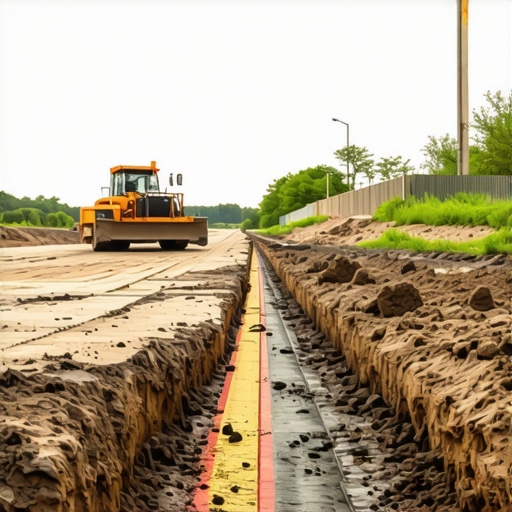
It’s a common misconception that gas line trenching is a quick task. But when the depth requirement isn’t met, it means more excavation, sometimes with specialized equipment, and often coordination with utility companies. These added steps can quietly rack up labor hours, inflate quotes, and extend timelines. If you’re estimating, it’s vital to factor in the specific depth requirements, which can vary by location and utility standards. For a deeper dive into how site conditions and permitting influence your costs, check out our guide on estimating costs for new builds.
Early mistakes in estimating, like ignoring the gas line depth rule, often lead to budget overruns. I remember initially excluding this from my considerations—big mistake. Failing to anticipate the extra labor can turn what looks like a minor delay into a costly setback. That’s why understanding local codes and regulations around underground utility depths is crucial for any builder or estimator aiming for accuracy and efficiency.
As we proceed, I’ll share practical tips to ensure you factor in the right depth requirements from the get-go, helping you avoid alarmingly unexpected costs and keep your project moving smoothly. Ready to ensure your estimates include these critical details? Let’s dive into how you can master this aspect of site prep and avoid costly surprises.
Identify Local Code Requirements Early
Start your process by reviewing the specific gas line depth regulations for your area. Contact your local building department or check their online resources to understand the minimum burial depths mandated. During a recent project, I contacted the city planner and discovered that our target location required gas lines to be buried at least 18 inches deep, exceeding the typical 12-inch standard. This quick check saved us from costly rework later. Incorporate this step into your initial planning to avoid surprises.
Accurately Measure and Document Site Conditions
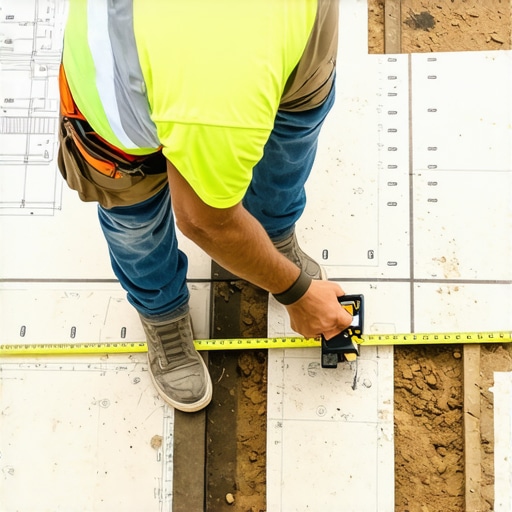
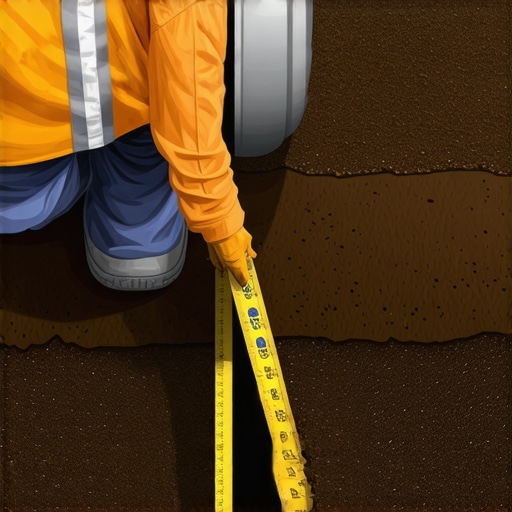
Next, perform a thorough site analysis. Use a calibrated measuring tape or a laser distance meter to determine existing soil levels and any potential obstructions. In my experience, failing to note soil composition and underground obstacles led to underestimating excavation efforts, which inflated costs. Mapping out exact site conditions ensures your estimates reflect real work conditions. Always record measurements precisely; small discrepancies can significantly affect excavation depth estimates.
Consult Utility Maps and Confirm Underground Layouts
Utility maps help you visualize existing underground infrastructure. Request the latest utility plans from the local utility company, and if possible, arrange for a site visit with utility representatives. During one project, I discovered a mislocated underground gas line that our original plans overlooked. Confirming the exact position of underground utilities prevents accidental damage and helps you plan the correct trenching depth from the start. Cross-reference your site measurements with utility plans to identify discrepancies early.
Use Reliable Estimating Tools for Trenching Costs
Leverage digital estimating software or detailed spreadsheets that include variables like soil type, depth requirements, and equipment costs. When estimating a recent addition, I input accurate soil conditions and depth requirements into an estimator, which provided a more precise labor and materials cost breakdown. Remember, heavier soil like clay or rocky ground might require specialized equipment, increasing expenses. Adjust your estimates based on these factors to avoid underpricing your project.
Plan for Buffer and Unexpected Variables
No estimate is complete without a contingency factor. Include at least a 10-15% margin to accommodate unforeseen obstacles like hidden roots or rock formations. In a project I led, unforeseen soil hardness doubled our excavation time, but because I had built an extra buffer, the project stayed within budget. This proactive approach prevents budget overruns caused by unexpected site issues.
Coordinate with Permitting and Inspection Schedules
Secure necessary permits early, and confirm the inspection schedule for trenching work. In one case, I scheduled inspections post-trenching, but a delay in permit approval caused project stagnation. By coordinating permit submissions with your estimating and scheduling process, you can prevent costly delays. For added assurance, review the requirements outlined in permits for new builds.
Many contractors and homeowners believe that rough estimates suffice for successful project management, but in my experience, this approach often leads to costly surprises. A prevalent misconception is that sticking to standard unit costs or generic spreadsheets will accurately capture the complexities of each unique build or addition. However, actual site conditions, local code nuances, and permitting intricacies demand a more sophisticated strategy. Relying solely on broad averages ignores these critical variables, increasing the risk of underestimating costs and timelines. For example, a study by the National Association of Home Builders emphasizes that especially in high-cost regions, ignoring regional permitting delays and underground utility variations can inflate budgets by 20% or more.
Let’s dig deeper into the most overlooked aspects that can make or break your project accuracy. First, many underestimate the impact of local variances in underground utility depths, setbacks, or soil stability—all of which require custom assessment rather than default assumptions. Second, there’s a common myth that permits are a simple hurdle to clear; in reality, permit processes can involve multiple layers of review, revisions, and delays that are rarely accounted for in initial quotes. This gap often catches project managers off guard, causing schedule setbacks and budget overruns.
Another advanced mistake concerns site-specific nuances like historical preservation restrictions or property easements that can outright block or alter planned work. These haven’t always been top of mind during early estimates but hold the potential to cause expensive redesigns if overlooked.
For those eager to refine their estimating skills, I recommend leveraging detailed site assessments—soil tests, utility locates, and property surveys—before cost calculations. Tools like specialized estimating software or consulting with local experts can help incorporate regional variations more accurately. Incorporate contingencies thoughtfully; a rigid estimate often invites failure, as unanticipated conditions are nearly guaranteed. For a comprehensive overview of how to enhance your estimation methods, check out our article on estimating costs for new builds.
When it comes to permits, don’t assume the process is straightforward. Delays in permit approval can extend projects months beyond original forecasts. An often-overlooked detail is the different requirements for additions versus new constructions; understanding these nuances through resources like permit processes for additions can save you significant time and money.
Finally, be alert to specific site conditions such as the property’s easements or existing infrastructure conflicts—these can trigger costly redesigns if identified late. A proactive approach, involving early site analysis and consultation, establishes a reliable baseline for your estimates, reducing the ‘oops’ moments that destabilize budgets.
Have you ever fallen into this trap? Let me know in the comments.
Keep Your Projects Running Smoothly with the Right Tools
Maintaining accuracy and efficiency in construction projects goes beyond initial estimates; it requires the right combination of software, equipment, and methods tailored to your specific needs. One of my go-to strategies is leveraging digital estimating platforms like Clear Estimates, which allow me to customize estimates based on soil type, utility depths, and local regulations, ensuring I account for variables that can inflate costs unexpectedly. These tools help streamline workflows and reduce human error, especially when managing complex site-specific data.
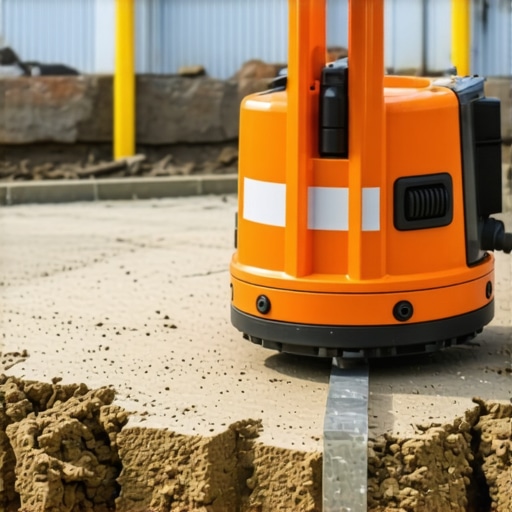
For on-site measurements, I rely heavily on laser distance meters like the Leica DISTO series. Their precision is invaluable for verifying existing site conditions such as soil levels and utility placements. Accurately measuring and documenting site conditions early on saves countless hours during excavation and helps prevent costly rework. Additionally, using utility locating devices such as the Radiodetection RD8100 ensures underground lines are correctly identified, minimizing the risk of damage or surprise utility conflicts that could cause project delays.
How do I maintain these tools over time?
Regular calibration and proper storage are essential. For instance, I schedule annual calibrations for my laser meters to maintain measurement accuracy. Clearing dirt, dust, and moisture after each use keeps equipment functioning optimally. Investing in quality cases and protective covers extends their lifespan and preserves calibration standards, which is critical for dependable measurements throughout the project lifecycle. As technology evolves, I keep an eye on updates and new features that can further improve accuracy or usability.
Looking ahead, I believe construction technology will trend toward integrated, cloud-based platforms that unify estimating, site management, and permit tracking. These innovations promise even greater precision and real-time updates, reducing discrepancies between planned and actual costs. Pilot programs are already demonstrating how AI-driven data analysis can flag potential issues before they escalate, making ongoing maintenance and scaling more manageable.
Consider adopting a high-quality laser distance meter like the Leica DISTO, paired with an adaptable estimating platform, to enhance your accuracy. These tools are invaluable not only for initial budgeting but for ongoing site management and long-term project maintenance. If you haven’t integrated such equipment into your workflow yet, now’s a great time to start. Visit our detailed guide on estimating costs to explore strategies for incorporating advanced tools into your workflow successfully and stay ahead of project challenges.
What I Wish I Knew About Gas Line Depths Early On
Early in my estimating career, I underestimated the impact of underground utility regulations. Discovering that gas lines needed to be buried deeper than standard assumptions was a real eye-opener. That lightbulb moment made me realize the importance of thorough site research and local code checks before finalizing estimates. Neglecting this critical detail can lead to costly rework and project delays, so always verify local depth requirements beforehand.
How Overlooking Permitting Nuances Can Cost You
Permitting isn’t just a box to check—it’s a complex process that can silently extend timelines and inflate budgets. I learned this the hard way when a permit delay held up our project for weeks. Building relationships with local authorities and understanding the specific permit nuances for additions versus new builds saved me countless headaches later. Dive into permit specifics early to keep your project on schedule and within budget.
My Top Strategies for Precise Site Analysis
Accurate site measurement is the foundation of reliable estimates. Using laser distance meters and detailed soil tests, I ensure that site conditions are documented meticulously. This attention to detail prevents surprises like unexpected soil hardness or underground obstacles that can inflate costs. Remember, small discrepancies in measurements can lead to significant budget shifts—so invest in quality tools and thorough site assessments.
Why Local Variations Are Your Secret Weapon
Each location has unique underground, soil, and regulatory characteristics. Relying on generic estimates is a recipe for surprises. Learning to incorporate regional data—like soil stability or utility depth norms—has transformed my project accuracy. Check out our guide on estimating costs for new builds to understand how regional factors shape your estimates.
Keep Ahead with Advanced Tools and Skills
Adopting digital estimating platforms and reliable site measurement tools has significantly improved my accuracy. Tools like laser meters and utility locators help me catch issues early and refine my budgets. Moreover, ongoing learning about permit processes and regional standards keeps me prepared for unexpected hurdles. Consider integrating these tools and resources into your workflow to stay confident in your estimates and avoid costly surprises. Curious how these tools can streamline your projects? Reach out via our contact page to learn more.