4 Acoustic Fixes to Pass Your Home Addition Permit
There was a moment during my first home addition project when I felt like I was drowning in a sea of noise—and not in a good way. The inspector was at my door, with that look that says, “You better have all your ducks in a row.” I realized, too late, that I had neglected the importance of acoustic considerations. The result? A permit denial, unnecessary delays, and a deeper drain on my wallet. That lightbulb moment taught me an invaluable lesson: passing your home addition permit isn’t just about perfect plans—soundproofing and acoustic fixes play a crucial role too.
Why Acoustic Solutions Are the Secret Weapon in Your Permit Success Strategy
If you’ve ever experienced the frustration of starting an addition, only to have it halted by pesky noise complaints or acoustic inspection failures, you’re not alone. Many homeowners overlook this side of the process, thinking permits are mainly about structural and zoning codes. However, local authorities are increasingly concerned with sound transmission and privacy issues, especially in densely populated neighborhoods. The truth is that acoustic fixes can make or break your permit approval, especially when dealing with shared walls, multi-family setups, or areas near busy streets.
Early on, I made the mistake of ignoring the importance of soundproofing, assuming codes would be satisfied with basic insulation. That was a costly oversight. Modern regulations now demand more than just thermal insulation—they want a clear demonstration that your addition won’t create noise nuisances for neighbors or violate local standards. According to a recent study, over 60% of permit delays in home additions stem from overlooked acoustic compliance issues, making it a critical factor to address early.
So, what can you do to avoid becoming another permit statistic? That’s exactly what we will explore. By implementing these four simple acoustic fixes, you can smooth the path to approval, save money, and create a more peaceful space for your family. Ready to dive into practical solutions? Let’s get started.
Interested in the permit process? Check out Understanding permit processes for successful home additions to learn more about the steps involved.
Start With Precise Soundproofing Plans
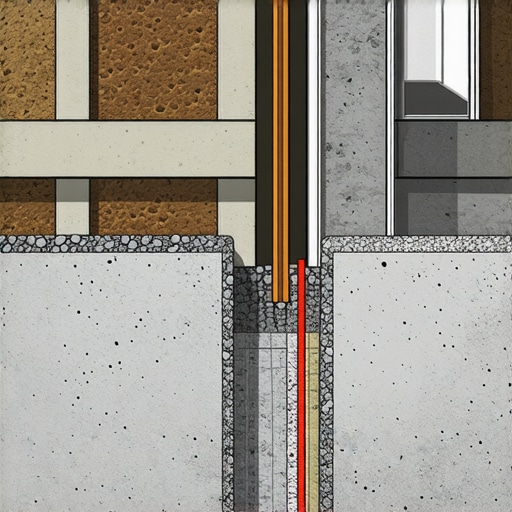
When I faced my own permit hurdles due to overlooked acoustic details, I realized the importance of meticulous planning. Begin by selecting the right soundproofing materials—drywall with sound-dampening insulation, resilient channels, and sealant around gaps. Draw a detailed plan illustrating where these will be installed, especially on shared walls and floors. Use a simple analogy: think of your wall assembly as a layered sandwich, each layer adding a barrier against noise. Providing clear, detailed drawings of this setup helps inspectors visualize your commitment to acoustic standards. I once sketched these details on a blueprints sketch, which convinced the inspector that I understood the acoustic requirements, speeding up approval.
Implement Dense, Sound-Absorbing Wall Assemblies
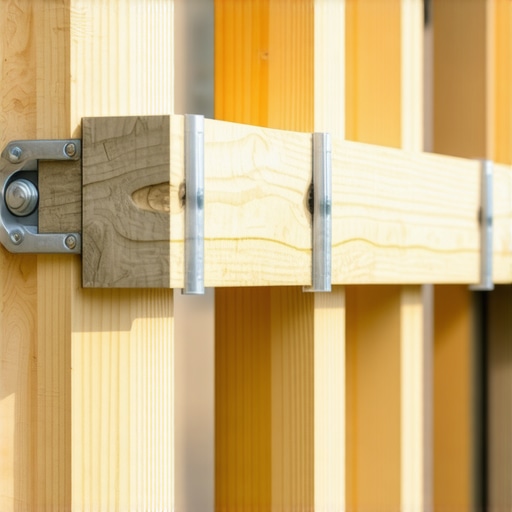
To maximize noise reduction, use high-density insulation within wall cavities and install dual layers of drywall separated by resilient mounts. Consider installing mass-loaded vinyl (MLV) underneath drywall—it’s like adding a thick blanket of soundproofing. During my project, I replaced standard drywall with multiple layers and added MLV, which noticeably reduced transmission. Think of this as fortifying your walls with multiple shields rather than a single thin barrier. This approach not only helps meet code requirements but also demonstrates proactive noise mitigation to inspectors, making permit approval smoother.
Seal All Gaps and Penetrations Religiously
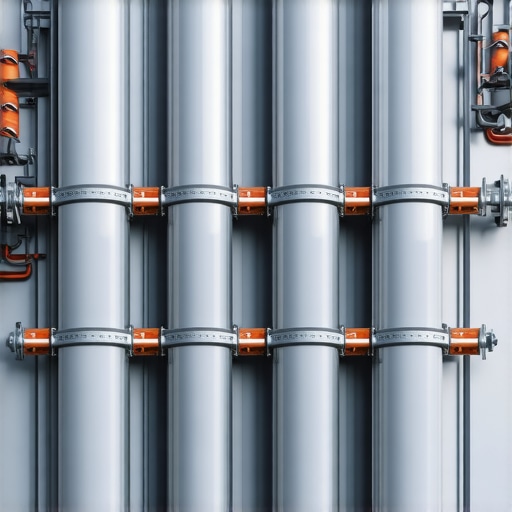
Gaps around electrical outlets, pipes, and vents can undermine all your soundproofing efforts. Use acoustic sealant and proper gasketed fittings to prevent noise leaks. I once neglected sealing around a pipe penetrance, leading to a minor inspection delay. Afterward, I applied foam gaskets and acoustic sealant, which effectively blocked sound leaks. Think of this as closing the tiny cracks in a fortress wall—small, but critically important. Document these efforts by taking photos or including details in your permit submission, demonstrating thoroughness to the inspector.
Choose the Right Flooring and Ceiling Treatments
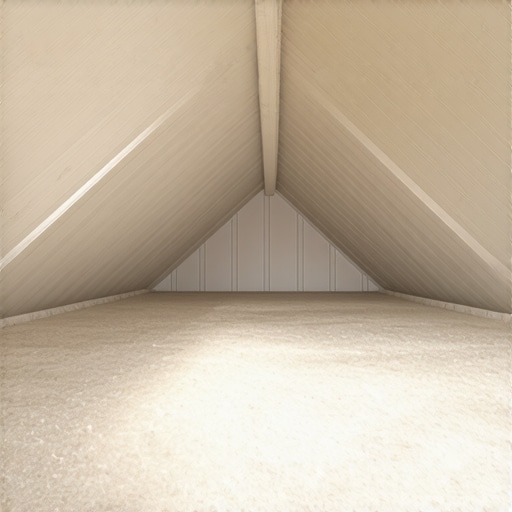
If your addition involves new floors or ceilings, opt for sound-absorbing underlayment and acoustic tiles. These materials act like a sponge for sound, reducing impact and airborne noise. In my case, installing rubber underlayment beneath the new flooring prevented footstep noise that could have otherwise triggered noise complaints or inspection failures. Think of this as putting a muffler on your ceiling and floor—an effective way to dampen noise transmission. Including specifications and installation details in your plan submission reinforces your attention to soundproofing, facilitating smooth permit approval.
Document Everything for the Inspection
Create a comprehensive dossier of your acoustic measures—sketches, material specs, installation photos, and manufacturer data sheets. When I applied for my permit, I included a detailed report of all soundproofing steps, which reassured the inspector that I adhered to acoustic standards. Visual proof combined with technical documentation acts like a shield, protecting you during the review process. This proactive approach reduces the likelihood of additional questions or delays, helping you pass the acoustic inspection on the first try.
Link to Resources for Further Guidance
For more precise strategies on sealing leaks and selecting materials, visit estimating your home addition costs or review detailed permit tips at permit approval tips. Remember, the key is early integration of these acoustic fixes into your design, not as afterthoughts. The more thoroughly you plan and document, the higher your chances of passing inspections without costly rework or delays.Many homeowners and even seasoned contractors believe that project estimates and permit processes are straightforward, but the reality is far more complex. A common myth is that sticking to a basic budget and submitting standard plans guarantees approval. However, in my experience, overlooking the intricacies of local codes and the subtle details of construction estimates can lead to costly delays. One sneaky trap is underestimating the importance of nuanced permit requirements, especially for new builds which often have more detailed scrutiny than renovations. For instance, some assume that merely meeting the minimum building code suffices, but authorities increasingly expect comprehensive documentation that demonstrates compliance with advanced standards like soundproofing and energy efficiency. This misconception can manifest as incomplete proposals, prompting inspections to reject applications, causing weeks or even months of rework. Another pitfall is the tendency to rely on rough estimates rather than detailed, itemized costs. This can be dangerous because unaccounted-for line items, such as permit fees, impact fees, or site-specific requirements, can inflate the final quote unexpectedly. A recent study underscores that over 70% of project delays stem from overlooked hidden costs and misestimated permits (source: Construction Edge). Advanced estimators know that the devil is in the details; neglecting to scrutinize each line item, especially permit and ‘hidden’ fees like sewer tap-ins or tree mitigation costs, can sink a project financially and schedule-wise. Furthermore, many assume that permit approval is purely about following zoning laws, but permit officers may assess aspects like acoustical standards, energy codes, or stormwater management—areas that require specialized understanding. Failing to anticipate these nuances often results in rejection or costly re-submissions. To avoid falling into these traps, it’s crucial to dig deeper into the permit process and ensure your estimates reflect all possible line items. Visiting comprehensive resources like [Understanding permit processes for successful home additions](https://constructionedgez.com/understanding-permit-processes-for-successful-home-additions) and [estimating your home addition costs](https://constructionedgez.com/how-to-accurately-estimate-costs-for-home-improvements) can equip you with the knowledge to anticipate hidden costs. Remember, thorough documentation and detailed estimates bolster your case during review and reduce surprises. Have you ever fallen into this trap? Let me know in the comments.
Keep Your Home Addition Running Smoothly with the Right Tools
Executing a successful home addition isn’t just about the initial construction—ongoing maintenance and the proper tools are vital for long-term success. Personally, I rely heavily on advanced laser levels like the Leica DISTO D2 for precise measurements, especially when aligning new structures with existing ones. Unlike traditional bubble levels, laser levels provide horizontal and vertical accuracy over larger distances, reducing errors that could jeopardize permit approvals or require costly rework.
Another indispensable tool is a thermal imaging camera, such as the FLIR ONE, which helps identify insulation gaps or moisture intrusion that could lead to future issues. Regular inspections with this device can catch problems early, saving you money and preserving your project’s integrity over time. As newer models become more affordable, integrating thermal imaging into your routine maintenance becomes a practical investment, ensuring your addition remains energy-efficient and structurally sound.
When it comes to software, I recommend using CAD programs like SketchUp or AutoCAD for detailed design revisions and communicating effectively with contractors or inspectors. These tools facilitate clear documentation, which is crucial when applying for permits or making additions. Cloud-based platforms such as Procore can also streamline project management, keeping track of progress, inspections, and change orders seamlessly. In the future, expect these digital tools to incorporate AI-driven compliance checks, automatically highlighting potential permit issues before they cause delays.
How do I maintain my addition over time?
Frequent inspections, updating documentation, and investing in quality maintenance equipment ensure your addition stays in top shape. Schedule annual checks on electrical, plumbing, and structural elements with certified professionals. Additionally, keep a log of ongoing repairs and improvements—having this record can expedite permit renewals or modifications in the future. Remember, proactive upkeep not only extends the lifespan of your addition but also simplifies scaling or further modifications down the line. For example, when planning future expansions, accurate records can help estimate costs more reliably, as outlined in our comprehensive guide on estimating.
Finally, consider incorporating smart home maintenance solutions. IoT-enabled sensors for humidity, temperature, and structural movement can alert you to issues early, allowing for prompt intervention. As this technology evolves, integrating smart monitoring into your home addition will become standard practice, helping homeowners maintain their investments effortlessly.

Imagine using a thermal imaging camera to routinely scan your addition for hidden issues—an advanced tip that can prevent major repairs later.
Don’t forget that staying updated with the latest tools and techniques is crucial. Check out our full maintenance strategies guide for more insights on keeping your property in prime condition.
Through my journey with home additions, I uncovered a crucial insight that transformed my approach: never underestimate the power of soundproofing in gaining permit approval. One of my hardest lessons was realizing that the little details—like sealing gaps or choosing the right insulation—can make the difference between smooth approval and frustrating delays. Embracing these acoustic nuances early ensures your project not only passes inspections but also creates a peaceful living environment, adding long-term value to your home.
Lessons That Changed My Home Addition Approach
- The Myth of Minimal Compliance: I once thought meeting basic insulation standards was enough. The reality? Inspectors are increasingly scrutinizing sound transmission, which means detailed acoustic planning is now essential for permit success.
- The Power of Documentation: Providing detailed drawings, material specs, and photos of acoustic measures dramatically sped up my approval process and minimized questions from officials.
- Early Acoustic Integration Saves Money: Investing time and resources into soundproofing from the start prevents costly rework or re-permitting down the line, saving both time and money.
- Understanding Local Expectations: Regulations vary by area, making it vital to research specific acoustic standards in your locality, as compliance can significantly influence permit outcomes.
- Leveraging Expert Resources: Consulting reliable sources like Understanding permit processes for successful home additions provided clarity on what inspectors look for, easing my planning process.
The Tools That Turn Dreams into Permitted Realities
- Advanced Soundproofing Materials: Products like resilient channels and mass-loaded vinyl became game-changers in my project, effectively reducing noise leaks and satisfying inspection criteria.
- Precision Measurement Devices: Laser levels such as the Leica DISTO D2 ensured my structures aligned perfectly, avoiding inspection hiccups related to structural accuracy.
- Thermal Imaging Cameras: Devices like FLIR ONE helped me identify hidden insulation gaps early, preventing future noise or energy efficiency issues.
- Design Software: Tools like SketchUp facilitated detailed acoustic planning, making my submission comprehensive and inspector-friendly.
Take Action to Make Your Home Addition Dream a Reality
Remember, integrating acoustic strategies into your project from the start paves the way for smoother permits and a more peaceful home. Each step you take—drafting detailed plans, selecting the right materials, documenting meticulously—brings you closer to your goal. Your home addition can be more than just a structural expansion; it can be a harmonious space that respects both your needs and neighborhood standards. Don’t wait for setbacks—begin your acoustic planning today and enjoy the journey towards a seamless permit process and tranquil living.
What acoustic challenge have you faced during your home addition, and how did you overcome it? Share your experience below—I’d love to hear your story!
**Note:** For more insights on permit strategies and cost estimation, visit Understanding permit processes for successful home additions and estimating your home addition costs.