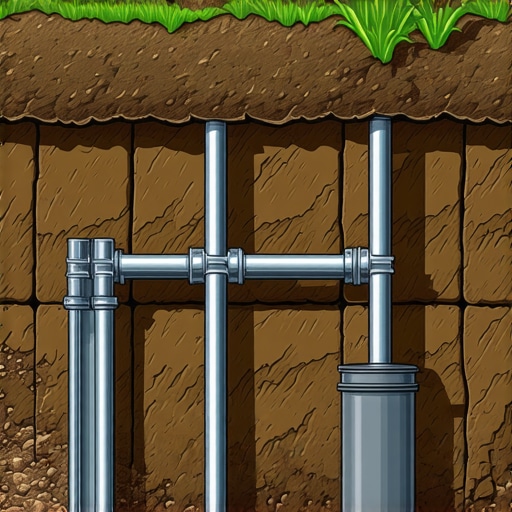
Why Your Retaining Wall Plan Needs a Drainage Map
I’ll never forget the afternoon I completed my first retaining wall project, feeling confident and ready for a quick finish. That is, until the next heavy rain hit. Watching my brand-new wall slowly start to wobble and seep with water was a lightbulb moment. It was then I realized I had skipped an essential part of planning: a drainage map. If you’ve ever faced unforeseen water issues or wondered why your project isn’t holding up, you’re not alone. Today, I’ll share how a simple drainage map could have saved me—and can save you too—and why it’s a must-have in your retaining wall plan.
The Hidden Danger of Ignoring Drainage in Your Retaining Wall
Most homeowners underestimate how critical proper drainage is for the longevity of a retaining wall. Without it, water accumulates behind the structure, exerting pressure and risking failure. It’s the difference between a sturdy, lasting feature and a costly nightmare. During my early planning, I overlooked this detail, thinking I could handle water runoff later. Spoiler alert: Water doesn’t wait. It tested my wall’s integrity sooner than I anticipated, costing me time, money, and peace of mind. That’s when I discovered the importance of a solid drainage plan, and it’s a lesson I want you to learn from my misstep.
Is a Drainage Map Really Worth the Effort and Cost?
You might be skeptical, thinking this is just another step you can skip. Believe me, I was there too. But consider this: surveys show that water-related issues cause over 60% of retaining wall failures (source: Homeowner’s Guide to Retaining Walls). Early on, I failed to factor in this vital aspect, leading to preventable damages. Yet, with expert guidance, I learned that a drainage map isn’t just an extra—it’s the blueprint for durability. If you’re wondering whether to spend extra time or resources on this, remember that a well-designed drainage system is your wall’s best defense against water pressure and erosion.
So, what’s next? Well, I’ll walk you through how to create your own drainage map, avoid common pitfalls, and set your project up for long-term success. Ready to build with confidence? Let’s dive into the practical steps to give your retaining wall the drainage peace of mind it deserves.
Start with Site Evaluation and Water Flow Analysis
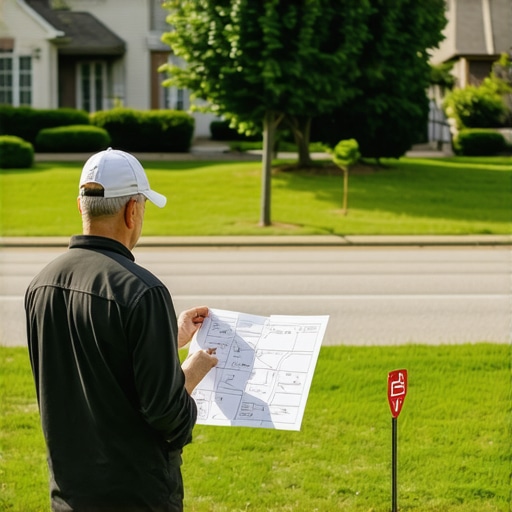
Begin by observing how water moves across your property during heavy rain. Walk around your site after a downpour and note areas where water pools or flows quickly. Use a simple landscape grading tool or even a garden hose to simulate runoff directions. This hands-on approach revealed to me that my backyard drained toward an area I hadn’t considered, which could have compromised my wall. Document these flow paths and pooling zones meticulously; they form the foundation of your drainage map.
Identify Critical Drainage Points and Obstacles
Next, pinpoint spots where water naturally concentrates or obstacles that redirect flow—like trees, shrubs, or existing drains. Mark these locations precisely with spray paint or stakes. Recognizing that a large oak tree root system diverted water towards my planned wall area, I adjusted my layout accordingly. This step prevents surprises during construction and helps plan effective drainage solutions.
Design Your Drainage Pathways
Using your findings, sketch out proposed drainage channels, swales, or perforated pipe routes. Think of these as guiding water safely away from your wall’s foundation. For example, I installed a perforated pipe running along the base of my wall, connected to a gravel-filled trench that led to an existing storm drain. Incorporate sufficient slope—approximately 1% (or 1 foot of drop per 100 feet)—to facilitate gravity-driven flow, and avoid flat or uphill sections that trap water.
Estimate Materials and Costs
Accurately estimating materials is crucial to prevent budget overruns. Count the length of drainage pipes, trenches, gravel, fabric liners, and outlets needed based on your design. Consider typical material prices; for instance, a 10-foot perforated pipe segment might cost around $30. Refer to expert guides like estimating costs for new builds to refine your budget and ensure accuracy.
Implement Testing and Adjustments
Before finalizing, conduct a small-scale test of your drainage plan. Dig a test trench or install temporary pipes to observe water flow. During my initial test, I noticed water stagnating in a corner, prompting me to add an extra outlet and increase slope. This iterative process proved invaluable, preventing future water buildup that could undermine the wall. Always plan for adjustments, especially in areas with complex terrain or variable rainfall.
Integrate Your Map with Building Plans and Permits
Once finalized, incorporate your drainage map into overall construction plans. Share detailed schematics with your contractor and ensure alignments with local regulations. If your project requires permits, a comprehensive drainage map can streamline approval. For guidance, check permit guides and collaborate with professionals to meet all requirements.
Creating an effective drainage map isn’t just about preventing water issues—it’s about safeguarding your investment. By following these steps, you’ll build a resilient retaining wall that withstands nature’s challenges for years to come.
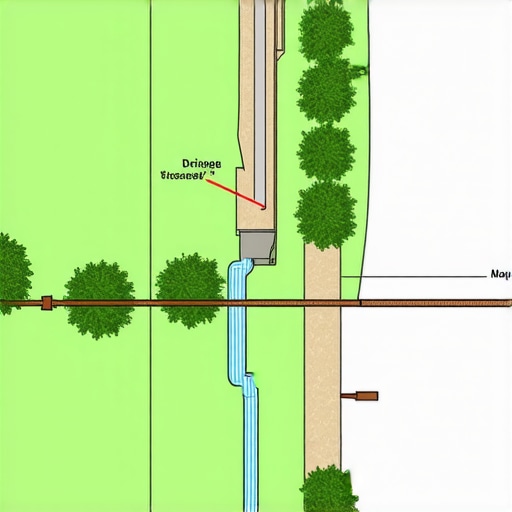 When it comes to home additions and new builds, a common misconception is that sticking to basic estimates and simplified permit processes will save time and money. In reality, this oversimplification can lead to serious pitfalls, especially for those who believe they can manage without a detailed understanding of nuanced factors influencing their project. The truth is, many homeowners and even some contractors overlook critical complexities that can either inflate costs or delay approvals, costing thousands and frustrating the process. For instance, relying solely on generic estimates without considering site-specific variables often results in budget overruns, as detailed analyses reveal that unforeseen site conditions can add up to 20-30% to initial estimates (source: Estimating Home Additions).
Keep Your Construction Processes Running Smoothly with the Right Tools
As someone deeply involved in building and renovation projects, I’ve learned that possessing the right equipment and software is essential for ensuring longevity and efficiency. I personally rely on a combination of laser distance meters like Leica DISTO for precise site measurements and digital plan management tools like Procore. The laser meter saves me hours during site surveys by providing quick, accurate readings, especially in complex terrains or tight spaces where traditional tape measures falter. Meanwhile, Procore helps me keep documentation organized, track change orders, and ensure compliance with permit requirements without flipping through paper stacks.
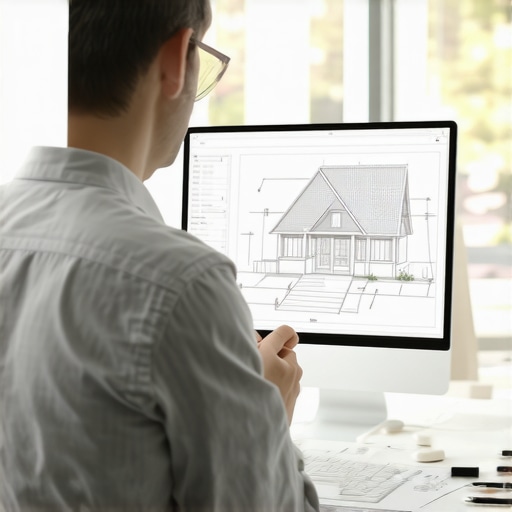
Additionally, I use Trimble SketchUp for 3D modeling—this software allows me to visualize modifications before breaking ground, minimizing costly errors. By integrating these tools into my workflow, I maximize accuracy, reduce rework, and uphold the quality my clients expect. Looking ahead, I believe that AI-driven project management platforms will become standard, further streamlining workflows and predicting issues before they arise.
How do I maintain construction tools over time?
To sustain my equipment, I follow a strict maintenance routine: calibrating laser devices quarterly, updating software regularly, and performing cleaning after each use—especially in dusty or wet conditions. For software, I rely on cloud backups to prevent data loss, and I make sure my hardware is stored in protective cases to prevent damage. This discipline extends to checking battery health and replacing parts proactively, which prolongs their lifespan. Regular maintenance ensures my tools provide reliable data, supporting accurate estimating and effective project management.
Mastering long-term results through diligent practice
Consistent upkeep of your tools and systems translates into predictable, high-quality outcomes. When equipment performs reliably, I can better forecast timelines, reduce surprises, and scale projects confidently. For example, accurate site measurements enable me to generate precise estimates, which attract clients and foster trust. As I practice these maintenance routines, I see fewer delays and less budget creep, critical factors for thriving in this industry.
Tools I recommend for seasoned builders
If you’re looking to upgrade, consider investing in a Laser Distance Meter like the Leica DISTO D510 for its durability and Bluetooth connectivity—making data transfer streamlined. Also, explore Construction Management Software such as Procore, which offers comprehensive project tracking, permit documentation, and communication channels in one platform. These investments have paid for themselves by improving accuracy and organizational clarity, especially when scaling up operations across multiple sites.
In my view, embracing these tools isn’t just about modernity; it’s a strategic move towards building more durable, maintainable structures that stand the test of time. For more insights on estimating with precision, check out this detailed guide.
Don’t hesitate to start integrating one new tool into your process this month. Whether it’s a high-quality laser or a project management platform, each step toward better tools is a step towards long-term success.
Lessons That Forever Changed My Approach to Additions and Permits
- Don’t Underestimate Water’s Power: Learning from my failure, I realized that neglecting drainage can undo months of hard work. The smallest oversight can lead to costly repairs and frustrating delays.
- Communication Is Key: Sharing detailed drainage maps with contractors and inspectors early on prevents misunderstandings and keeps your project moving smoothly.
- Plan for Flexibility: Even the best-designed drainage plan might need adjustments once in action. Embrace flexibility and test your solutions before final installation.
- Invest in Knowledge: Educating yourself on site evaluation techniques and local regulations saves time and money. It empowers you to make informed decisions every step of the way.
- Prioritize Longevity Over Short-Term Savings: Cutting corners might seem tempting, but durable drainage design secures your investment and provides peace of mind for years to come.
My Go-To Resources for Construction Success
- Estimating Costs Guide: This resource helped me refine my budgeting process, ensuring I allocate enough for crucial drainage and foundation essentials. It’s a must-read for any builder aiming for accuracy.
- Permit Streamlining Tips: Navigating permits can be daunting, but this site offers practical advice to avoid bureaucratic pitfalls and keep your project on track.
- Understanding Permits: Knowing the ins and outs of local regulations ensures a smoother approval process, saving you time and stress.
- New Build Estimating Tips: This guide emphasizes the importance of site-specific assessments, including drainage considerations, to avoid unforeseen expenses.
Your Next Step in Building Confidence and Excellence
Taking proactive steps to understand and implement effective drainage plans can dramatically improve the durability of your retaining walls and overall project success. With the right knowledge, tools, and resources, you’re well on your way to becoming a confident builder who prioritizes quality and long-term value. Remember, each project you undertake is a chance to learn, grow, and build something that lasts for generations. Stay curious, plan thoroughly, and enjoy the rewarding journey of construction excellence.
What’s the biggest drainage challenge you’ve faced in your projects? Share your story below—I’d love to hear your experience!