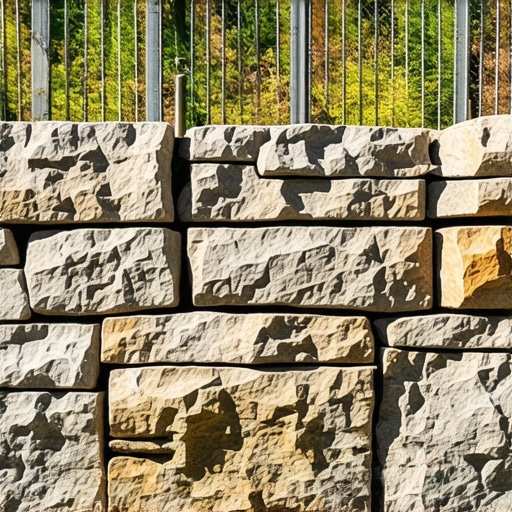
Why Your Retaining Wall Might Not Need a Structural Engineer
Ever found yourself staring at a new retaining wall project, feeling overwhelmed by all the technical details and wondering if you really need to bring in a costly structural engineer? I’ve been there. One summer, I decided to build a backyard retaining wall to fix a minor erosion issue. I was eager to save a few bucks, so I skimped on professional advice, thinking, “How hard can this be?” It wasn’t long before I realized that I’d overlooked some crucial factors—and the wall was wobbling within months. That lightbulb moment taught me an important lesson: not every DIY project or minor retention needs a licensed engineer. But how do you know when that’s true for your situation? Well, there’s good news. In many cases, a well-informed homeowner can handle small-scale retaining walls without the extra expense and delay of consulting a structural engineer. Today, I’ll share the practical insights I’ve collected, based on years of experience and research, to help you make that call wisely.
Deciphering When a Retaining Wall Stays Under Your Control
Is Your Wall Small and Simple? Here’s the Good News
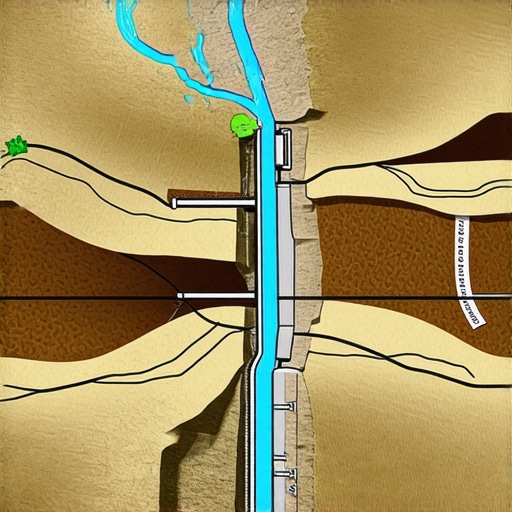
If you’re planning a modest retaining wall—say, under 4 feet high and on level ground—chances are, you might not need a structural engineer. Local building codes often specify thresholds like this, recognizing that small walls have a lower risk of catastrophic failure. Building this type of wall can often be within a homeowner’s skill set, especially if you’re comfortable with basic concrete work or natural stone stacking. However, don’t forget: even small walls require proper drainage and footings to prevent future problems. One common mistake I made early on was forgetting to include adequate drainage behind the wall, which can lead to water pressure buildup and eventual collapse. A quick tip: check out resources like [this guide on estimating costs for home improvements](https://constructionedgez.com/how-to-estimate-the-volume-of-fill-dirt-needed-for-a-lot) to understand the essentials of proper drainage and foundation design. If your project aligns with these parameters, it might be worth tackling yourself. But that’s just the starting point.
What About Larger or More Complex Projects?
If your planned wall exceeds four feet, extends along a slope, or supports a significant load, consulting a structural engineer becomes more critical. The stakes are higher, and the risk of failure could jeopardize safety and property value. Don’t let your enthusiasm push you into a DIY project that’s better served with professional oversight. Sometimes, a quick consultation or review from an engineer can save you substantial trouble down the line. To ensure your project complies with local regulations, it’s worth reviewing [this comprehensive guide on permits and project planning](https://constructionedgez.com/the-complete-guide-to-permitting-for-new-builds-and-additions). Have you faced a situation where you questioned whether to call in a pro or tackle it yourself? Share your experience—I’d love to hear how you made that call.
Breaking Down the Building Process Into Manageable Steps
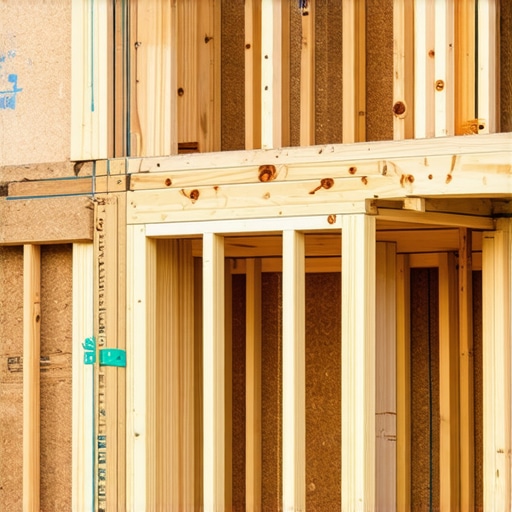
Think of your construction project as a multi-layered cake; each layer must be prepared separately but in harmony to achieve the perfect final result. My first experience applying this involved constructing a small home extension; I divided the project into distinct phases: planning, permits, site prep, foundation, framing, and finishing. For each step, I created checklists with detailed actions, ensuring I didn’t overlook key components such as proper drainage or structural supports. By doing so, I avoided being overwhelmed and kept the entire process on track. This approach also makes it easier to spot delays or budget overruns early, allowing swift course corrections.
Mastering Permitting Without the Headache
Permits can seem like a maze, but approaching them with a clear plan streamlines the process. Before starting construction, I visited the permit acquisition guide to understand local requirements and determine exactly what documentation was needed. I prepared detailed site plans and photos, then submitted them to the city online—saving time compared to in-person visits. An important tip is to assemble all the necessary paperwork in advance, including property surveys and engineer reports if applicable. This prevents back-and-forth delays, much like assembling a puzzle—if a piece is missing, the whole picture stalls.
Estimating Costs and Material Orders Accurately
Accurate estimation prevents budget surprises. I used a detailed estimator process, akin to shopping with a detailed grocery list: I listed every material with current prices, including concrete, lumber, fasteners, and permits. I cross-referenced costs with cost estimation resources to refine my budget. I also added a contingency margin of about 10-15% for unforeseen expenses, similar to packing an umbrella for unpredictable weather. This method keeps your finances stable and helps avoid the stress of last-minute budget shortfalls.
Scheduling with Realism and Flexibility
Creating a construction schedule is like plotting a road trip—you need to account for potential detours. I employed a Gantt chart to visualize the phases and set realistic deadlines, factoring in weather forecasts and material delivery times. For example, I scheduled foundation work during dry months and ordered materials well in advance, understanding that delays happen—similar to ordering vegetables before a dinner party to ensure freshness. Using flexible timelines allows you to adapt quickly when problems arise, keeping the project moving forward without unnecessary stress.
Monitoring Progress and Staying Organized
Finally, consistently tracking progress is vital. I maintained a project journal, noting completed tasks and upcoming actions, complemented by digital photos. This record-keeping helped me stay aligned with my plan and provided evidence during inspections. For tighter control, I used project management apps tailored for small builds, which send reminders and keep all documentation in one place. Staying organized allows you to catch issues early, much like catching a leak before it floods the basement, saving time and money in the long run.
Applying these core steps—breaking the project into phases, managing permits efficiently, estimating costs carefully, scheduling realistically, and maintaining organization—transforms a potentially chaotic process into a manageable journey. This structured approach empowers you to handle your build confidently without the need for endless overtime or professional overload, keeping everything within your grasp and ensuring success at every turn.
 Many homeowners assume that nailing the basics guarantees project success, but the reality is far more nuanced. A common misconception is that all building codes and permit requirements are straightforward and universally applicable. In truth, local regulations can be complex, often changing without notice, and misinterpreting them can lead to costly delays or fines. For example, some assume that permits are optional for minor additions, yet overlooking specific zoning laws, like setback distances or height restrictions, can cause legal complications. Experts emphasize that thoroughly understanding local code nuances, as detailed in [this comprehensive permit guide](https://constructionedgez.com/the-complete-guide-to-permitting-for-new-builds-and-additions), is crucial to avoid these traps.
Are Building Codes Really a One-Size-Fits-All?
Many believe that once their project complies with general codes, they are set. However, building codes often have localized provisions—such as unique fire safety or insulation standards—that require specialist interpretation. Overlooking these details can result in subsequent inspections rejection or required redesigns, costing both time and money. A study by the National Institute of Building Sciences highlights that early consultation with code officials significantly reduces such risks. Therefore, engaging with local authorities upfront or working closely with experienced consultants can be a game-changer. Furthermore, inaccurate cost estimates are another sneaky foe. Relying solely on average prices found online without considering regional material costs or current market fluctuations leads to budget blowouts. Check out [this step-by-step estimating guide](https://constructionedgez.com/estimating-home-additions-a-step-by-step-guide-for-2025) to fine-tune your financial planning. Remember, hidden costs often lurk in areas like permit fees, soil testing, or unforeseen foundation issues. Misjudging these factors can derail your entire timeline. Suppose you’re adding a deck; assuming standard costs without accounting for site-specific challenges can trip you up. Always factor in contingencies—experts suggest a buffer of 10-15%—and conduct thorough site assessments. It’s also critical to avoid common pitfalls in project management. Many underestimate the importance of detailed schedules and clear communication with trades. Rushed timelines or vague instructions can lead to rework, waste, and missed permits. For a smoother process, leverage tools and tips found in [efficient project management resources](https://constructionedgez.com/efficiently-managing-additions-from-planning-to-execution). To sum up, while initial perceptions might suggest that permits and estimates are straightforward, drilling down into the details reveals complexities that can make or break your project. Getting expert advice—either through local code specialists or cost estimators—can shield you from costly surprises. Have you ever fallen into this trap? Let me know in the comments.
How do I keep my construction projects in top shape over time?
One of the most critical aspects of a successful build is ensuring it remains functional and safe long after the initial construction. To achieve this, I rely heavily on a combination of top-tier tools and disciplined maintenance routines. An essential tool I use is a digital moisture meter, which helps me monitor moisture levels in wood and drywall, preventing issues like mold or rot. Regular inspections with infrared thermal cameras allow me to detect hidden leaks or insulation problems before they escalate. Additionally, implementing a detailed maintenance schedule—checking drainage systems, cleaning gutters, and inspecting seals—keeps minor issues from turning into costly repairs. Staying proactive with these routines extends the lifespan of your build and preserves its value. The future of maintenance tools is heading towards smarter, connected devices that send alerts directly to your smartphone, enabling real-time monitoring and quick responses. Embracing such technologies now can save you time and money and ensure your project remains in excellent condition for decades.
What’s the best way to maintain your build over time?
My recommendation is to develop a comprehensive maintenance plan tailored to your project’s specifics. Start by creating checklists for seasonal inspections, focusing on critical areas like roofing, foundation, and drainage. Invest in reliable inspection tools such as moisture meters and infrared cameras—these are worth every penny. Additionally, leveraging software like construction management apps can help schedule and record maintenance activities, making sure nothing slips through the cracks. As trends evolve, I predict we’ll see an increased integration of IoT devices that continuously monitor structural health, alerting homeowners and managers instantly if issues arise. To optimize your maintenance routine further, consider consulting detailed guides on post-construction upkeep, like the one at [this link](https://constructionedgez.com/adding-value-with-expert-home-additions-a-construction-guide), which emphasizes proactive strategies. Don’t wait for visible damage to act—regular care and modern tools will keep your build functioning beautifully for years to come. Try implementing a digital moisture meter today; it’s a simple yet powerful step toward long-term maintenance success.
Lessons from the Trenches: Hard-Won Wisdom for New Builds and Additions
- Size Matters—But Not Always What You Think: I once underestimated a small extension only to realize that overlooking zoning variances and drainage plans can quickly turn a DIY dream into a permit nightmare. Don’t assume that if it looks simple, it is.
- Permits Are Your Best Friends—Not Obstacles: Early engagement with local authorities saved me weeks of delays on a project I nearly postponed. Building relationships with permit officials provides insights that no online guide can offer.
- The Hidden Costs Lie Beneath: My estimates were way off when I ignored soft costs like soil testing and utility checks. A thorough, itemized estimate that includes contingency is your safest bet against surprises.
- Documentation Is Power: Keeping detailed records, photos, and checklists throughout the process helped me manage timelines and quality. Use digital tools to streamline this; it’s worth the effort.
- Flexibility Wins the Race: Weather delays, material shortages, and scope adjustments happen—expect them and plan accordingly. Staying adaptable is key to a stress-free build.
Tools and Resources That Made a Difference
- Estimating guides: Essential for creating accurate budgets and understanding true project costs. I trust this one for its depth and clarity.
- Permit process resources: Navigating local regulations becomes easier when you have a clear step-by-step plan. This resource demystified the process for me.
- Project management tools: Keeping track of stages, deadlines, and documents keeps the build on track and stress-free. I recommend exploring these tools to stay organized.
- Permitting knowledge base: Understanding nuances in local codes safeguards against costly violations. Learning from seasoned experts is priceless.
Take Your Next Step with Confidence and Purpose
Building or adding to your home is more than bricks and mortar; it’s about creating a space that truly reflects your vision while staying within your means. By applying these lessons and leveraging trusted resources, you empower yourself to manage every phase effectively. Remember, every project is a learning journey—embrace it with patience and openness. Your future self will thank you for the effort you put in today. Are you ready to turn your dream project into reality? Share your plans or concerns below, and let’s build something great together.